At the start of this year I joined a free-art-journal-workshop on Face Book called
Journal 52.
What I love about the group is that there is no hurry to complete the
weekly prompts, you work at your own pace, upload your photos and
continue to be inspired by amazing artists!
The first prompt was to make our journal cover. I wanted this to reflect my artistic style, yet be durable.
Here are the supplies and materials used:
Metallic Pink Dew Drops
Sprinkles Dew Drops
Hillside Mini Dew Drops
Freedom Tear Drops
-Assorted pink, purple and silver rhinestones, gold pearl powder, gold glitter.
-Ascending colors of acrylic paint, foam and regular paint brushes, a
cup of water, paper plates, work surface mat, journal, chipboard
numbers, black permanent pen, black paint, tool for picking up and
placing dew drops and rhinestones. -Mod podge, diamond glaze, e6000, canvas cloth, fabric strips, throwaway cup, card stock, pencil, scissors.
Trace your whole journal onto the card stock with a pencil. Then free
hand draw the letter "J" and cut out. Cut some canvas cloth to fit the
front of your journal. Trace the "J" onto the cloth.
Try to stay inside the letter "J" while painting. Paint freely with a
regular paint brush, thinning the paint as needed with the water.
Acrylic paint drys pretty quickly or you can gently speed up the process
with a heat gun. When nearly or all dry, pour a little Mod podge onto
your plate and add your gold glitter and powder. Mix with a foam brush
and apply to the "J". Clean brushes for next step and replace plate if
needed.
While the "J" is drying you can get started on painting the background.
Use a regular brush and take advantage of some water to help spread the
paint.
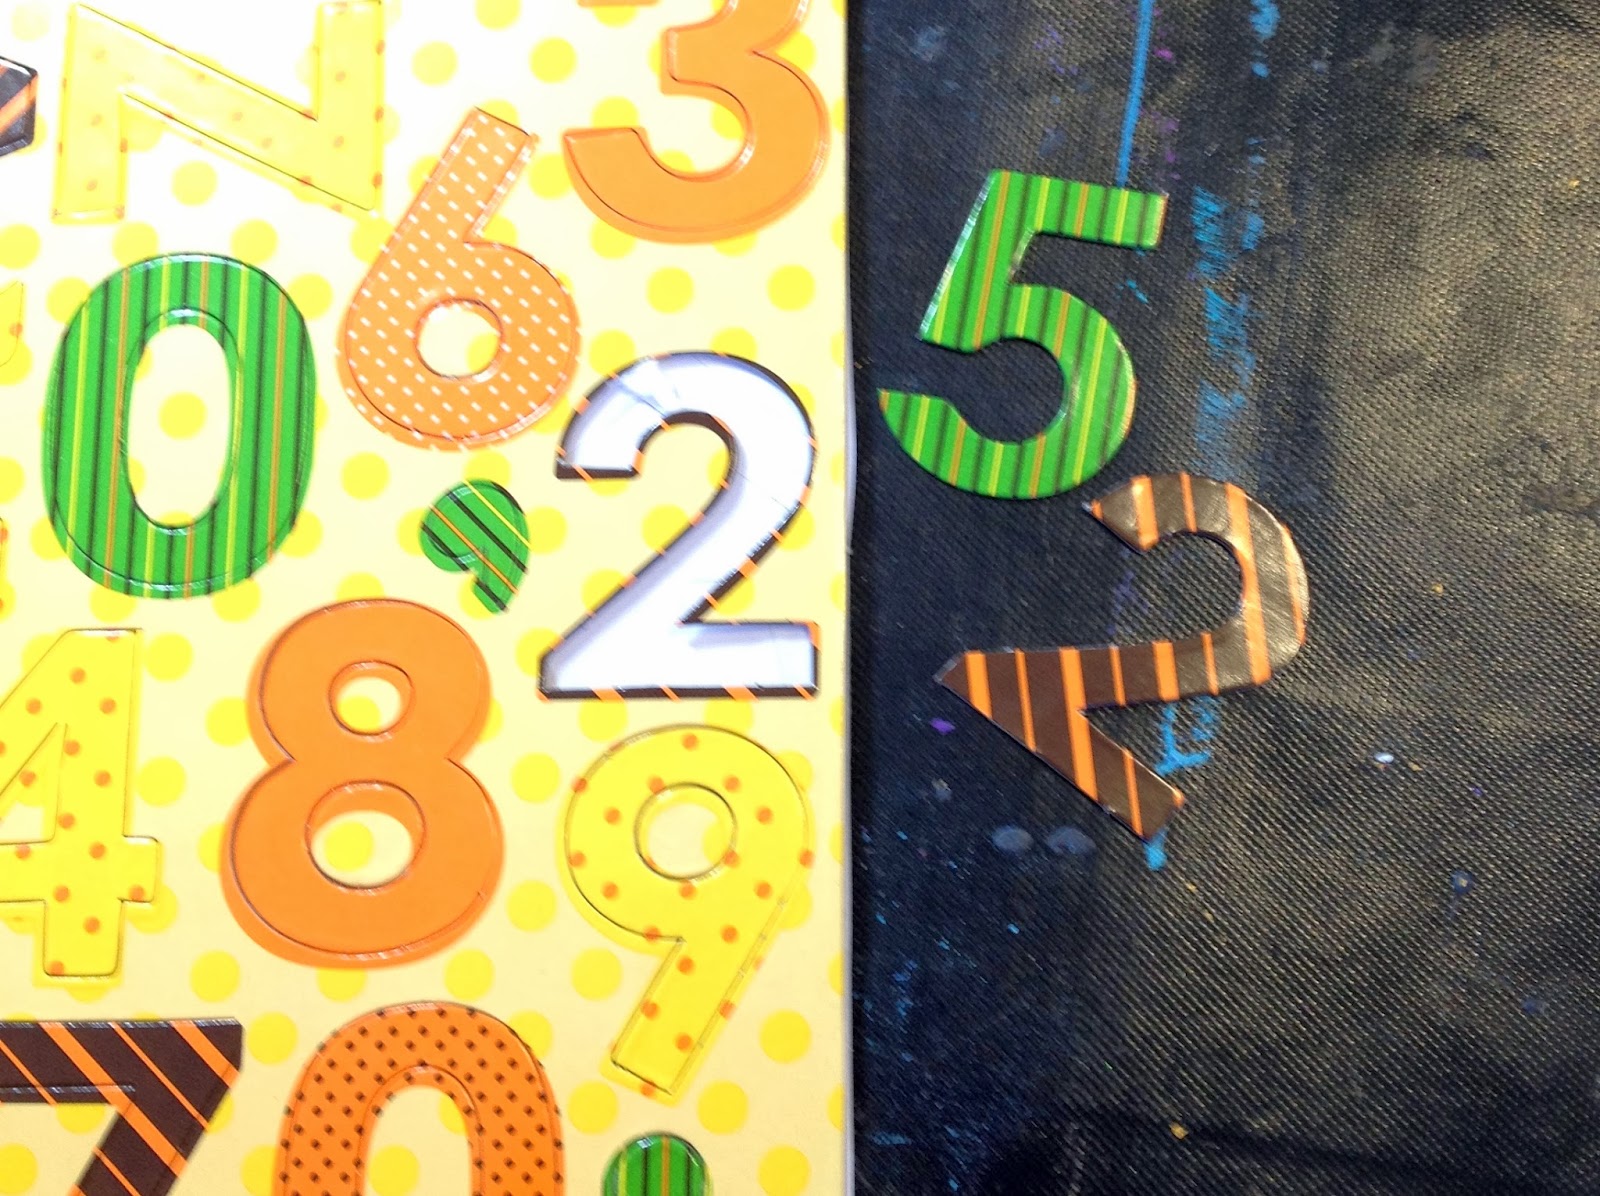
Dig through your stash of (never used) chipboard numbers. - I actually
found these on a free table at a craft event! Color your numbers first
with the black pen, then give them a light coat of black paint.
Working in sections, smear the e6000 onto the dry "J" and quickly place
the rhinestones first. The more random you are, the quicker this will
take. Still working in sections, smear more e6000 in between the
rhinestones and add your Dew Drops, Tear Drops and Diamond Drops.
When you are done, wait a day for the glue to harden before this next step.
In the meantime, you can glue down your numbers and doodle with the black pen around the "J" and cover.
- Pour some diamond glaze into a throw away cup and apply to the "J"
with a foam brush. Be generous, but be careful not to overflow over the
lines.If you do, a paper napkin with absorb the excess. Leave this to set over night until hard and glossy.
Then use the e6000 to adhere to the front of the journal, holding down in sections until the glue starts to set.
Finish the journal by tying different colored fabric scraps to the rings.
Thanks for coming by, I hope you have enjoyed my tutorial!


No comments:
Post a Comment