7/29/17

Tea in The Garden Sun-Catchers with Laura K. Bray Stamps


I've known Laura for many years. While our children had their play-date...us mom's had a craft date!

So, when Laura asked me to guest design for her new line of rubber stamps, of course I said yes! How exciting for her! Laura's stamps, Tea in the Garden, are super cute and fun for any project!

 The stamps come pre-mounted with a rubber cling backing. So all you have to do is cut them out, peel off the backing and start creating! Plus they come with a clear plastic sheet to safely store your stamps when you are done with your project.

To make sun-catchers like mine, you will need the following:
  1. Tea in The Garden Stamp Set, by Laura K. Bray
  2. Stamping block 
  3. A black pigment ink pad
  4. Colored permanent markers
  5. Colored tissue paper
  6. Clear contact paper
  7. Clear plastic (packaging from a store bought item)
  8. A large beverage cup to trace
  9. A hole punch
  10. Scissors
  11. Colored beads and fishing line 

 Trace the top of your cup onto the contact paper and the plastic.
Trace the bottom of the cup onto the tissue. Cut all of these out.

 Place your stamps onto your block, ink and stamp carefully onto the tissue paper.
(It helps to have a piece of scrap paper under the tissue paper while you stamp and color)

 Color in the stamped design with your markers. When done, flip the tissue over and color in on the other side.


Peel off the backing on the contact paper circle and lay face up.
 Next, carefully place your tissue paper circle in the center of the contact paper.
Take a brightly colored marker and draw a simple design onto the tacky party of the contact paper.

 When you have finished your design, you can place the plastic circle on top.
 Flip over and smooth out any bubbles with your fingers.
Punch a hole at the top and thread your fishing line and beads.

 Hang in a bright sunny window for all to enjoy!
Happy creating!

7/22/17

Rinea Paper Foil Goddess Canvas Art!


Check out this Goddess I made with Rinea Paper Foil.
Isn't she heavenly?
I had so much fun creating her, I hope you will too!
  • Rinea Metallic Foiled paper
  • Sapphire Star Struck Foiled paper
  • a canvas
  • Any face photocopied on the lowest ink setting.
  • Gold embellishments
  • Decorative paper
  • Paper or floral roses
  • Decorative punch
  • Foam tape
  • Scissors
  • Old paint brushes and a round foam stencil brush
  • Tacky glue
  • Acrylic paint is shades of: white, cream, blues, pink, orange, yellow
  • Glitter
  • Fine permanent pen in black


Using the round foam stencil brush, start painting at the top of your canvas with the darkest of your blue paints. Gradually lighten the blues as you work your self down into the pinks and yellow paints.
Twist the foam brush as you work to make the painted circles seem 'cloud like'.

Glue your photocopied image onto sturdy craft paper and cut out. Paint the face with white and cream colors. Then add some color for the cheeks, lips and eyes. When the paint is dry, accent features with the black pen. Cut out her outline including hair and torso. Trace her cutout onto the canvas. paint some vibrant colors around the traced design.
Adhere your cutout to the traced design with some diluted glue. Leave about 1" from the edge of the cutout without glue.

Measure your paper foil to be about 5" wide. Starting from the outside, gently crumple the foil towards the center. Then crumple into a neat ball. Next un-crumple the foil, careful not to tear it as you unravel it. Smooth it out as neat as possible.

Cut your foil into ray-like shapes as shown.

Use a old paint brush to spread glue onto the foil.

Place your rays onto the canvas, tucking the ends just under the face cutout.

When all your rays are in place, begin cutting your sapphire paper foil and decorative paper into crescent shapes.

These crescents were approximately 4" wide. Begin adhering them with glue around the face.

The purpose of the "crescent" shape is to  frame the face and to portray the movement of a shawl or scarf.

For the body, you can start gluing down overlapping layers of block/crescent shapes from the patterned paper.

Add more sapphire foiled paper as desired and then start adding thin curved strips of the gold paper foil as desired.


For this goddess, I added gold star shapes.
Finish with your paper roses and more patterned paper.
Accent with glitter and punched foil shapes as desired.
 

Thank you for coming, I hope to have inspired you!
See more idea's on the Rinea blog!

7/12/17

Embroidered 1st Aid Kit

Here's something I made to hold my 1st aid supplies while recently camping with my sons Boy Scout troop.


 Supplies needed:
  • Joy embroidered iron-on numbers and letters (found at Michaels and Hobby lobby)
  • Zippered pencil pouch
  • Hot iron set to cotton setting


Iron-on your numbers and letters to your pouch according to the Joy package directions. Use a pressing cloth to prevent damaging the bag if it's made of nylon. Fill the zippered compartments with first aid items, and done!

See more idea's on the Joy blog!

7/07/17

Rinea Paper Foil Butterfly Cube

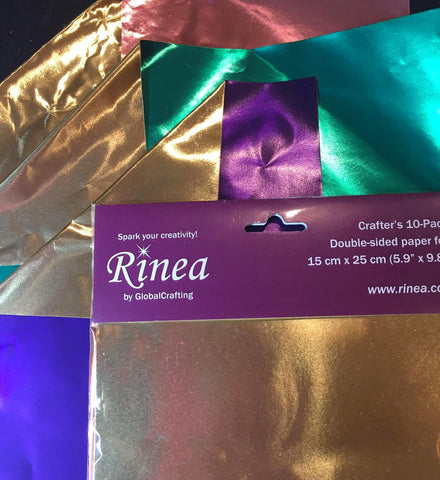
I really love how Rinea Paper Foil adds elegance to just about everything including this butterfly cube!

Supplies:

Trim your Blush foil to fit four sides of the cube. Crumple the foil, then open up and smooth out. Adhere this with your adhesive to the sides of the cube.
Repeat this step with the Emerald foil for top and bottom of the cube.

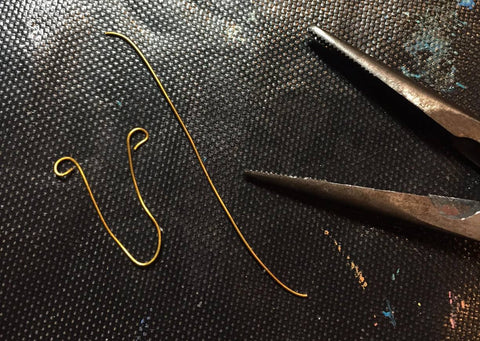
Cut 1½" of wire and fold in half. Then curl the end of the wire with jewelry pliers to create antennas.

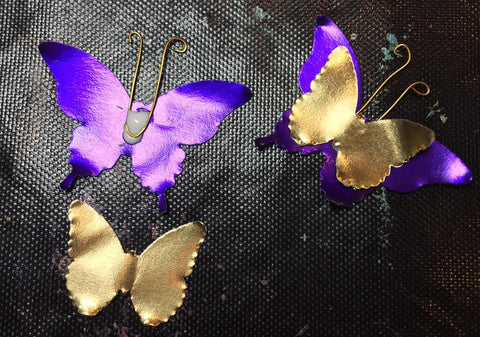
Fold the Violet foil in half 4 times and punch out with 2 sizes of butterfly punches.
Add adhesive to the center of the larger butterfly, add the wire antenna, then secure the smaller butterfly on top.Adhere these butterflies to the sides of the cube and add the word stickers at the bottom.

Cut some wire to be 3" long and crimp with your fingers. Attach the dimensional butterflies at the top. Use the paper piecer to make holes in the foil, them push your butterfly topped wires in place. Add decorative trim is desired.


See more idea's on the Rinea Blog!