3/15/22

Ribbon Decorated Spring Tote with Gwen Studios


Hi Everyone! Happy Spring!
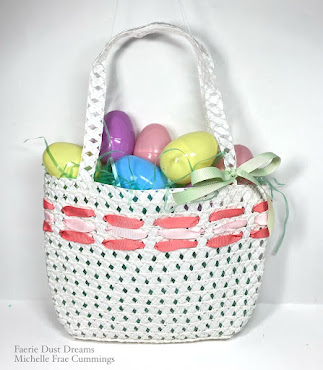
 I hope you'll enjoy these oh-so easy ribbon decorated totes as much as I did in making them!
The best part is that they can be used as a gift bag, a small purse or even a Easter basket!

* As a design team member for Gwen Studios,
I am provided with product to work with each month.
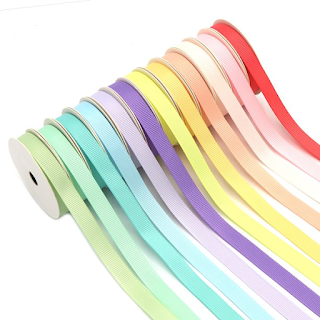

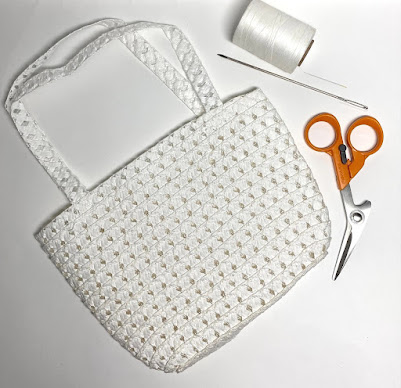
To get started, you will need the following:


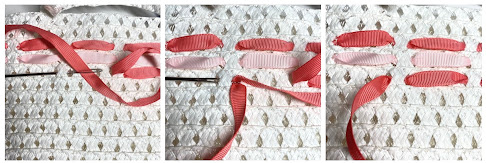
  1. Thread one end of the ribbon onto the blunt needle. 
  2. From the inside of the tote, push the needle through a opening. 
  3. Secure the ribbon tail with thread and the sewing needle to the inside of the tote. 
  4. Pull the ribbon up then back through the openings as shown. 
  5. The more holes you skip, the neater the ribbon will lay flat. 
  6. Alternate between your favorite ribbon colors. 
  7. Decorate just one side or all over the the tote. 
  8. Secure the ends of each color ribbon on the inside of the tote, again with the sewing needle and thread. 
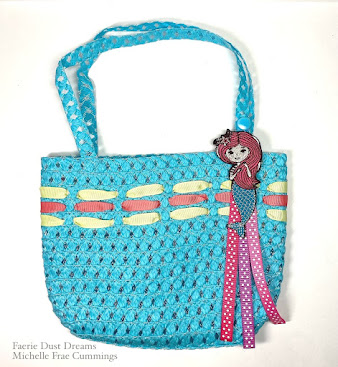
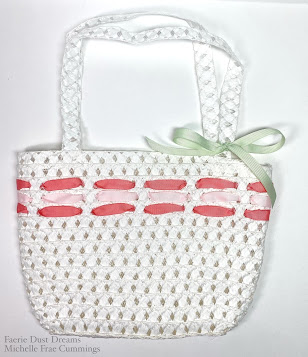
Finish your tote with a pretty ribbon or other decoration.


Here I added some Mermaid fun! See how I made it here. 

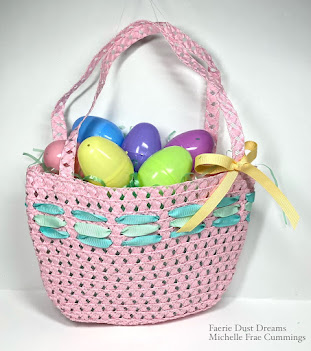
This pink decorated tote is perfect for a picnic in the park ... 
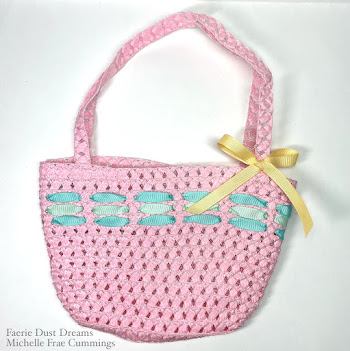

...or some Easter fun with the kids! 


See more creative ribbon idea's on the Designer Crafts Connection Blog!


2/15/22

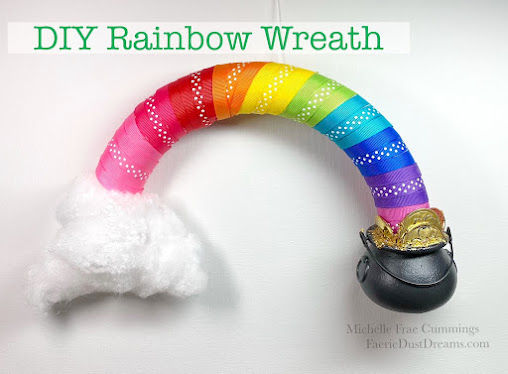
DIY Rainbow Wreath with Gwen Studios

I had so much fun creating this colorful wreath using all my favorite colors from Gwen Studios! 


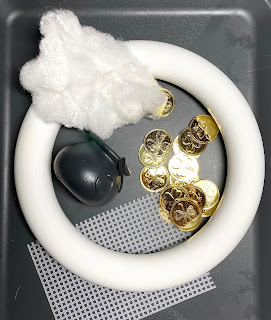
To make this Rainbow Wreath, you will need the following:

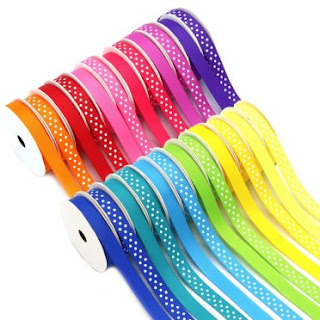
  • GWEN STUDIOS Favor Pack - Rainbow assortment of 3/8' grosgrain ribbon
  • Craft foam wreath (any size)
  • Plastic cauldron
  • Gold coins
  • Cotton batting
  • Plastic canvas
  • Marker
  • Sharp scissors
  • Hot glue gun
  • Gold glitter paint 


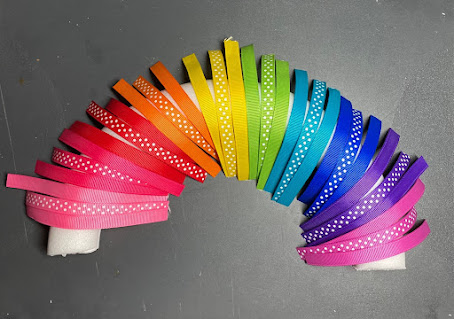
    • Use the scissors to cut the foam wreath in half. 


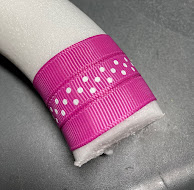
      Wrap a piece of ribbon around one end of the wreath  to determine the length you will need for the rest of the colors. For my wreath, each ribbon measured 4 ¾". After you have cut all your ribbon, lay it on the wreath to determine your design. Make sure you have some extra pieces available to fill in any gaps if needed.

       
      Working with one ribbon at a time, add a thin line of hot glue to the foam wreath and attach the ribbon. Secure the ribbon ends to the back of the wreath. 


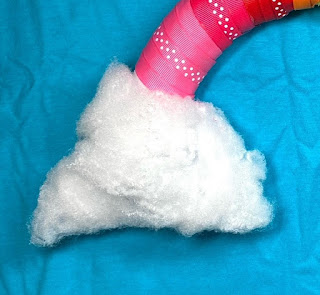
      When you get to the end of the foam wreath, use the scissors to cut the end as shown, creating a 'slit '. Push the plastic canvas into the slit and with the marker, draw a cloud shape. Pull the plastic canvas out of the slit, cut the cloud shape with scissors and and re-insert into the slit, securing with hot glue. 

      Drizzle the cloud shape and unwrapped wreath end with hot glue. Then carefully use a craft stick or the end of paint brush to push the batting, covering the cloud. 


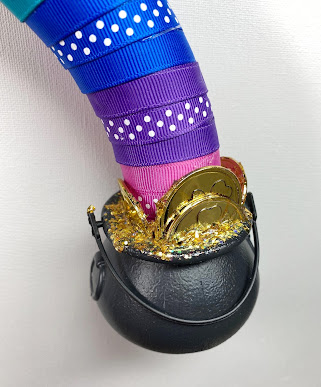
      Using some hot glue, fill the cauldron with leftover bits of the plastic canvas and batting. Then adhere the end of the wreath into the the top pf the cauldron. Add a few gold coins, cutting some in half to fit. The gold glitter paint is helpful in concealing hot glue drips and trails, plus it adds the perfect bit of glittery Leprechaun magic, don't you agree?

      Thanks for coming by, I hope you've enjoyed my craft!

      Please visit the Designers Craft Connection for more Gwen Studios Ribbon idea's!

      2/10/22

      12/07/21

      Rainbows and Sparkles with Gwen Studios

       Hi Everyone! 
      I'm so excited to show you these new ribbons and appliques from Gwen Studios! 
      The colors are so bright and cheery, I just had too much fun creating!


        As you can see, the assortment of ribbons and appliques are just so much fun!
       Look at those yummy colors! 


      To make the backpack zipper pull, you will need the following:


      Select the colors you want to adorn your Mermaid.
      Fold the ends over and secure with hot glue.
      This will deter any unraveling of the ribbon. Do this at both ends of the ribbons and adhere with the hot glue to the back of your Mermaid.


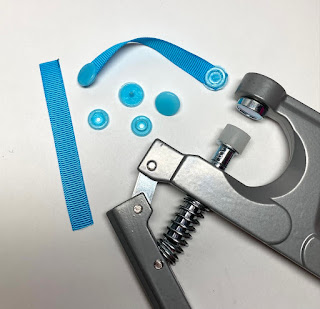
      Following the simple instructions that come with the Snap Setting Tool, attach your snaps to about 3" of ribbon.
       With the hot glue, adhere to the back of your Mermaid at the top. 
      Then attach your Mermaid zipper pull to your backpack or purse!  

      The same technique as posted above using ribbon and the Snap Setting Tool can be used to attach Gwen Studio Appliques to your favorite shoes! 


      It doesn't matter how young you are or how old you feel, Rainbows will always make us happy and full of hope. Just like this Rainbow- hairclip holder! 
      Make one today!

      All you need is:

      Select and cut 7 colors of ribbon, ranging in length of  12" - 24".  Glue in place on the back of the Rainbow. Don't forget to glue the ends as you did with the zipper pull. Attach a loop of ribbon at the top for hanging.


      Hang in a sunny spot and attach your favorite hair clips. Don't you just love those shooting stars? You can see how I made the Rhinestone hairclips here. 
      All of the Gwen Studios product in this post can be purchased online and in-store at Walmart. 


      Thanks for coming by! I hope I've inspired you in some way or another. 
      (Let me know which ones are your favorite!)

      Please visit the Designers Craft Connection for more Gwen Studios Ribbon and Applique idea's! 


      LinkWithin

      Related Posts Plugin for WordPress, Blogger...