Happy Earth Day! And welcome to another blog hop hosted by Leslie Rahye!
We were asked to create a project through means of recycle or up-cycle as I like to call it.
Here I re-vamped a old bathroom wall clock for for my sons room. He is a huge Star Wars fan, so this clock blended perfectly with his room decor.
To get started, you'll need a working wall clock, thin paper, (I used some leftover Clone Wars wrapping paper), a foam brush
Royal Coat Decoupage, red Dew Drops, strong adhesive, a upside down bowl, and a surface for working on, (I used the inside of a cereal box).
If your clock is dusty, wipe it down, don't worry about any nicks or rust stains. These will soon be covered up.
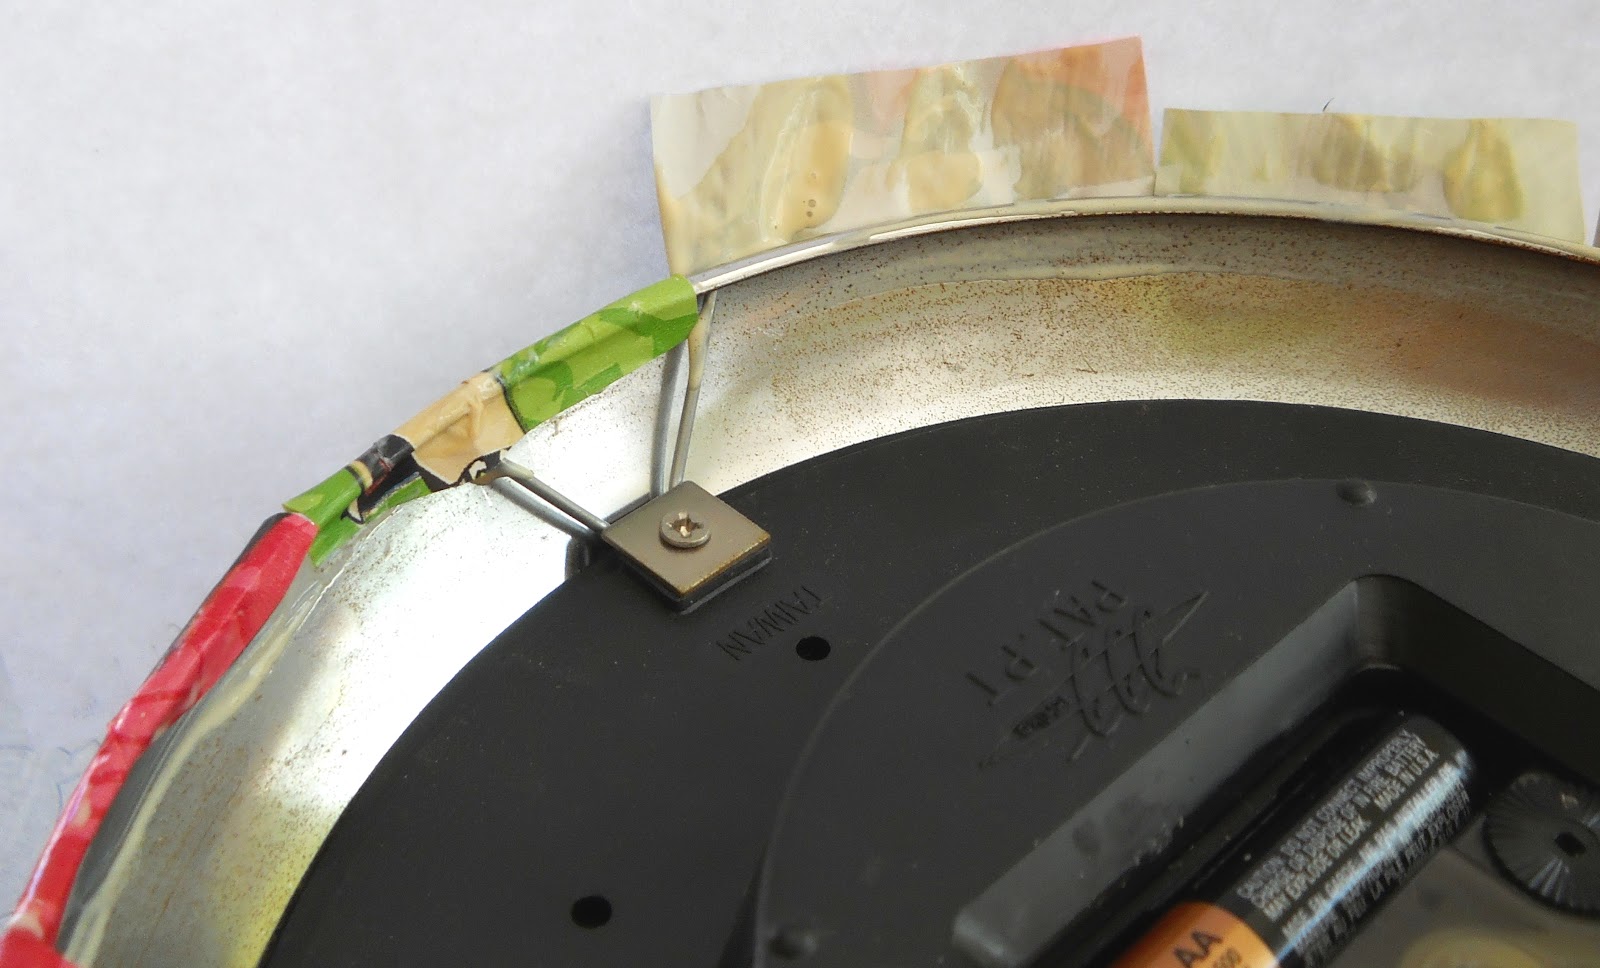
Cut your pieces of paper to be larger than the side of the clock you'll be covering. You'll want them to over hang as you see here. Coat the outside of the clock with the decoupage, place your paper and then add some more decoupage on top.If some decoupage gets onto your clocks face, simple wipe it off with a damp cloth. Use your over turned bowl to prop up your clock as you work. If you have a lazy susan, even better. Then you can rotate it as you work.
Once you have covered the outside surface, smoothing out any wrinkles with your fingers, let dry completely before this next step.
Here, you will want to apply the decoupage with the foam brush to the flaps of paper and them fold them down to secure them.
Flip the clock over onto the bowl and add one more coat of the decoupage as a sealer. Let dry completely before adding the dew drops.
With your favorite strong adhesive, (I used Tom-bo) , apply a line of glue around the face of the clock, but not on the glass. Place all your dew drops. Let cure a couple of hours, until the glue dries clear, before hanging up on the wall.
Did you like that? If you did, please let me know here. I'm giving away these Stampendous clear stamps to one lucky reader. I will pick a winner sometime on Tuesday May 1st, 2012.
Please make it easy for me to reach you in case you are picked.
Thanks for coming by, now please hop along to the rest of the designers. All of them have amazing Earth Day crafts and all of them have giveaways too! :)