Summer is here which means when it's hot outside, we are inside (where it's cool) going through "stuff"to donate or toss.
Here are some great idea's from the past on how to store what you want to keep!
Lego Tilt-Bin storage.
Know what's in your bins with these handy signs/clips!
Carousel caddy, pen storage, keeper of fine spices and seasonings in the kitchen.
Collapsible paper trays.
Showing posts with label Scrapbooking. Show all posts
6/27/16
2/08/15
Craft Room- Decorative Wall Plaque
Welcome to a blog hop and giveaway hosted by Adornit!
Every blog participating has a "clue"- a letter for you to spell a phrase.
Instructions on how to start the hop or submit your phrase are on the Adornit blog.
The giveaway is a complete set of the Art Play Printables collection and a original piece by the artist who created the collection, Lindsay Ostrom!
I'm in the never-ending process of cleaning and organizing my studio.
So when I saw this quote from Adornit, I just knew I needed this in my craft room.
Materials used:
Your giveaway clue for this post is the letter "L".
Please continue onto Sue Eldreds blog for your next clue and more Adornit Inspiration!
Every blog participating has a "clue"- a letter for you to spell a phrase.
Instructions on how to start the hop or submit your phrase are on the Adornit blog.
The giveaway is a complete set of the Art Play Printables collection and a original piece by the artist who created the collection, Lindsay Ostrom!
I'm in the never-ending process of cleaning and organizing my studio.
So when I saw this quote from Adornit, I just knew I needed this in my craft room.
Materials used:
- 8 1/2" x 11" Wood Plaque
- Craft Room display print
- Blender Basics - Mint pixie Dots
- Blender Basics - Mustard Pixie Dots
- Blender Basics- Red Pixie Dots
- Fabric- Grid Dot Red
- Hole punch
- Scissors
- Black ink
- Pen
- Glitter glue and rhinestones
- Adhesive, foam and strong double stick tape
- Black ink
- Needle and Thread
- Flower making die (optional)
- Assorted vintage trim and lace
- Punch holes at top of plaque.
- Trace onto mint paper, mark holes with pen and cut shape out.
- Adhere paper to wood plaque aligning with holes.
- Ink edges of plaque .
- Cut wording and banners from Craft Room print
- Edge all with ink.
- Adhere first banner at top of plaque, cutting the banner so the sides tilt up. Add second banner layer with foam tape.
- Cut and ink red paper, then adhere to plaque with foam tape.
- Add Craft Room wording.
- Use flower die or hand cut spirals from mustard paper. Start curling the paper strips from outside-in to create little roses. Secure with double stick tape and glue in place on plaque.
- Measure and cut 1.5 yards x 2.5" of the fabric with pinking shears. Sew a basting stitch at the top of the fabric. Pull thread to create just enough ruffle for bottom of plaque.
- Adhere fabric to plaque with the strong double stick tape. Layer the tape in between the various lace and trims.
- Tie trim at the top for hanging.
- Finish plaque by adding colored glitter glue and rhinestones.
Your giveaway clue for this post is the letter "L".
Please continue onto Sue Eldreds blog for your next clue and more Adornit Inspiration!
2/04/15
Owl Always Love You Tag-Mini book
Hi Everyone!
I wanted to share my latest creation playing with my new rubber stamp line, and with Valentines Day coming up, I thought I'd make a cute tag mini-book!
I used these Flexible Pouches from Deflecto Craft Solutions. The pouches measure 3"x5" and have so many other uses! Luggage tags, Banners, Pattern swatches, Photo protectors and ATC holders!
I cut the assorted craft paper to just under 3"x5".
I stamped some of my "Owls" directly onto the tags.
For the background, I stamped both "Medallions" and "Petals".
Some of the owls, I stamped onto patterned paper, cut them out and attached them with foam tape.
I colored everything in with assorted markers and embellished with Valentine themed decorations/ribbon and border punched paper.
I really love how this tag book turned out.
The Owls make everything so Happy!
Don't you agree?
I wanted to share my latest creation playing with my new rubber stamp line, and with Valentines Day coming up, I thought I'd make a cute tag mini-book!
I cut the assorted craft paper to just under 3"x5".
I stamped some of my "Owls" directly onto the tags.
For the background, I stamped both "Medallions" and "Petals".
Some of the owls, I stamped onto patterned paper, cut them out and attached them with foam tape.
I colored everything in with assorted markers and embellished with Valentine themed decorations/ribbon and border punched paper.
I really love how this tag book turned out.
The Owls make everything so Happy!
Don't you agree?
9/01/14
How I Preserve my Summer Memories
The theme this month for the Designer Crafts Connection group is "How I preserve my Memories".
So I am showing you how I have been preserving our Summer Memories.
It all starts with this keepsake box I made. I keep it on a book case in our kitchen. Its the perfect holder for mementos and daily souvenirs.
I keep some glue and journal cards in the box and once a week I sit down and put everything into one of those Smash Books by K&C Company. The summer memory book is 12x13. Pretty big! Comes with all sorts of colorful pages and pockets.
Other pages are filled with the favorite foods and new things we have eaten this summer....
Places we have visited....
Of course we have Lego land passes, so I dedicated a few pages just for that.
4th of July and summer BBQ's....
Then there was the Demolition Derby at the County Fair. Super fun!
You may have noticed that there are no photos yet.
That is a project all in its self. I plan to add those"memories" after School has started. (Sept. 4th).
Thanks for coming by, have a great day!
~Michelle
So I am showing you how I have been preserving our Summer Memories.
It all starts with this keepsake box I made. I keep it on a book case in our kitchen. Its the perfect holder for mementos and daily souvenirs.
I keep some glue and journal cards in the box and once a week I sit down and put everything into one of those Smash Books by K&C Company. The summer memory book is 12x13. Pretty big! Comes with all sorts of colorful pages and pockets.
The next 3 'woodsy' pages I decorated so they would be ready for the last summer road trip before School starts. You can see how I made these pages here.
Other pages are filled with the favorite foods and new things we have eaten this summer....
Places we have visited....
Of course we have Lego land passes, so I dedicated a few pages just for that.
4th of July and summer BBQ's....
Then there was the Demolition Derby at the County Fair. Super fun!
You may have noticed that there are no photos yet.
That is a project all in its self. I plan to add those"memories" after School has started. (Sept. 4th).
Thanks for coming by, have a great day!
~Michelle
8/22/14
7/11/14
Lets Go Camping! Mini Book
Today I am featured over on the Robins Nest blog with this fun tutorial.
I hope you can stop by and say Hi!
5/09/14
2/18/14
Journal 52 - Cover Tutorial
At the start of this year I joined a free-art-journal-workshop on Face Book called Journal 52.
What I love about the group is that there is no hurry to complete the
weekly prompts, you work at your own pace, upload your photos and
continue to be inspired by amazing artists!9/02/13
My Summer Vacation SMASH book!
Hi Everyone!
Today is the first Monday of the month, which means it's time for another Designer Craft Challenge hop! This months theme is Vacation memories.
I have been taking photos all Summer and keeping a daily journal.
I put everything into a 11" x 13.5" SMASH book.
I chose this size because it had lots of space for photos, to journal and big pockets to hold brochures and such.
The pages are pretty, with different designs. I added stickers and washi tape.
My smash book is not in daily order. I journaled details of the photos and left some spaces blank to add more details or extra tid bits like ticket stubs....
receipts, menus....
recipes, and more!
Thanks for coming by I would love to hear what you have put into your "SMASH" books!
Perfect for capturing Memories!
Don't you agree?
~Michelle Frae Cummings
7/20/12
Patriotic Cottage Mini-Book
Here's a "peek" of a cottage mini-book I made. It's SO cute. I just love it! I made the cottage reversible. Can you believe that? From the cottage roof to all the adorable details...you just have to check it out!
Come see me today on The Robins Nest blog and prepare to be Inspired! :)
6/28/12
School Years Themed Shadow Box
I'm sorry that I have been absent from my blog for all this week. I am my sons "Bear" Cub Scout den leader starting this fall and in the meantime I cooridinated and attended Cub Scout day camp all this week with 9 boys at our local Marine Corps base- Camp Pendelton! Tomorrow is our last day and I'm fairly tired but I have a great tan to start the summer with!
Here is a School Years Themed Shadow box I made over at The Robins Nest blog.
I hope you'll come by to see the whole thing! Saturday is my day off and then I'll be back to my regular crafty blog postings on Monday! :)
5/18/12
Distressed Button, Dew drop "Orange", Faux Stitched Layout
Today, I am featured over on The Robins Nest blog. Hope to see you there!
2/03/12
"Italy" Mini- Travel Journal
This is one of my creations I made for The Robins Nest booth at CHA.
It's a "Italy" mini travel journal. I really love how it turned out.
Please visit The Robins Nest blog to see the inside.
Thanks!
1/02/12
Bumper cars at the Fair, comic book style
11/05/11
"Thanks Giving" Paper Bag Mini Album
Here is a paper bag mini book I made using product from The Robins Nest.
To see how I made this, please go here.
Have a great weekend!
~ Michelle Frae Cummings
11/02/11
Sizzix Fresh Vintage - Petal Power Flower Die
Welcome! I'm so happy you can be here!
Sizzix recently sent me a new Vintage Fresh Die, Petal Flower Power- designed by Eileen Hull.
It's the ultimate flower die. Not just because you can make any shape or sized flower you want, but you can also make other things like,Owl. :)
Please besure to click the hop forward button above or at the bottom of this post to see all the projects on this hop!
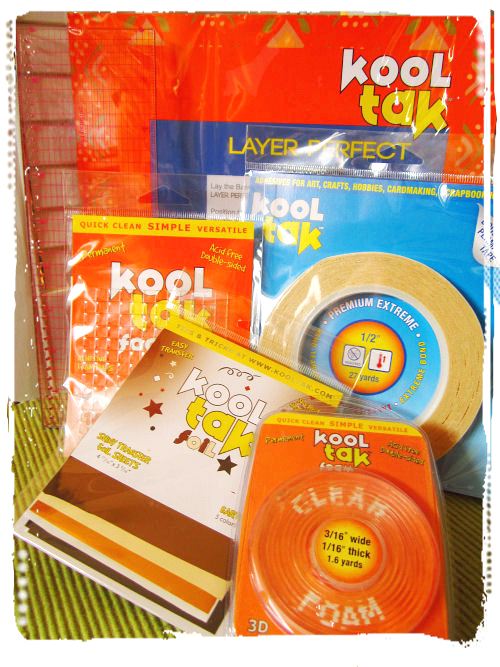
To make Mr. Owl, I used the following supplies:
Assorted shades of felt and quilted fabric
One blank tote
Fabric glue
Sewing Scissors
Fringe scissors
Wax paper
Cotton stuffing
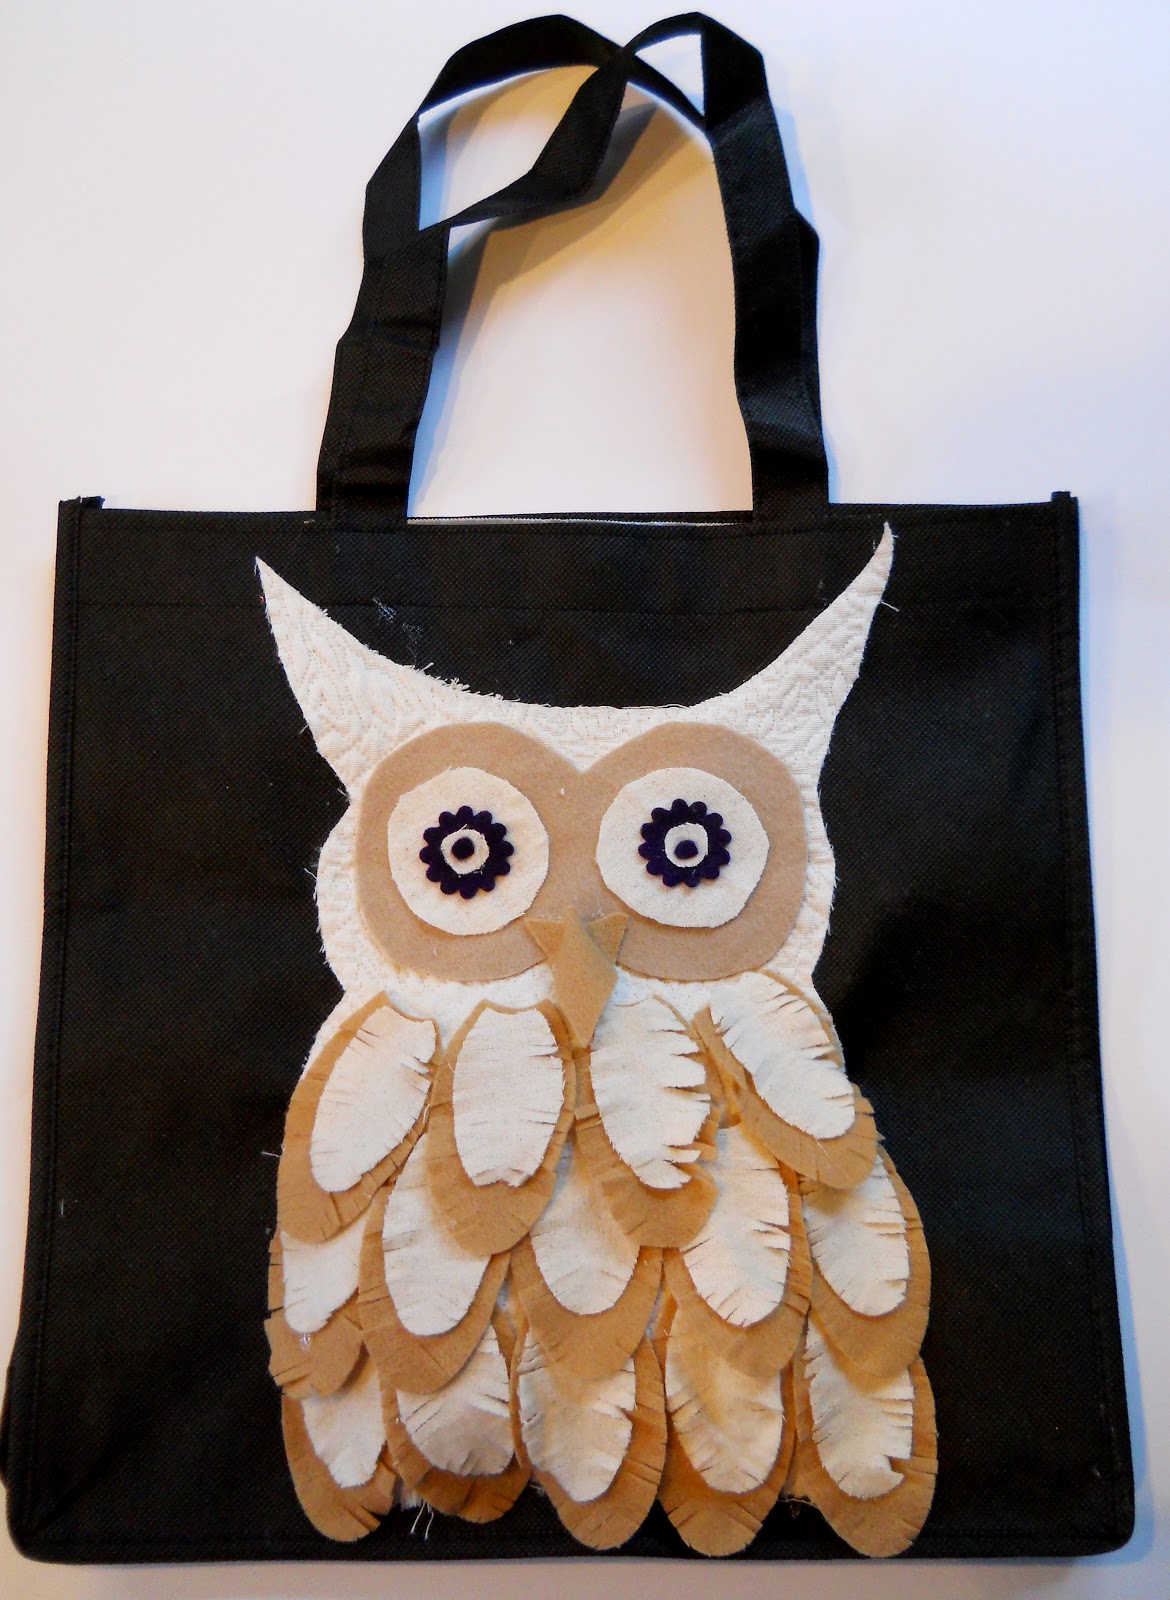
First cut a basic shape of a owl from your quilted or patterned fabric. Then with your fabric glue, adhere all of the outline of the Owl and face, with the exception of the bottom to the tote. Make sure you have a sheet of wax paper inside the tote in case the glue seeps through. Press the glued sides firm until you are sure the glue has set. Add a bit of the cotton fluff into the bottom, enough to fill out the Owl, but not too much so you can still glue the bottom shut.
Next cut a basic figure eight shape from felt. Trim as needed to fit inside the owls face. Cut larger circles, then use the die to make the scalloped circles and proceed on making the insides of the eye. Glue everything together and add to Owl.
For the feathers, I was able to layer at least 3 rectangles of felt at a time on each petal size. I made 14 small petals and 14 large petals. I used the fringe scissors to create a feathery look. I glued each smaller feather to each larger feather and then adhered to the Owl row by row, starting from the bottom, going up.
The Owls beak was created with a simple triangle of leftover felt. I placed a line of glue on the owl and pinched the beak in place until I was sure the glue had set.
I like how the body of Owl is plump and his feathers look ruffled as if he's ready to take flight!
Be sure to visit the Oh My Crafts blog for a chance to win a Flowers, Layers #9 die!
* * *
Besides being able to work with this fabulous die, I was also fortunate to play with
some Templates from The Crafters Workshop!
To make the collaged journal below, I used the following templates:
Love Beads, & Screen.
The templates -Ava, Summer, Edith & Maude, Herringbone, Chevron, Circles in Square, Triangle,
and Triangle plaid were designed by Julie Fei-Fan Balzer!
I collaged the book inside and out with torn bits of scrap paper. I used colored permanent markers with the templates right onto the pages. I accented with doodles, more petals and glitter glue.
I left spaces to add some creative thoughts and dreams.
And for the cover I used the Petal Power Flower die!
So what do you think? Do you like my projects? What would you use this die for? I'm thinking, bunny ears, ruffle for a apron, fall leaves, shingles for a kids playhouse, scales for a dragon or fish costume,...the list is endless! Thanks for coming by, now please take the time to hop along and visit the rest of the creations. :)
Subscribe to:
Comments (Atom)


.jpg)


