
For this weeks Tuesday tutorial, I thought I'd show you how to make a beaded egg. So incredibly simple, about one 1/2 hour per egg and the results look like you slaved over each one!
To get started, you will need:
1. Eggs. I used paper mache', but you can also use wooden, Styrofoam or even plastic.
2. 26 gauge floral craft wire- found at ant any craft store.
3. Seed beads. The more assorted the colors, the more unique the result.
4. Jewelry pliers or small scissors.
5. Tacky tape. The kind with the red backing. For once double stick tape will not work, it must be tacky tape, the wider, the better. You can google tacky tape, find it at craft stores or even at walmart.
6. A small bowl to hold the beads, a tray to work over to catch run away beads.
7. Ribbon, if you want to make a egg ornament. (optional)
Begin by covering the top 1/2 of the egg, narrow end, with the tacky tape. Before removing the backing, warm the egg in your hands. That little bit of heat will make the tape adhesive be more sticky. Refrain from using a heat tool, as this can damage the egg or make it too hot to handle.
Remove the backing and add the ribbon if desired. Add some more tape on top of the ribbon, where it covers previous tape.

Adding beads to wire can be unpredictable as the wire will not stay put, so cut off at least 36" to start with. Secure a bead at the end of your wire.

Then take the other end of your wire and make a slight curl. Scoop the curl right into your bowl of beads. 3 scoops and this is what I got. It's easier than doing them one by one. Also if you have one of those
automated bead spinners, then you can do it that way too!

Once you have about 12" of beads on the end of your wire you can begin to coil it onto your egg.
Make sure that you are keeping the beads close together with no major gaps of wire. Press down to make sure the coils are stuck to the adhesive. And then continue string more beads, attaching to the egg and removing the tacky tape backing as you go.


When you are working with shorter lengths of wire, you have more control, but you also run out faster and need to attach more wire as needed. Just twist the old end with the new end together and snip with your scissors or jewelry tool. Push the wire as close to the previous coil, as close as possible. Turn the snipped tail down onto the rest of the egg, add a piece of tape if desired and just coil over it.

For the end, take the wire and push it under 2 coils and back through the end, like tying a knot. Snip and you are done!

Warm up the eggs in your hands again, huffing on them like you would if you are cold. Smooth your hands over the egg, pushing down any beads bumps or aligning some crooked coils. Let Eggs "cure" over night so the tacky tape can fully set and become permanent.
 Egg nestled in lemon thyme.
 Egg hanging in a hydrangea bush
 3 eggs in some french oregano
*************************************************************
This weeks give away will be 3 plain paper mache' eggs for you to paint, bead, glitter
or alter in any way imaginable!
Every Tuesday for
APRIL I'll show case a tutorial for Spring/ Easter.
On the 1st Tuesday of the following month, I will pick a winner.
The winner will receive ALL 4 projects made from the previous month.
( Please leave your e-mail address in comments or make sure your blog sign in is not private, If I can't reach you easily...you can't win)
Please visit last weeks tutorial here. :)
Thanks for coming by and happy beading!
 I'm having some friends over for a Spring inspired crop at my home on Sunday. So I thought I would make each person a personalized Flower marker. I am going to tie each one to a napkin and put on their place setting for the event. I think it's something they will enjoy. :)
 Supplies used:
 I spritzed the sticks front and back with the glimmer mist and set aside to dry. I used the sizzix die to make the flowers, then distressed the edges with inks and adhered them to the sticks.
 Lastly I added a letter for each first name.
 Super easy...super sweet!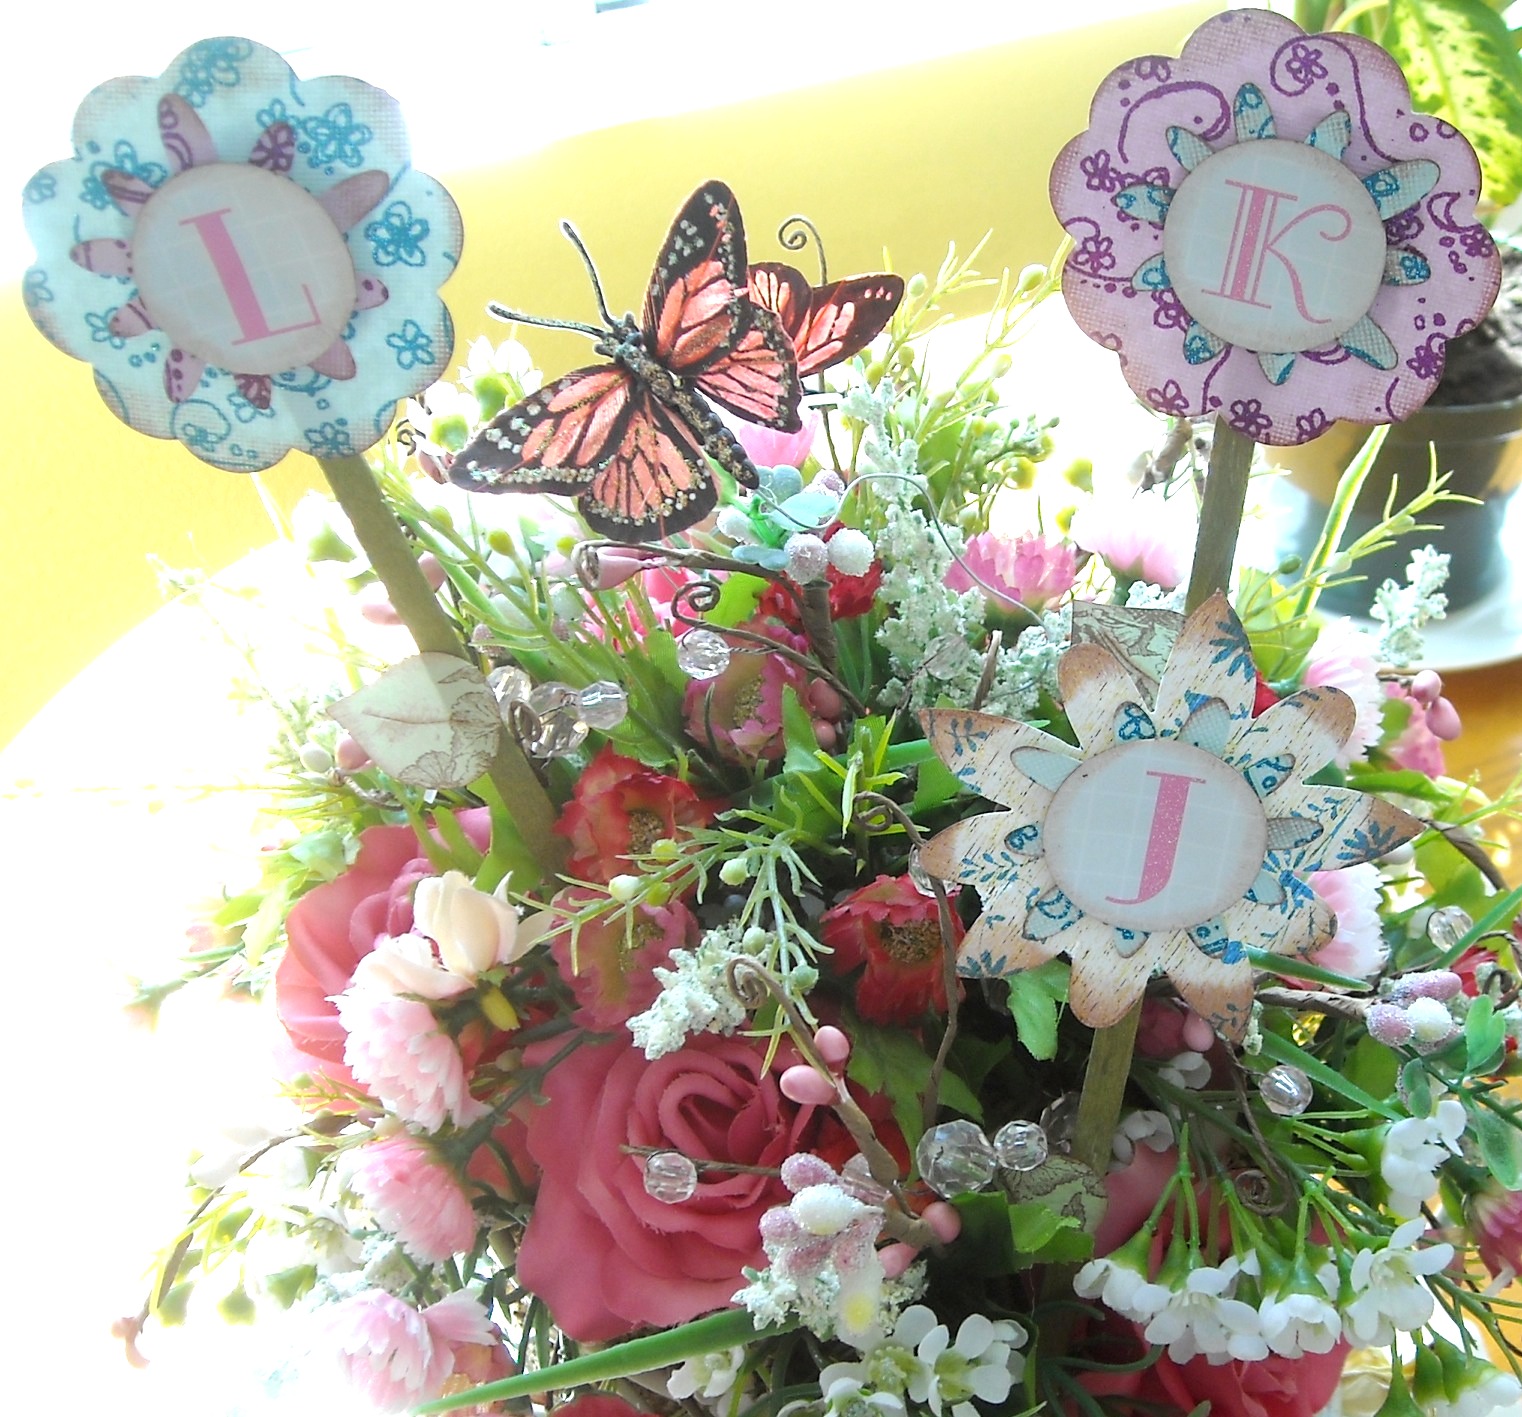
 I hope you have enjoyed this simple craft and will be inspired to create your own!


