
This week for my Tuesday tutorial I thought I'd show you how to make dried citrus to hang in the window! I made mine using my food dehydrator. It's really handy to have on hand for drying fruits, jerky and even herbs.

The dehydrator comes with a plastic tray for making your own fruit leather. Cool, huh? I usually put it at the base of the dehydrator to catch drips if needed.


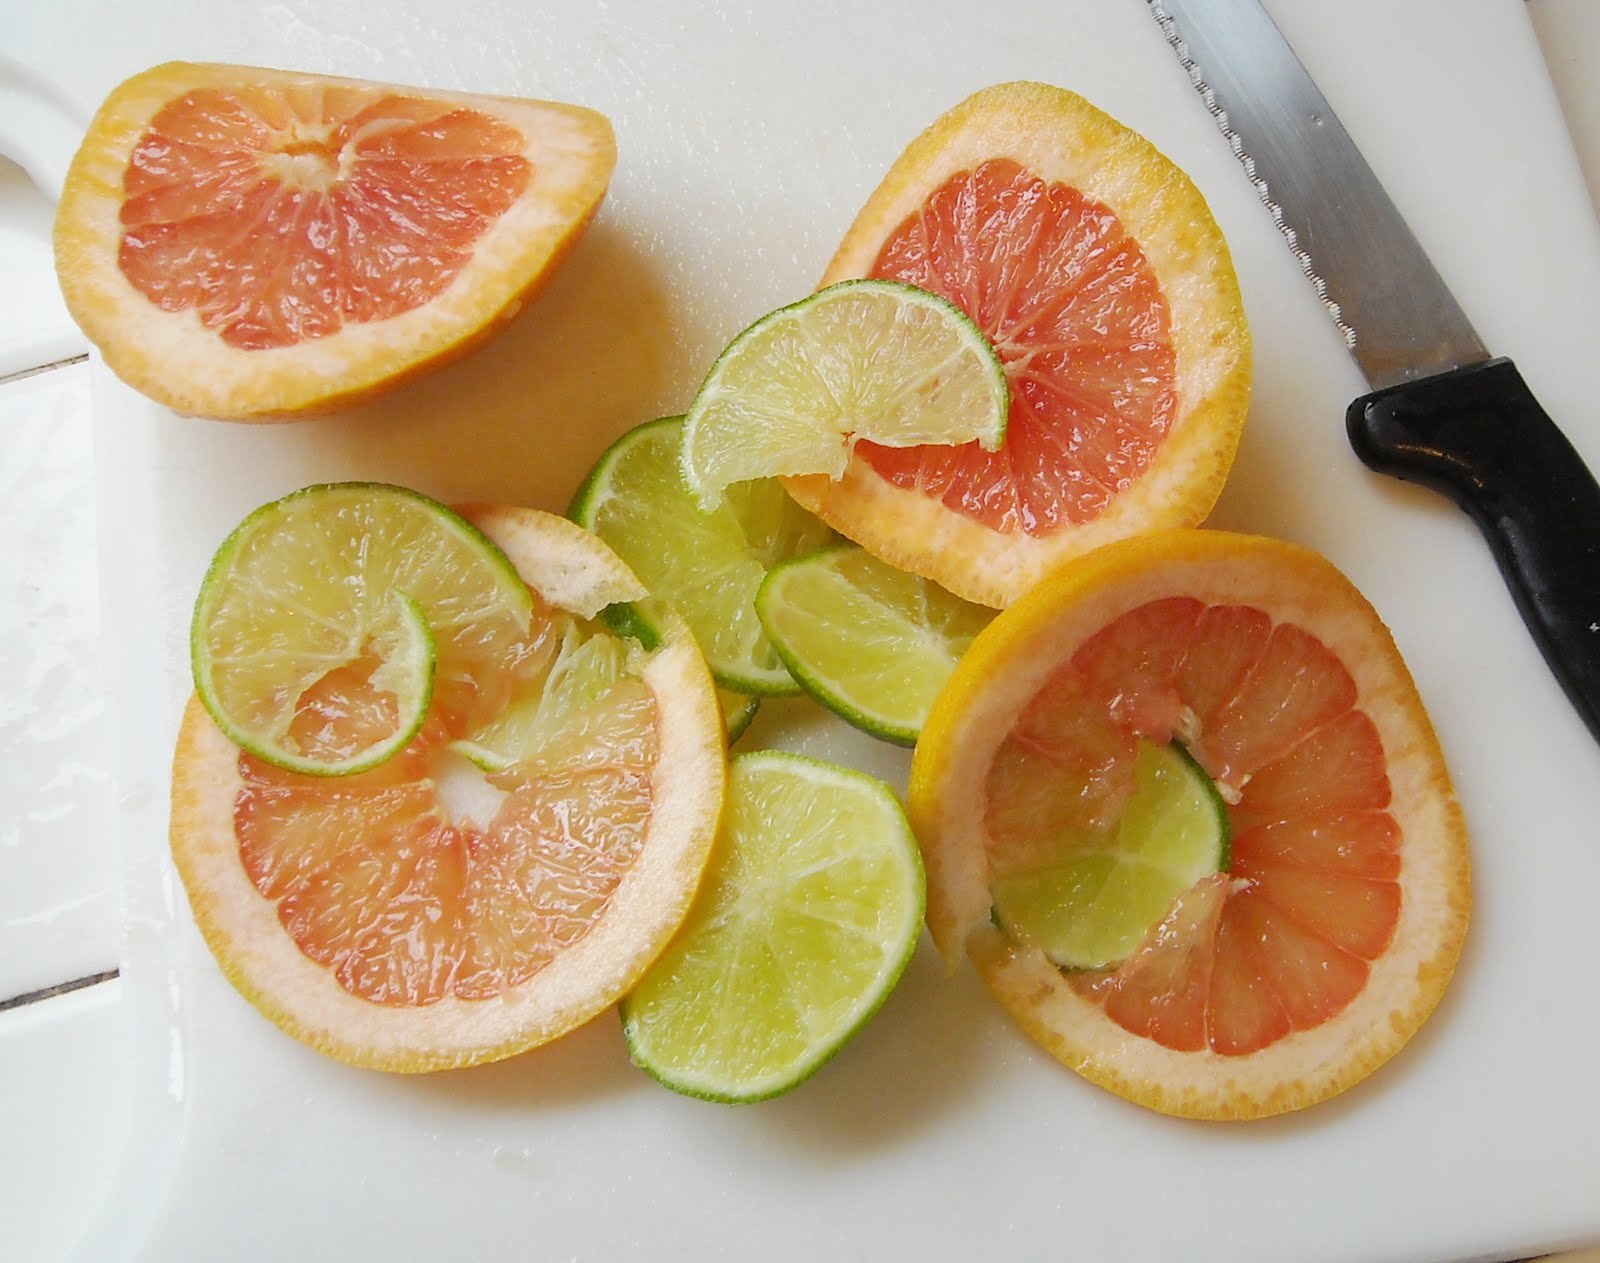
Cut your citrus as thin as you can with out destroying the ring shape. I used limes and grapefruit. You can also use blood oranges, kumquats, and navel...most any citrus will work, just make sure they have a solid rind .


Don't throw away the remains! Use them in iced water for a refreshing spa drink.
If you are using lemons, salt them and rub over your copper pans and kettles for a instant shine! Or do what I did and run them in your garbage disposal to sanitize your sink and make the kitchen smell great!

Place your largest slices on the bottom trays and the smaller slices on the top trays. Don't let the slices touch or they will stick during the drying process. My book that came with the dehydrator said it would take 2-16 hours to dry @135 *F, so after about 4 hours I flipped them. Then a little bit later I rotated the slices again later on so the not so dry pieces were near the bottom.
Go with the temp stated in your dehydrators book or if you want to do this in a oven...try laying the slices directly on the oven rack instead of on a baking sheet.
Use a oven temperature of 275 *F for the first hour, then 225 *F for two additional hours or more as needed.

Your slices are dry when they are not sticky to touch.
To hang them in a window, you'll need :
transparent thread, a toothpick, suction cups, and scissors.

Poke a hole into the dried pulp and begin knotting your fruit along.
Hang individually or in a assorted line.
Place them in a bright sunny window, decorate a wreath, throw in with some dried rose petals or adorn a gift!
The possibilities are endless! :)


Thanks for coming by! I hope to have inspired you! Please visit more of my tutorials here and see what I'm giving away this month! :)

3 comments:
So pretty! I bet your house smelled like Sunshine :)
lovely tutorial, though I dont have a dehydrator is there another way to dry them? Hugs Sara
LOVE! I had one of these years ago and always wondered how to make them! Great post - thanks for the how to!
Post a Comment