Kick off the Holiday Season with this quick and easy festive ribbon craft!

Kick off the Holiday Season with this quick and easy festive ribbon craft!
With Thanksgiving just around the corner, this DIY is definitely one of the simplest and easiest thing you can do for any event. It's also a great way to involve little kids, giving them a sense of pride knowing they 'helped' make the table setting extra special!

Add some fun to a new wreath or update a old favorite with a blend of Autumn curly colored grosgrain ribbons from Gwen Studios!

As most of you know, Halloween is my absolute favorite time of the year! I love the thrills, the chills, the dressing up and of course the decorating! Here I have created the easiest way to embellish pumpkins. In this tutorial, I used foam pumpkins but you can also use real ones if you want a more realistic affect.

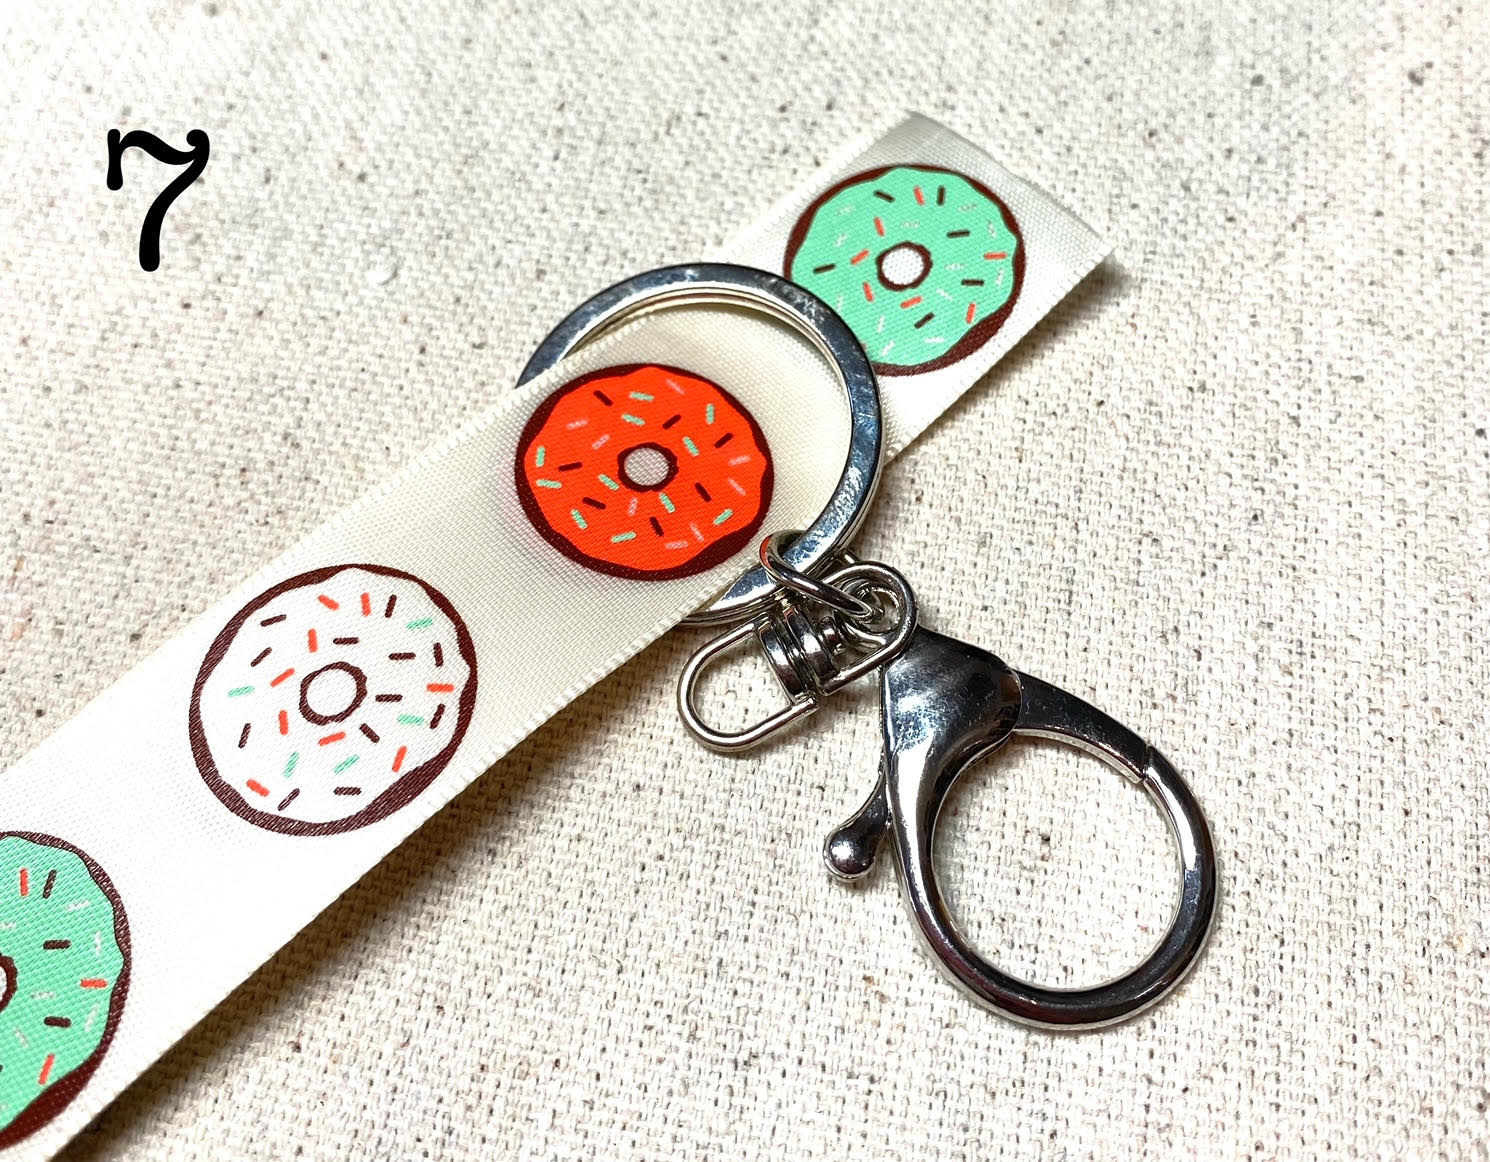
Lanyards and wristlets are the perfect hands free accessory for students, teachers and school staff. Customizing them with Gwen Studios ribbons helps to make them extra special and extra fun!

 |
| * As a design team member for Gwen Studios, I am provided with product to work with each month. |


.jpg)
Now that its Summer, I couldn't wait to make up these fun hair clips using new Curly Ribbon from Gwen Studios!

 |
| * As a design team member for Gwen Studios, I am provided with product to work with each month. |
To get started, you will need the following:


2. Tightly tie in a double knot.

4. Tie firmly in place. Slide the knotted ribbon back up to the top of the hair clip.
Secure ribbon in place with a bead of hot glue.


If there is one thing I love, its all things to do with the sea!
I live near enough that I can spend a few hours or the whole day if needed.
Making beach crafts is one of my favorite things to do
and this Seaside Garland is a breeze to make!

 |
| * As a design team member for Gwen Studios, I am provided with product to work with each month. |


These ribbon bookmarks are a great way to bring new life to old jewelry.
A quick and easy craft for the whole family.
Make a bunch (like I did) and tuck them in a book or gift them on their own!

 |
| * As a design team member for Gwen Studios, I am provided with product to work with each month. |

To get started, you will need the following:


People ask what is so great about "Artist Trading Cards" all the time.

 For the Alice in Wonderland swap, instead of making all my ATC's to be the same, I used a few brochures for the new movie and cut out images for each card. Then I accented them with glitter glue and shrink plastic key charms. I accented the edges with a gold leaf pen. See more Alice in Wonderland here!
 Sometimes the swap host will provide a template of the shape to use. In this case it was a house I printed out and made a template from card board. I hand cut each ATC and covered it with paper, added a vintage packaging tape transfer image, added some wings from a butterfly punch (cut in two) and finished it off with a few rub-ons.
 This Bingo card was created with a rubber stamp made just for art cards. Now days you can also find scores of images or back ground stamps in the exact sizing for your art cards.
 The butterfly is one of my favorites and I created it using a variety of alcohol inks.
  Here I hand cut women images from fabric and mod podged them to the paper on the card.
 I colored one side of clear vinyl with alcohol inks and them stamped the reverse side with a music sheet stamp and staz- on/ The theme was Easter- hence the eggs.
 For a fairy tales theme. I stamped a piece of card stock with a Snow white stamp, colored in the parts needed and covered the image with crackle glaze. The rest of the card is covered in vintage inspired wrapping paper, stamped tissue paper and the edges finished with a gold leafing pen.
 For the next two Halloween cards, I just accented already great images with glitter glue and buttons. Then I used my FAVORITE pens, Sakura Soufflé pens that turn opaque on dark paper just like magic!
 See more Halloween cards here!
 When you are ready to send out your cards, it's important to add the following:
 There are many ways to store your art cards. I displayed the Halloween ones on a vacant wall one year for the month of October. I also store them by year in a 3 ring binder using Trading card pockets. These can be found in any store that sells trading cards.
 It's nice to browse the book and be re inspired every now and then. :)
