4/29/11

Hot! Hot! Hot!


Hot! Hot! Hot!
Is just what this mini book is created with. Papers and Dew Drop bling from The Robins Nest! Since the theme was "Flames" I thought it would be fun to make a Summer Memories book.

Supplies used-
From The Robins Nest shop:
Abracadabra Dew drops
Ruby Red Diamond drops
Glitter Red Journal Cards
The Flames line of paper... Red Sorbet Glitter, Flames, Flames Swirls, Wind Flames.
~~~~~~~~~~~~~
Other items:
Plain mini album book, Tom Bo glue, yellow & orange Souffle pens, black sharpie, white crayon, precision scissor, paper trimmer, foam tape, stapler, red ink mist, yellow, black & red ink, black / yellow card stock,Tacky glue and a paper crimper.

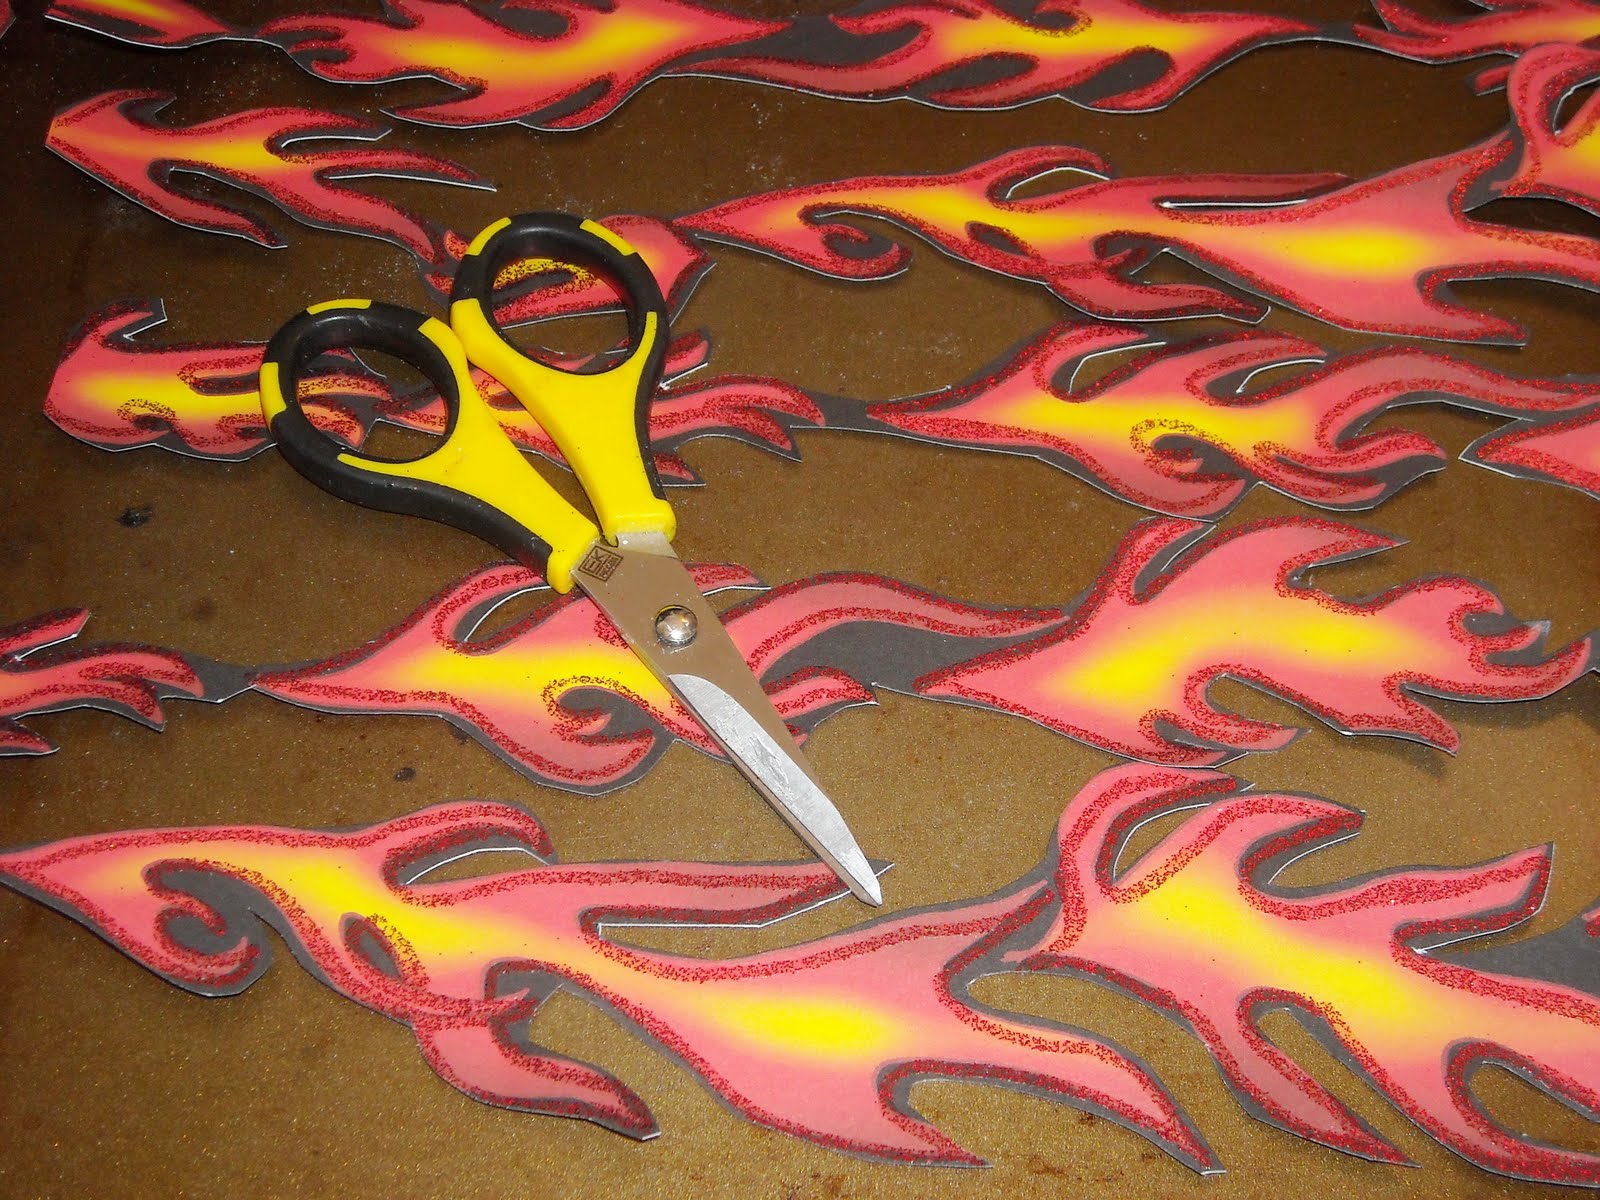
The Flames paper is amazing. It's just the coolest patterned paper you will EVER find.
Trust me. Perfect shaped flames outlined in red glitter. What could be hotter?
I used my precision scissors to get nice detailed cuts of the flames.
(please click on any of the photos for close up detail...you won't be disappointed!)

I randomly added pieces of paper through out the book. Adhering them with the tacky glue. Then I went to work with the souffle pens which I believe are a absolute must for every crafter. Yes....they can be pricey, but with a good coupon, you can get quite the deal on them. :) They really make dark papers >POP!< ...see before and after with the yellow. Awesome huh?

I used the paper crimper to give my yellow card stock some texture and further enhanced them with spritzes of red ink mist and touches of red ink on the edges.

I use the tom bo glue for Dew Drops since it holds so well to paper and any other medium imagined! A trick for the teeny tiny bits is to use a wax crayon. It can easily pick up the bits with out fumbling with clumsy fingers. Also, re: the Tom Bo, if too much glue comes out, I spread it around with the pointed tip of a blender.

I layered the flames with foam tape for a dimensional look. This album was found in a dollar bin last summer at Target. Perfect for last minute projects or to take on road trips as a travel journal.

I accented the pages with the dew drops, black sharpie, inks and souffle pens.
I just doodled away... :)
Please click on any of the pages for close up detail.


I hope you have enjoyed this mini book and are inspired to make something like this of your own. Have a great weekend!

4/26/11

Tuesday Tutorial- "No Sew - Coiled Flowers"


This weeks "Tuesday Tutorial" is all about those coiled flowers you have probably seen everywhere!I played around with different idea's, techniques and came up with something that I'm confident will work for you, dear readers! Best of all, no sewing!
You will need the following:
  1. Beacon Fabric-Tac Permanent Glue - It's smelly, so be sure to work in a well ventilated area.
  2. Good fabric shears
  3. Felt for the backing
  4. 1" strips of assorted printed fabric. Each flower took about 1yard each = 2.5" flower.
  5. Rhinestones to embellish
  6. Hair clips, pin backings, jewelry making supplies or other items for what you plan on using your flowers for.

Begin by cutting a felt circle bigger than intended flower and knot the end of the fabric strip.

Add some glue in a circular motion to the felt. You should start with a small circle and add more glue as needed.

Twist your fabric strip and start the knot at the center of the felt circle, coiling the fabric around and pressing into the glue as you go.

Set aside to dry, a few minutes or so, and then cut flower out of the felt.

Trim as close to the flower as possible.


Decorate your flower with rhinestones and the same adhesive.
*note- this glue tends to get stringy, so if you plan to use it on a darker fabric, use sparingly, or you may get spider web like trails of glue.

Add some glue to the back of the flower onto the felt, and adhere a pretty lace bit or some ribbon.

Turn your flower in to a hair accessory, brooch, necklace or even scrapbook page embellishment!

The giveaway for this weeks tutorial will be these two hair clips!

For your chance to win these pretty hair clips and ALL the other projects for this month, please visit Aprils postings, located on the right side of this blog under my photo. Thanks and have fun creating!

On the 1st Tuesday of the following month, I will pick a winner.
The winner will receive ALL 4 projects made from the previous month.
( Please leave your e-mail address in comments or make sure your blog sign in is not private, If I can't reach you easily...you can't win)

4/22/11

Happy Easter with Love

This week for The Robins Nest I made a cute lay out featuring many of their beautiful papers and embellishments.
Please click on this photo for a better close up! - *


I started off by spritzing plain white card stock with pink and blue glimmer mist, and used a kleenex to dab off the excess.


Since my paper was still a bit damp from the mist, I attached the crepe paper ruffle with one of my most favorite tools in my studio...a stapler!
I once created a entire layout with no adhesive...just using a stapler! :)


Tearing is a great way to add dimension and helps add a vintage appeal.


I like to layer and play with different patterns. The rosette and pink swirl were made using a sizzix die. As you can see I used both- the positive and the negative from the swirl die cut.


I also love to incorporate vintage clip art in my projects. Some of my favorites come from Here!


Robins Nest products used in making this lay out...
Rub ons - Viva la France & live
Dew Drops - Beach Party and white tears drops
Butterfly glittered die cuts
Green journaling tag
Papers - Glitter Wedding Swirl, Glitter Pink on Pink, Glitter Getaway Leaves, Teal Glitter, and The Glitter Spa.

You can find all these here.
And for you chance to win a sample packet of their product, please visit their Blog, before the end if April, and become a follower!
http://chatteringrobins.blogspot.com/


~ Michelle Cummings

4/19/11

Tuesday Tutorial- "Mini- Easter Baskets!"


I was inspired by this blog to use my plastic eggs to make mini- Easter Baskets. I was looking for a way to keep my baskets from tipping over and saw how she did it with her mini tea cups! How clever! So I ran with the idea and created these cuties.

(please click ANY photo for a closeup!)

Materials needed:
  1. Plastic eggs
  2. 1/8" hole punch
  3. Chenille stems
  4. Pretty patterned paper
  5. Scissors and pinking shears
  6. Crepe paper
  7. Tacky glue
  8. Hot glue
  9. Glitter glue
  10. Thin wire
  11. Vintage clip art images and furry chicks
  12. Popsicle sticks, brown ink
  13. Large buttons
Snip the eggs apart and use the large end of the egg for the basket. Punch a hole on each side of the egg with your punch. The hole is just large enough for the chenille wire stem to come through. Pull through evenly on both sides and secure ends by wrapping the chenille around the basket handle and then coiling the remains.

Cut a inch width of paper. Figure how much you'll need by measureing the paper along the egg rim x2. Cut one side with the pinking shears and distress with the brown ink, then cut slits on the other side.

Fold over the slits.


Apply a line of tacky glue to the inside of the egg. Rest your patterned paper on the rim and fold over the slits onto the glue, smearing with your finger to get a nice even coat.

For the mini banner. Cut from a 3/4" width strip, triangles and distress edges. Snip a piece of wire longer in width than the line of banner.

cut off the corner of each triangles so when you fold them over the edges don't show. Add some tacky glue and attach to the wire all in a row.


Place on handle of the basket. If you have to many triangles, just remove one before securing the wire.

For the "grass", select some crepe paper and fold over multiple times. Cut slits into it 3/4 of the way. unravel and cut into 3" pieces

Drizzle a ample amount of tacky glue into the bottom of the egg. Smear evenly with your finger. Gather your pieces of the crepe paper and attach the uncut ends into the glue. Add as much or as little grass as you like.


Make sure your large buttons have a flat base and if they have a "well"...even better! Use a craft or rubber mat so the glue that will ooze out of the button holes does not ruin your work surface.


To make the vintage clip art decorations, I just trimmed the images from photo copies and glued to Popsicle sticks which I sized down to fit inside the egg. I finished off each egg with colorful glitter glue!


My Tuesday Tutorial give away for this week will be a 4 piece craft kit for the winner to make this project them self. The eggs with have the holes pre-punched. If you would like a chance to win, please leave a comment here on this post and on Week 1 and week 2's post.

Every Tuesday for APRIL I'll show case a tutorial for Spring/ Easter.
On the 1st Tuesday of the following month, I will pick a winner.
The winner will receive ALL 4 projects made from the previous month.
( Please leave your e-mail address in comments or make sure your blog sign in is not private, If I can't reach you easily...you can't win)

Good luck! and Happy Creating!

LinkWithin

Related Posts Plugin for WordPress, Blogger...