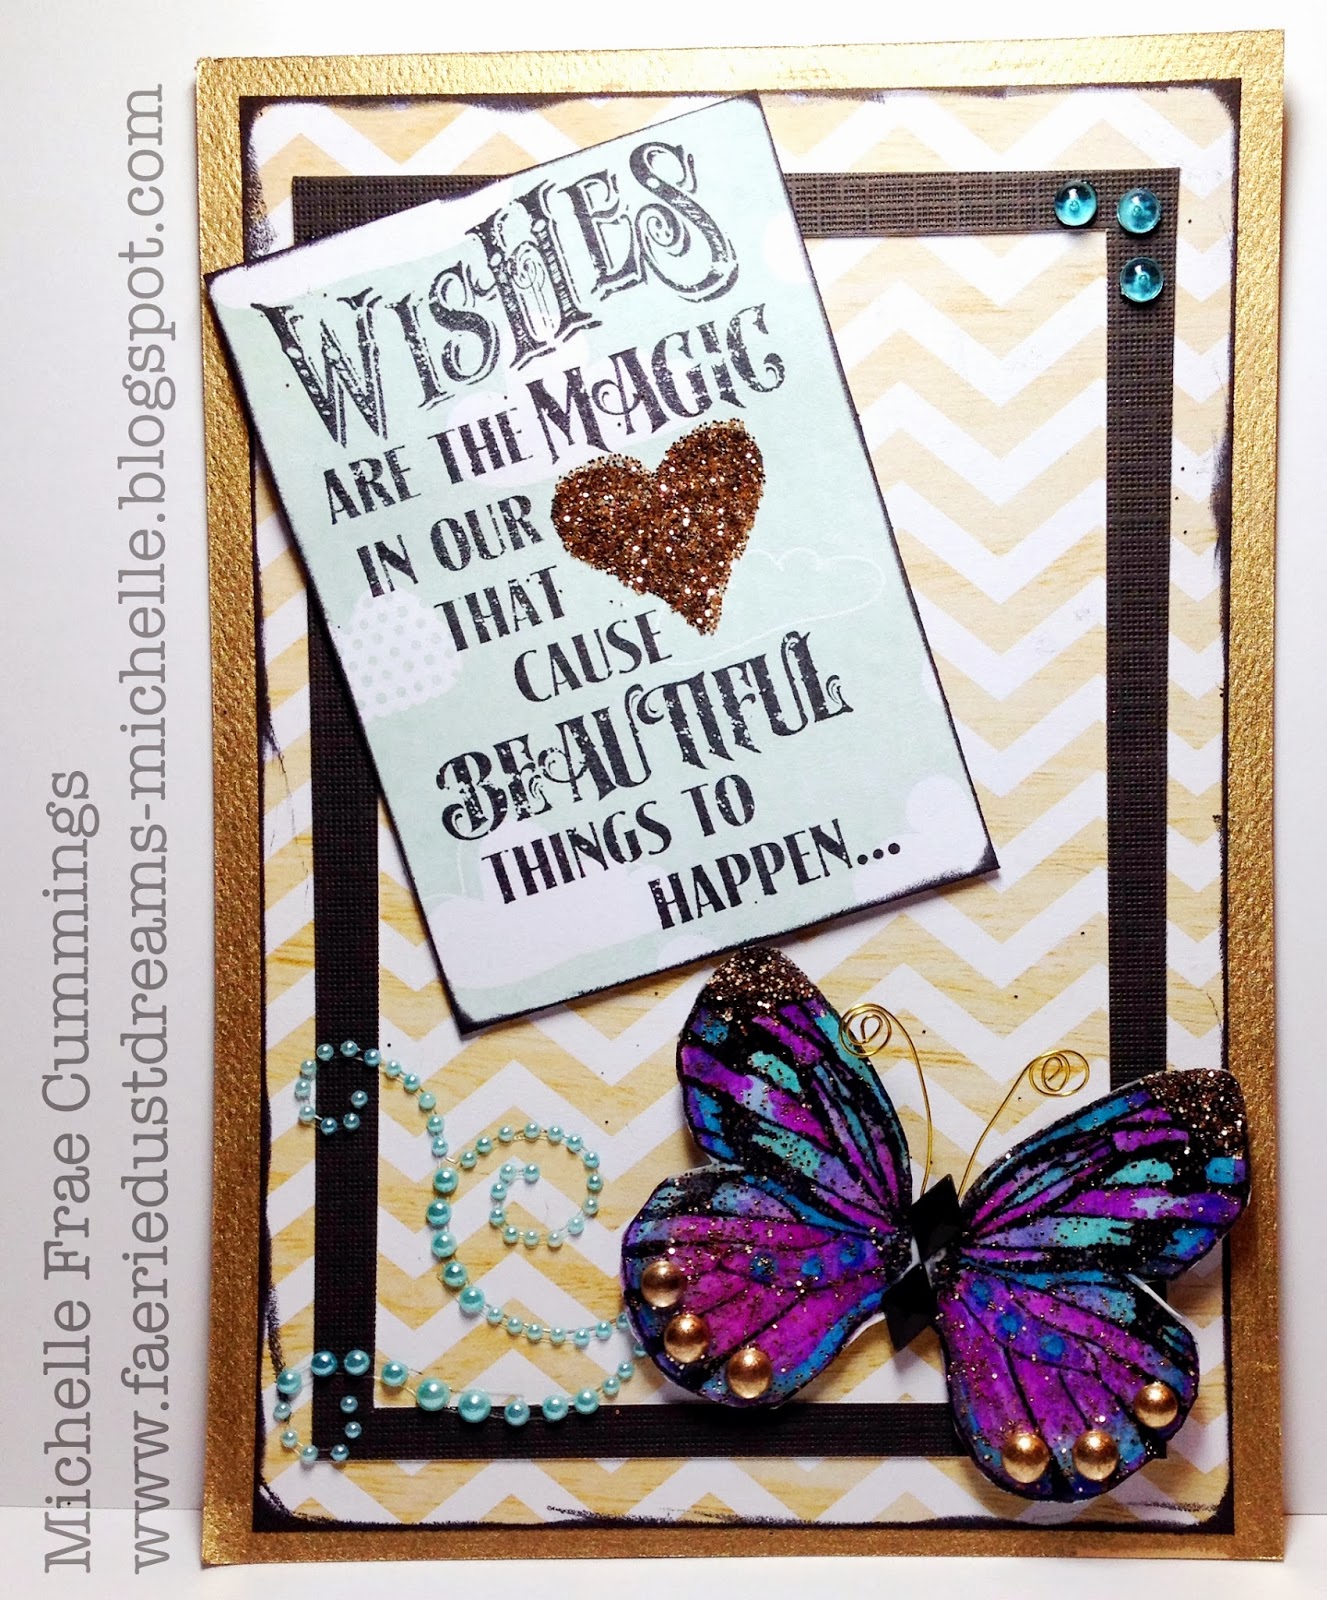
This is both.
I only recently learned of a technique similar to this one.
I was showed how to make homemade washi tape from a friend who was inspired by this post.
So I went with the idea and made it my own...to share with and (hopefully) inspire you!
These are the materials you will need to make this Butterfly.
- Kabnet Wax Deli Paper - not to be confused with wax paper.
- Your favorite non-smearing black ink
- Stamping block if using a clear stamp
- Stamping foam pad - a must for every stamper or use a thick fashion magazine.
- Theater of dreams 2 - Butterfly Wings by Catherine Moore's Character Constructions.
- Heat gun
- Assorted shades of alcohol ink pens- pick colors that make you happy.
- 3D Crystal Lacquer
- Fine gold glitter
- Gold Dew Drops from The Robins Nest
- Gold craft wire.
- White cardstock, scissors, a pencil, adhesive and foam tape.
Tim Holtz Cling Rubber Stamp Set - Good Thoughts.
Now for the Butterfly...
Take a sheet of the deli paper and open it.
You will want to stamp the wings onto the waxy side which is the crease side up.
Depending on how many butterfly's you actually want to make, times that by 3-4. Just in case you mess up.
As you can see in the photo (below)...too much ink, not enough ink, pressed to hard...get the idea?
When you have finished stamping, hold your paper up (away from your work space) to set the ink with the heat gun. This way won't heat up your surface in the process.
Before you begin coloring, cut out your choice butterfly's and turn them over to the non-waxy side.
You will be able to see your inked design easily enough.
Starting with your lightest alcohol ink shade, color your butterflys to your satisfaction.
No rhyme or reason, just color away and have fun. :)
When you are done coloring, turn your butterfly's back over to the waxy side and accent with the 3D crystal lacquer. First outline the butterfly, then moderately fill in the butterfly with the glaze and smear around the rest with your finger.
While wet, sprinkle your fine gold glitter on the wet lacquer. Add some Gold Dew drops at the bottom. Let this dry at room temperature while you prepare the card front, maybe 10-20 minutes.
After the lacquer has set and is not sticky to touch, you can now trim the butterfly with your precision scissors. Next, place the butterfly onto a piece of white cardstock and lightly trace with a pencil.
Cut out the traced butterfly to be smaller than the original.
This allows you to see the full effect of the butterfly's design without the card front design getting in the way.
Cut about 2" of the gold wire and fold in half. Coil the ends and glue the folded end in place at the butterfly's center. Add two tiny layers of foam tape as shown.
Finish you butterfly with 2 black Diamond Dew Drops.
Attach to your card and watch your butterfly flutter!
Thank you so much for coming by my blog and seeing my post.
I hope I have inspired you try this and make beautiful butterfly's too!
I would love to hear from you as you hop along. Comments are always welcome.
Have a Magical day!
- Michelle Frae Cummings


5 comments:
Thanks so much for this tutorial! I love the butterfly. I have a question- is there a reason to use that deli paper as opposed to glassine or vellum? It is beautiful- I want to try it.
Great tutorial. Love your card!
beautiful tutorial...
my quesition is this can use for giving gift ? or can be display at home ?
I just love Butterflies, and this was a delight to see your amazing technique bring the butterfly to life. Thanks for Sharing.
~Dawn
http://overboardcreations.blogspot.com
Your butterfly is beautiful, I can't wait to try this technique, I'm so glad I've found you, I need a boost as I have found myself in a bit of a slump and was looking for something or someone to excite my creative life and get me moving again! Thanks so much for sharing!!! I"ll be back soon! Louella
Post a Comment