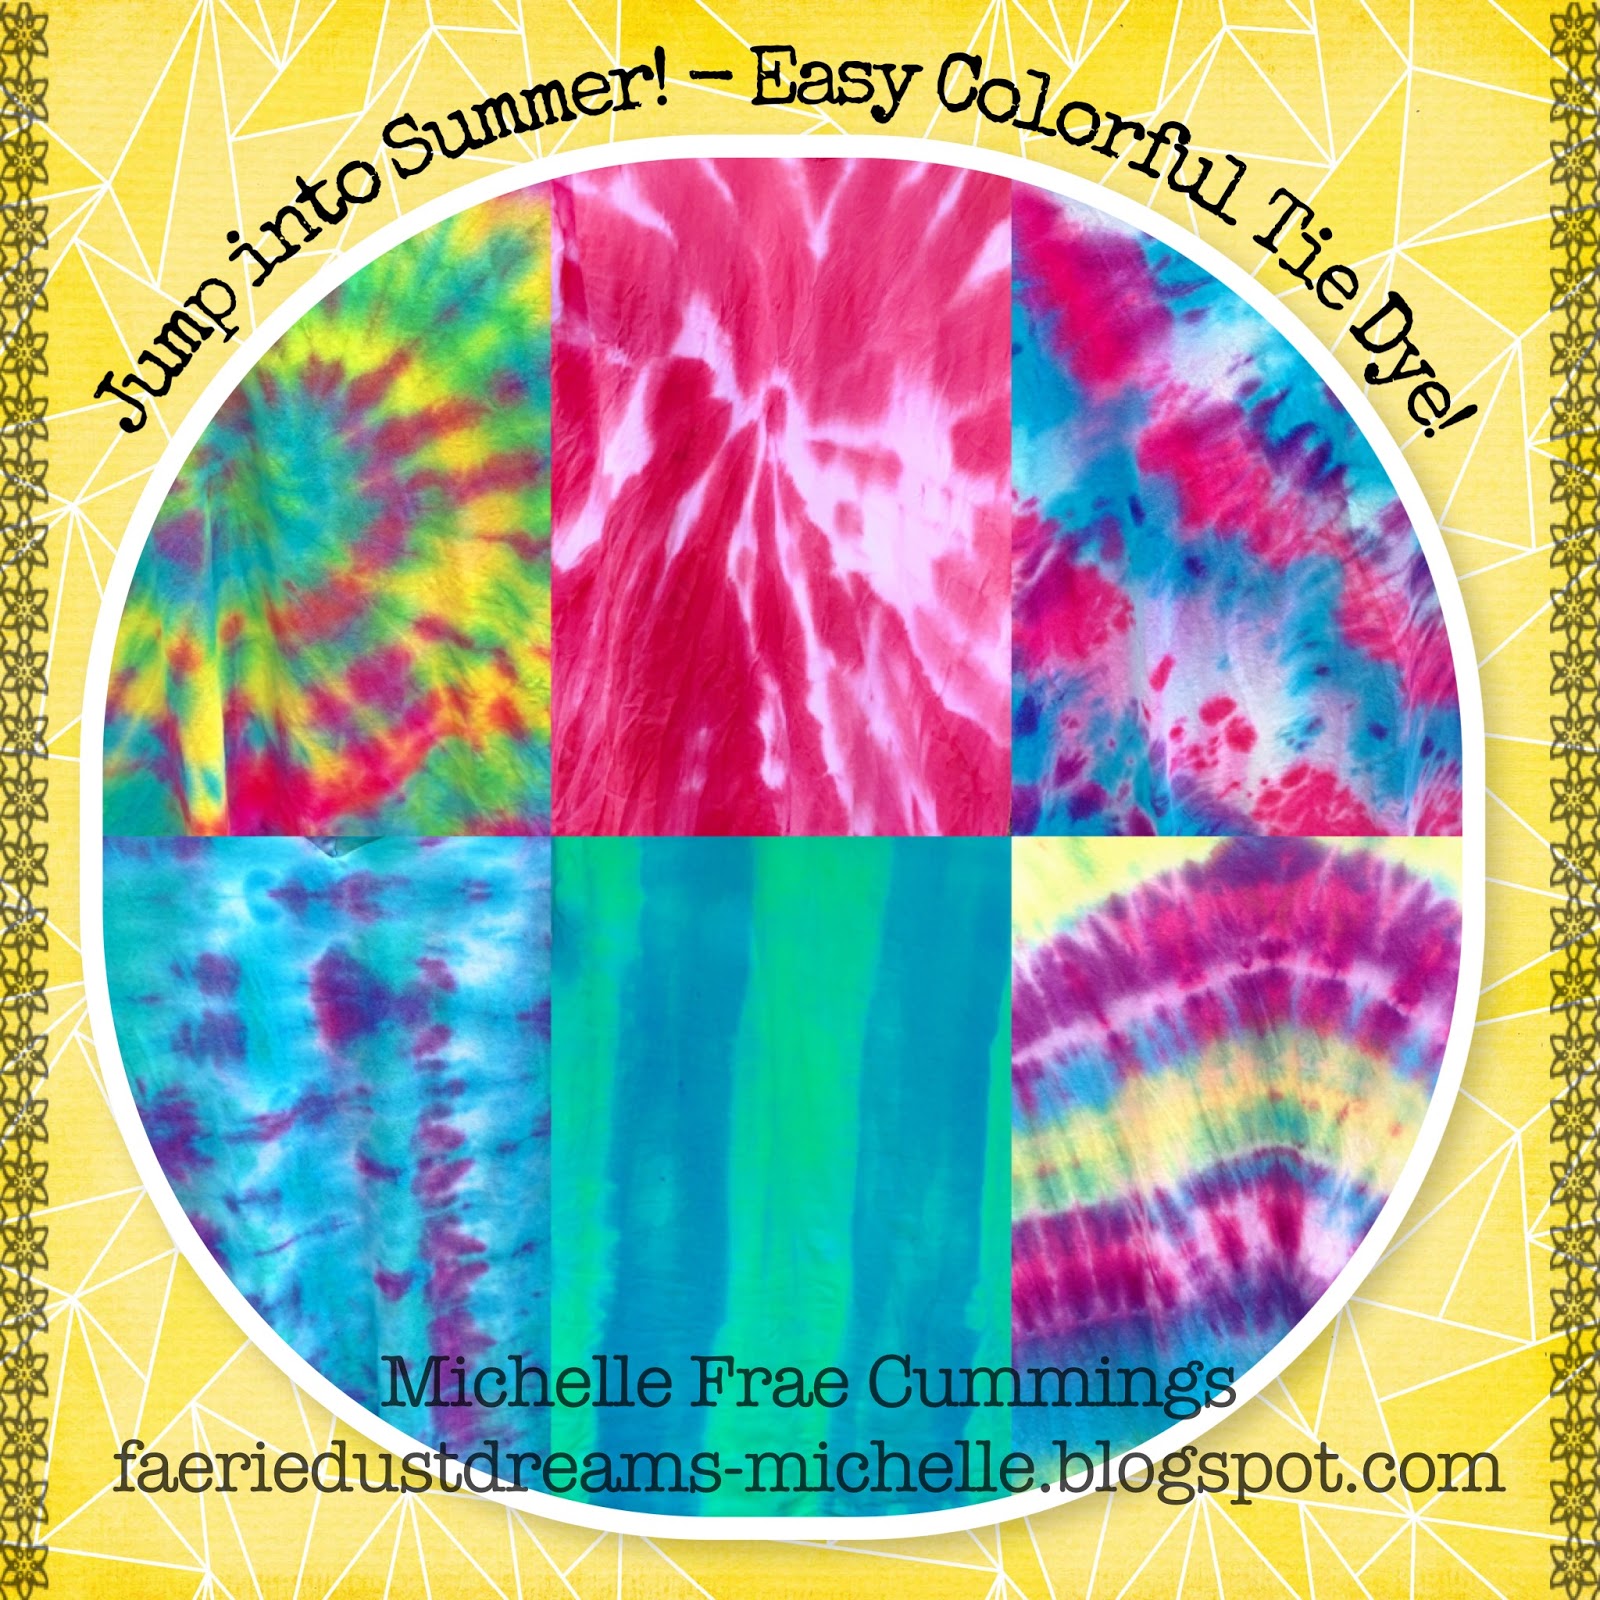
Easy, fun and best of all? Colorful!
Materials needed:
Tulip Tie Dye Kits
-Best for 100% cotton. Should be used with in 60 minutes of mixing.
Plaid Acrylic Multi-Surface Paints
- Paints can be used on any fabric. No rinsing required!
White T-shirts or Mens undershirts.
-Pre-washed, just detergent. No softeners, no dryer sheet. Keep shirts damp.
Plastic drop cloth for table or ground
Gloves- rubber or plastic
Rubber bands or waxy twine
Zip ties
Sharp scissors
Containers and wire racks
Hangers and places to hang shirts
Bags- for setting over night.
A rinsing bucket or tub
Access to water/hose.
 |
| These come with the powdered dye inside the bottles, rubber bands and one-size-fits-all gloves |
 |
| Save the Tulip dye bottles for paints and other dye mixes. The narrow Tip is ideal for tie dye applications. |
 |
| When using the powdered dye in the bottles, I never fill the bottle all the way with water. This way it's easier to mix thoroughly and the colors are concentrated. When ready to add the paint, I rinse the bottles out, add paint to the shown line, then water as before. The more paint you use, the stiffer your finished shirt will be and you may need to wash with a softener before wearing |
 |
| I use rubber bands for the spirals and zip ties for the rest. You just need to be careful you don't "cut" the shirt when removing the zip ties. For bags I use fold and close bread bags and large ziplocks bags. Gloves are optional. Some times I use them, sometimes I don't. If you don't like using them, make sure you have Lava soap to remove the stains on your arms and hands. |
 |
| This is what I use when I tie dye. |
 |
| Bakers racks work too. |

- Lay your damp shirt flat on your protected surface. Decide where you want your spiral center to be. Pinch there and start twisting.
- Keep on twisting. Make sure the shirt stays flat and does not buckle up.
- When you can twist no more, gather the loose parts and form a flat circle.
- Wrap the first rubber band, careful to cross the center. Add the second rubber band making a "X" in the center.
- Add 2 more rubber bands corner to corner, aligning in the center. You should have 8 sections.

____________________

- Lay your damp shirt flat. Gather in folds from the shoulder downwards.
- Try to keep the folds nice and even.
- When you are at the end, twist as if you are wringing a towel.
- Keep twisting until it makes a loop. Place onto a bakers rack before applying dye in sections.

____________________

Wavy stripe shirt:
Lay your damp shirt flat. Then starting at one side, gather the shirt in folds, pleating towards the other side. Secure folds with zip ties and apply your dye/paint.

____________________

Lay your damp shirt flat. Then starting at the bottom, gather the shirt in folds, pleating towards the top. Secure folds with zip ties and apply your dye/paint.

 |
| As you can see, this one done with diluted paint, has a more solid less vivid look you would get with the dye. But its still a fun process and I plan to finish it off with some other paint colors and stencils. |
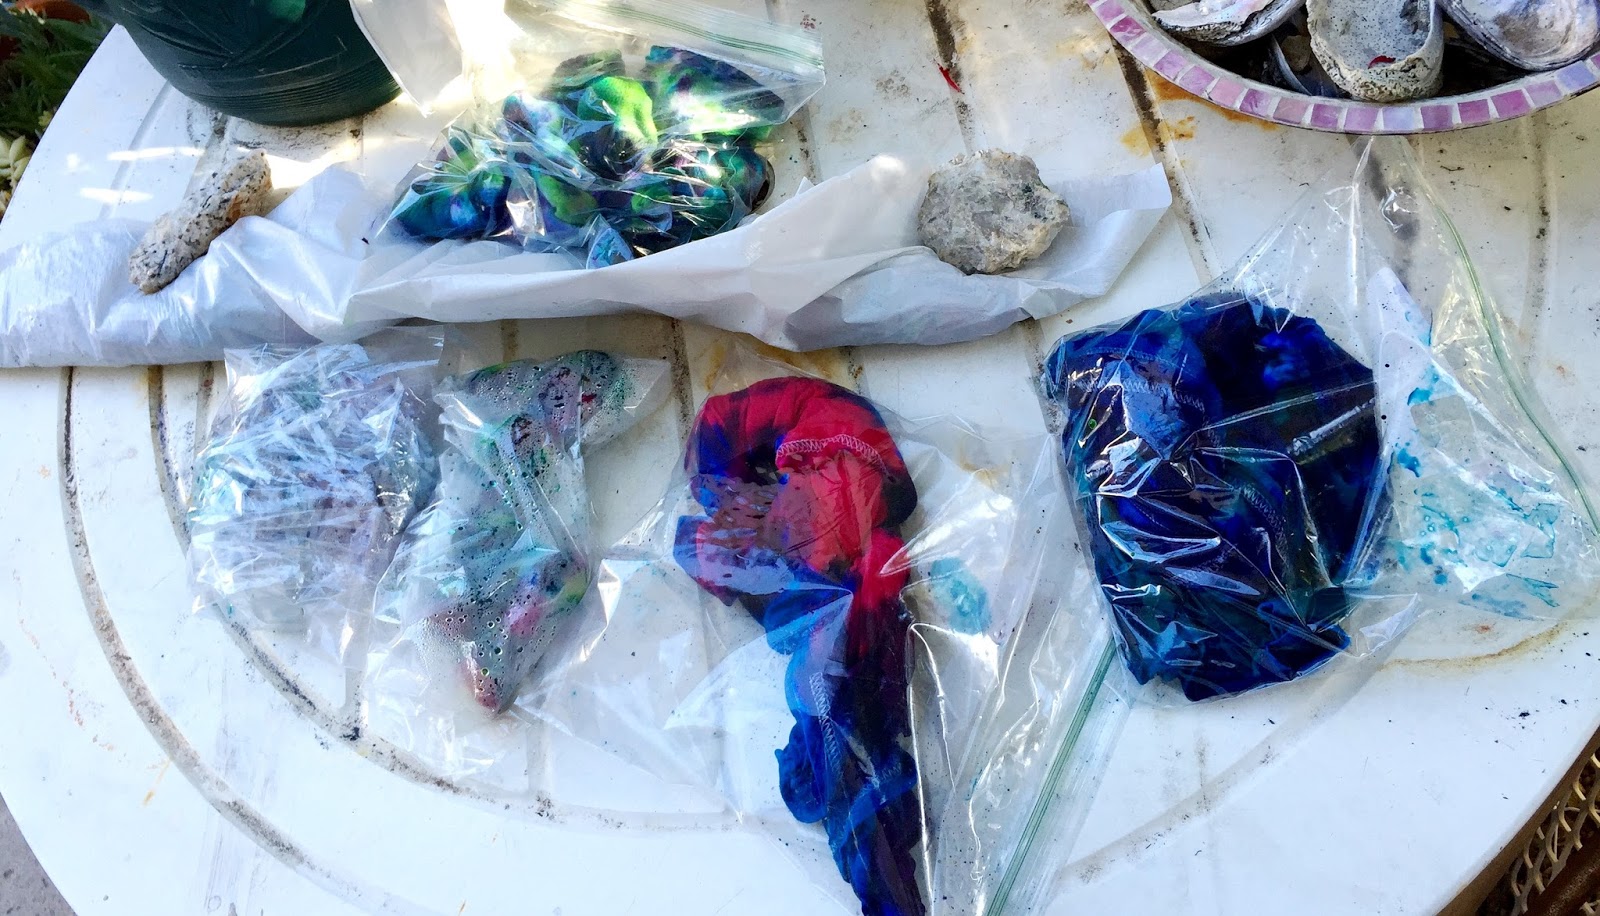 | |
| The shirts with dye are wrapped up in plastic and left over night to set. |
- Use gloves for the rinsing. The dye will be super concentrated.
- Hold over your bucket/tub and use a hose to gently rinse the color while your shirt is still wrapped up.
- Then carefully uncurl, unwrap, take off any rubber bands or cut zip ties.
- Rinse until water is nearly clear.
- Empty bucket/tub into thirsty (non-food) vegetation.
- Fill bucket/tub 1/4 way with water and use hand to swirl shirt in water like a washing machine until water drips clear from shirt. Hang until dry.
- If later when checking on hung shirts....you notice dye drips....you can do a cold water rinse-only in your washing machine and always hang dry before wearing.

 | ||
| This red spiral painted shirt will also receive some stencil detail. |

Thanks for coming by, I hope I've inspired you!
Comments welcome! :)


