Showing posts with label Plaid. Show all posts

7/05/15

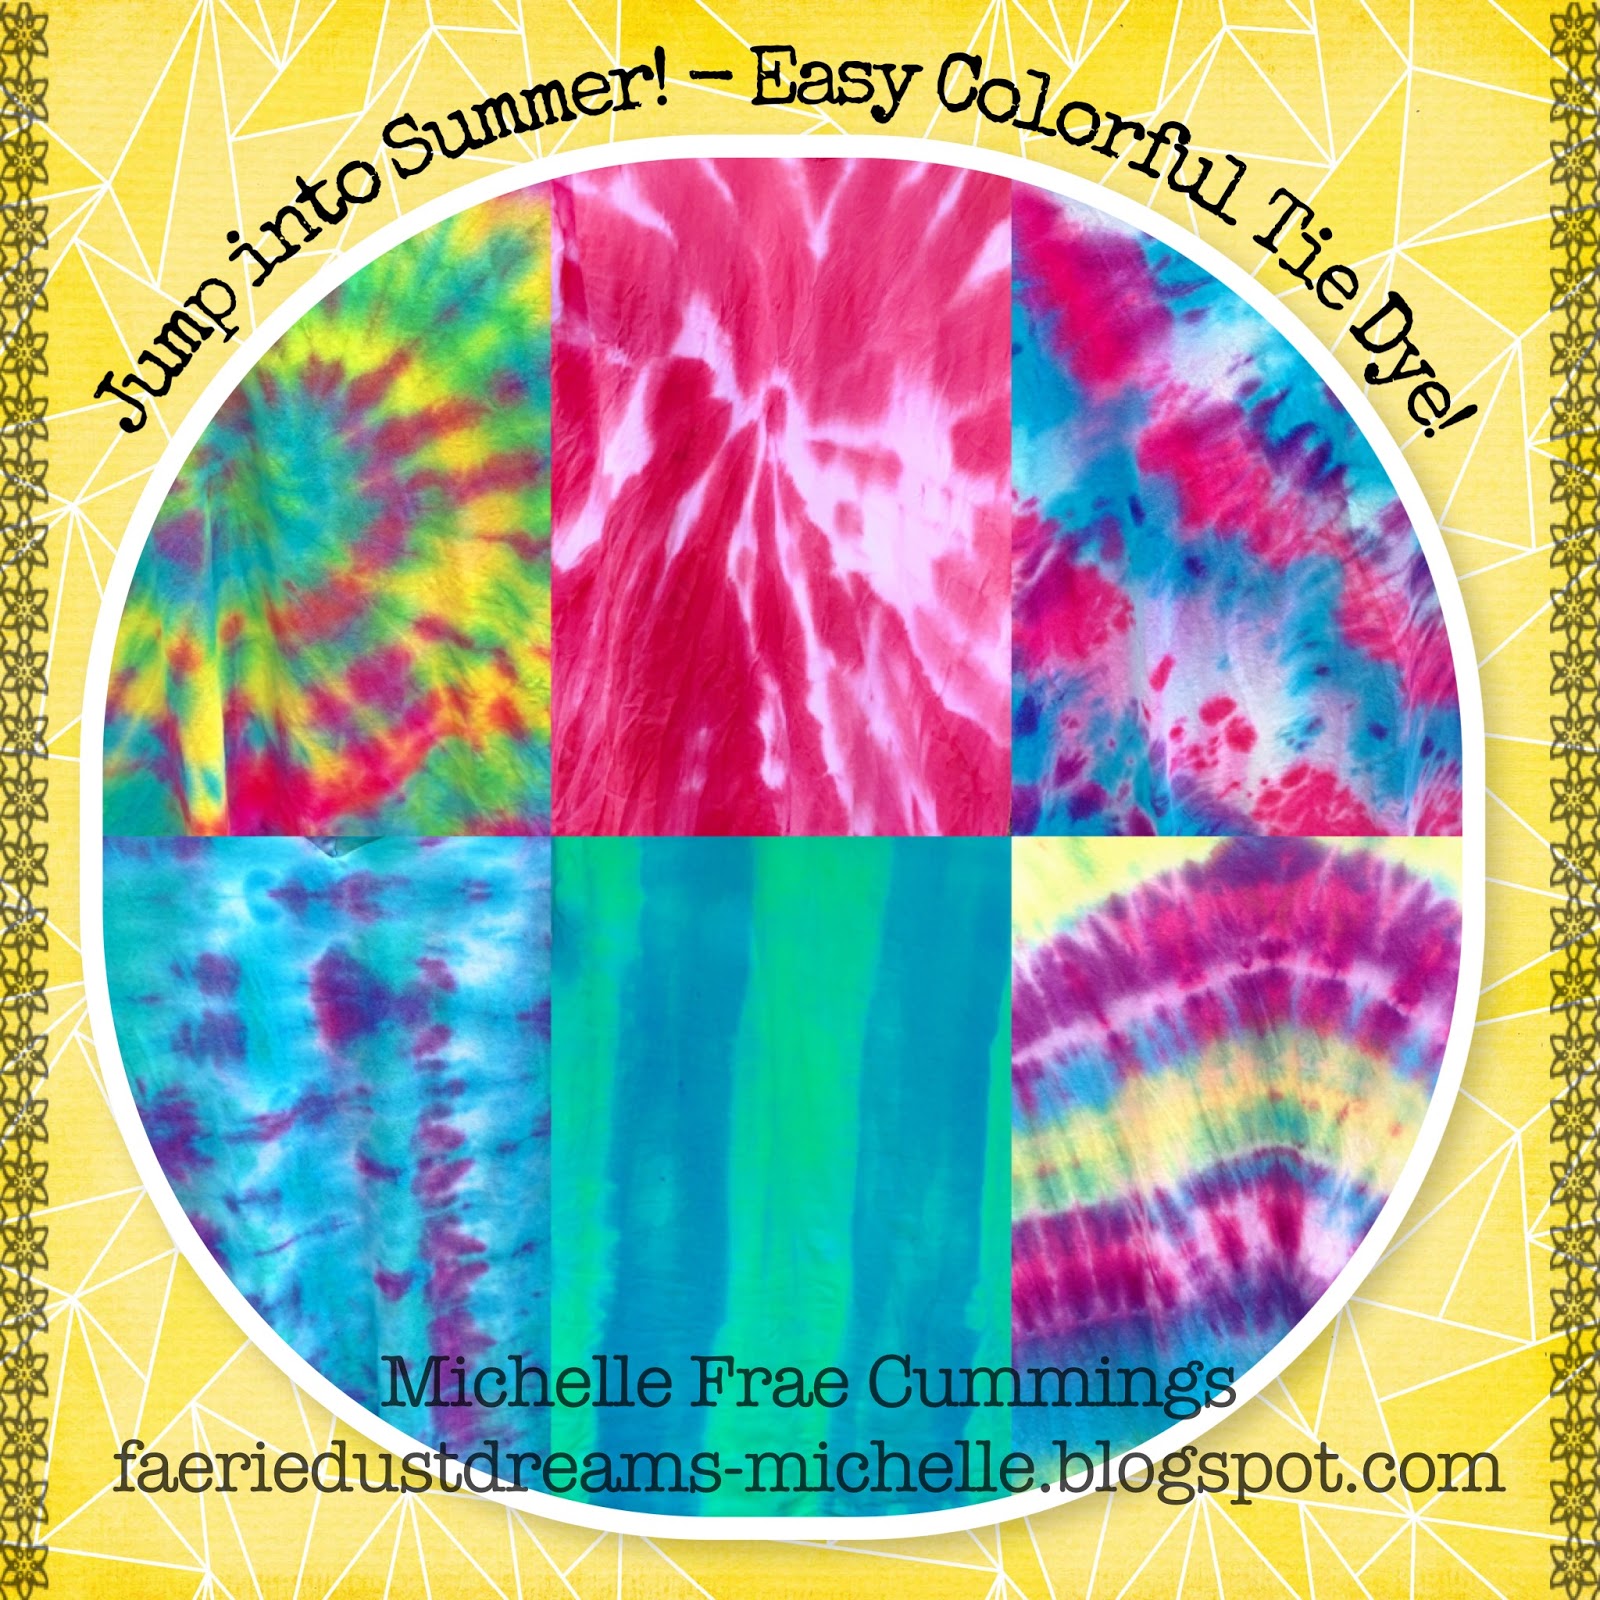
Jump into Summer! With Easy Colorful Tie-Dye!

 I really love color, but the retail stores just don't have the hues I like for what I'm comfortable to spend. So I went ahead and made up my own shirts with paint and dye.

 Easy, fun and best of all? Colorful!
 

Materials needed: 
Tulip Tie Dye Kits
      -Best for 100% cotton. Should be used with in 60 minutes of mixing.
Plaid Acrylic Multi-Surface Paints
        - Paints can be used on any fabric. No rinsing required!
White T-shirts or Mens undershirts.
     -Pre-washed, just detergent. No softeners, no dryer sheet.  Keep shirts damp.
Plastic drop cloth for table or ground
Gloves- rubber or plastic
Rubber bands or waxy twine
Zip ties
Sharp scissors
Containers and wire racks
Hangers and places to hang shirts
Bags- for setting over night.
A rinsing bucket or tub
Access to water/hose.
These come with the powdered dye inside the bottles, rubber bands and one-size-fits-all gloves
 
Save the Tulip dye bottles for paints and other dye mixes. The narrow Tip is ideal for tie dye applications.
 
When using the powdered dye in the bottles, I never fill the bottle all the way with water. This way it's easier to mix thoroughly and the colors are concentrated. When ready to add the paint, I rinse the bottles out, add paint to the shown line, then water as before. The more paint you use, the stiffer your finished shirt will be and you may need to wash with a softener before wearing


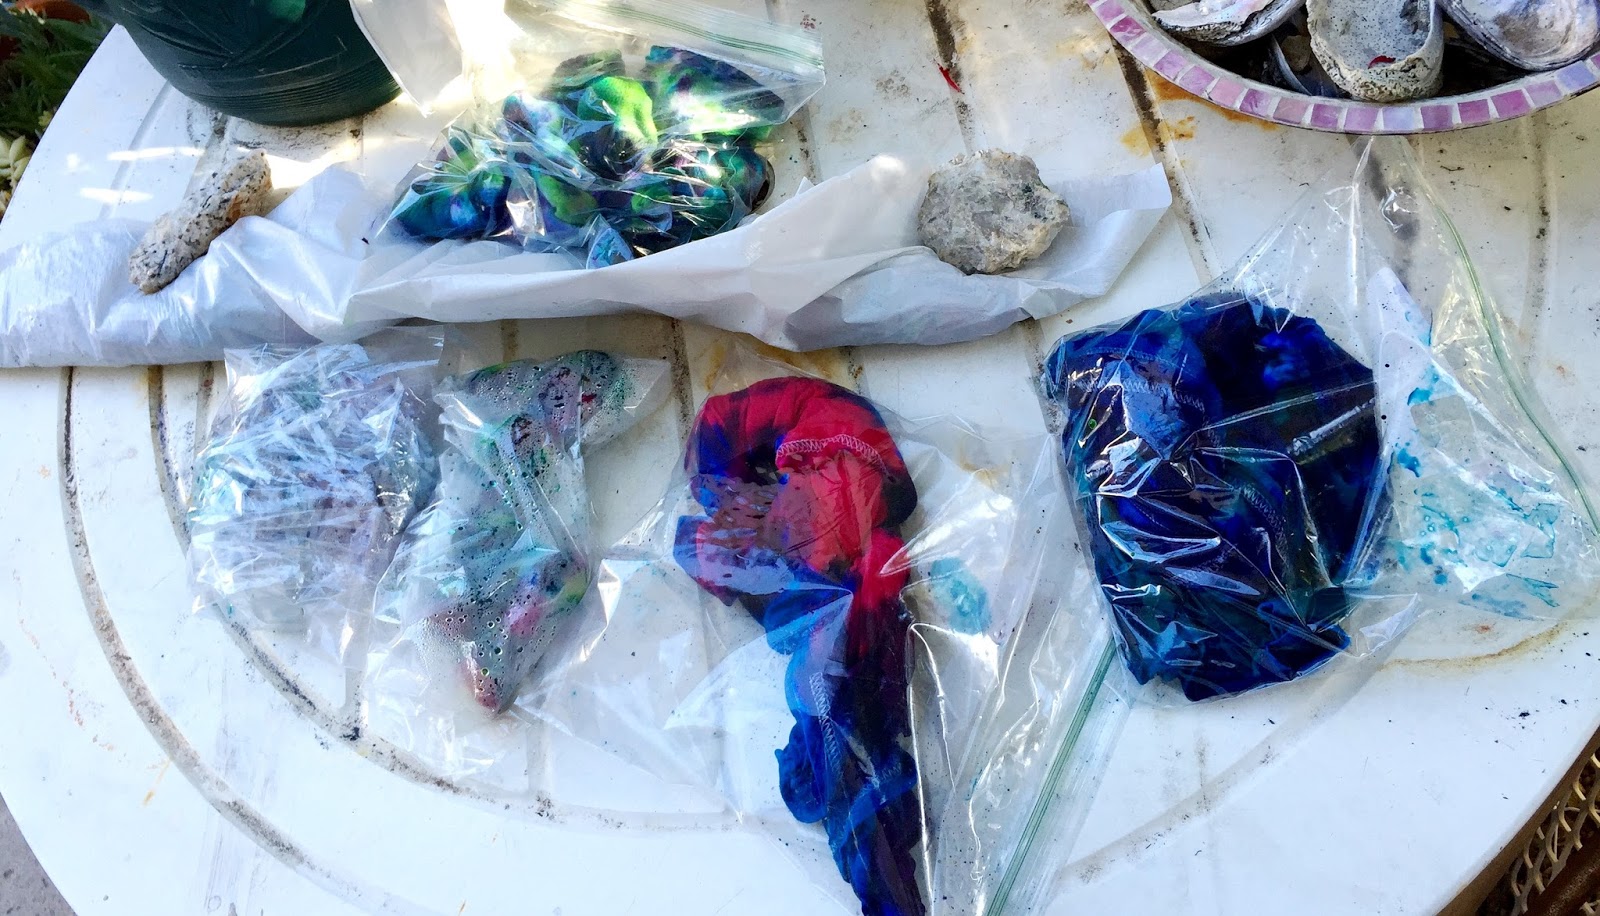
I use rubber bands for the spirals and zip ties for the rest. You just need to be careful you don't "cut" the shirt when removing the zip ties. For bags I use fold and close bread bags and large ziplocks bags. Gloves are optional. Some times I use them, sometimes I don't. If you don't like using them, make sure you have Lava soap to remove the stains on your arms and hands.


This is what I use when I tie dye.


Bakers racks work too.


 For the spiral shirt:
  1. Lay your damp shirt flat on your protected surface. Decide where you want your spiral center to be. Pinch there and start twisting.
  2. Keep on twisting. Make sure the shirt stays flat and does not buckle up.
  3. When you can twist no more, gather the loose parts and form a flat circle.
  4. Wrap the first rubber band, careful to cross the center. Add the second rubber band making a "X" in the center.
  5. Add 2 more rubber bands corner to corner, aligning in the center. You should have 8 sections.


Place your piece onto a screen over a container, then carefully apply your dye/paint by section.  Make sure to fill in some of the folds with dye/paint too.
____________________


 For the Diagonal shirt:
  1. Lay your damp shirt flat. Gather in folds from the shoulder downwards.
  2. Try to keep the folds nice and even.
  3. When you are at the end,  twist as if you are wringing a towel. 
  4. Keep twisting until it makes a loop. Place onto a bakers rack before applying dye in sections.


 ____________________

 Wavy stripe shirt:
Lay your damp shirt flat. Then starting at one side, gather the shirt in folds, pleating towards the other side. Secure folds with zip ties and apply your dye/paint.

 ____________________


 For this one.....
Lay your damp shirt flat. Then starting at the bottom, gather the shirt in folds, pleating towards the top. Secure folds with zip ties and apply your dye/paint.


As you can see, this one done with diluted paint, has a more solid less vivid look you would get with the dye. But its still a fun process and I plan to finish it off with some other paint colors and stencils.
 
The shirts with dye are wrapped up in plastic and left over night to set.
  When you are ready to rinse the items with dye:

  1. Use gloves for the rinsing. The dye will be super concentrated.
  2. Hold over your bucket/tub and use a hose to gently rinse the color while your shirt is still wrapped up.
  3. Then carefully uncurl, unwrap, take off any rubber bands or cut zip ties.
  4. Rinse until water is nearly clear.
  5. Empty bucket/tub into thirsty (non-food) vegetation.
  6. Fill bucket/tub 1/4 way with water and use hand to swirl shirt in water like a washing machine until water drips clear from shirt. Hang until dry. 
  7. If later when checking on hung shirts....you notice dye drips....you can do a cold water rinse-only in your washing machine and always hang dry before wearing.

 The items made with acrylic paint, are left in the sun to dry a bit. They are carefully undone and hung until fully dry. No rinsing required before wearing!

This red spiral painted shirt will also receive some stencil detail.


Leftover paint or dye? Why not give 'new' life to some boring old socks? You can dry them on  tomato cages! Socks take a day or two to dry.

Thanks for coming by, I hope I've inspired you!
Comments welcome! :)

10/06/14

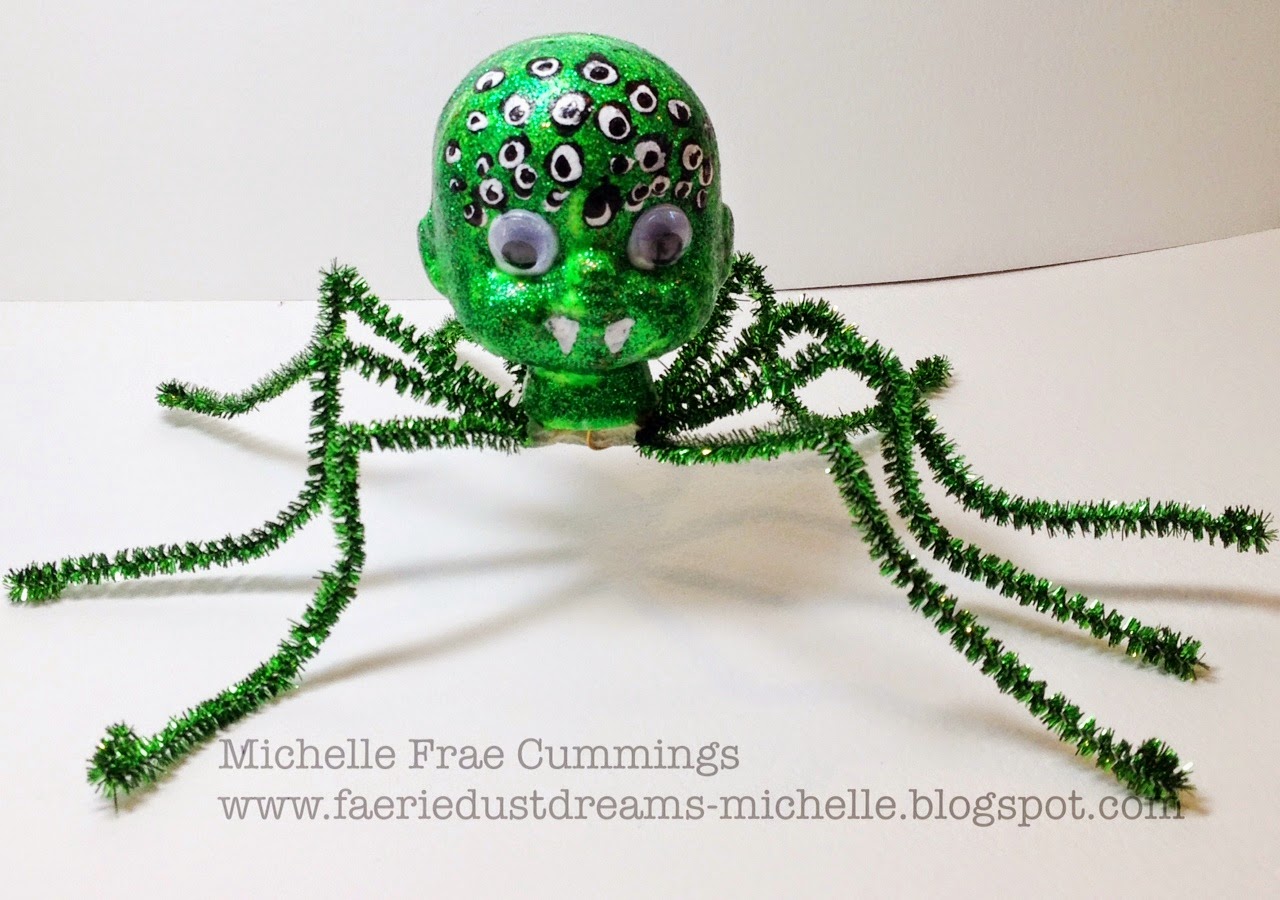
Creepy Voo-Doo Spider Dolls!

Welcome!
I hope you like Creepy things because these spider doll heads are all that!
I was inspired a little bit from Toy story 2 where the mutant toys come out from under Sid's bed- you remember the doll head? Yea, that one....
Then also a little bit of inspiration from Pirates of The Caribbean 2- when Jack Sparrow was the village king, remember his eye's?

 The materials for this craft are pretty easy to come by.
You will need:
  • 3 Smoothfoam 2 1/8" Baby Heads  Smooth off the ridges with medium grade sandpaper.
  • Neon Folk Art paints in Green, Purple and Orange. - I found these in Walmart.
  • Gloss Luster Mod Podge
  • White and Black acrylic paint
  • Metallic Chenille stems
  • Fine glitter
  • Googly eyes
  • Craft sheet, double stick take, tacky glue, (3) 3" pieces of 26 gauge wire, foam brush, a fine tipped paint brush, plastic cups, plates, tooth picks and a extra foam block.
 Pierce the bottom of the doll head with the toothpick and paint with a neon color. Set toothpick with doll head into foam block so paint can dry easily. Its takes approximately 2 coats of paint to cover the heads.
 Do this for all the colors.

Coat doll heads with Mod Podge then hold over a cup while you sprinkle glitter.
 Pour excess glitter back into container.
Place in foam block to set.
 While the doll heads with glitter are setting, work on the spider legs.
Gather all 4 chenille stems and fold in half. Then twist them a few times in the middle and add some double stick tape.

Go over each doll head with one more coat of Mod Podge to seal in the glitter.
When they are no longer sticky, carefully attach the legs.

Place some tacky glue onto bottom of the doll head and add your spider legs.
Bend the wire piece into a "U" shape and push into the doll bottom around the tape.
When the wire is half pushed in, twist, then push into the tape as shown. This helps secure the legs.

 Add your googly eyes with the tacky glue.
Paint extra eyes or designs with the black and white acrylic paint.
Don't forget to add the fangs!
Bend the legs as shown.

 This is my Jack Sparrow take off.
Don't the eyes totally creep you out?


 I was going for a Voo-Doo spider doll on this one.... can't you hear the African drums beating?


 Spiders have 8 eyes, so I thought this was pretty cool.
Plus I love purple!

 I can't wait to see these under a black light!
What do you think?
Feel free to check out more Smoothfoam idea's here.
Then while you are at it, check out more  Halloween creations with the Designer Crafts Connection!

8/13/14

Lego Mini-Figurine Wall Display

Our son loves Lego's.
 Whats not to love?
 They are easy to create with, following instructions or making something up.
He also loves the mini-figurines. Mostly Star Wars but we also have a mix of classic characters.
I wanted to display the characters...so I started looking around the house for something I could work with.


I had a blank cork board and some acrylic paints.
I painted the entire board with black paint. It took about 2 coats to evenly cover the cork.
Then I researched the internet for images of galaxies. I chose galaxies because we love anything  Star Wars.
Following the color pattern of the galaxy image I found, I used a texture brush to apply the paints.
I tried to follow the swirls of the online galaxy image I found.


For the stars, I dipped a old toothbrush into white paint and dragged my thumb across the bristles. This created splatters of white paint. Like faraway stars.
Some of the splatters were uneven or droopy from lots of paint, so I used a fine paint brush to make them into close up stars.
When I was done painting, I took the board outside and sprayed with a clear sealer. While the sealer was still tacky, I scattered some some iridescent glitter onto the board for extra glitz.

Next we went to our local Lego store and purchased a small tub of 2x4  bricks.  About 50 bricks in all. I adhered flat back tacks onto one end of the bricks with crazy Glue and let set until fully cured.


 Then we began placement of the mini-figurines!
Now we have a perfect piece of wall art that is both beautiful and functional.
Our son likes to play around with adding the figurines and taking them down for actual "play".


Thanks for coming by, I hope to have inspired you!
 Please feel free to leave me a comment, I'd love to hear your thoughts!


Materials used:
Cork board
Crazy glue
Texture brush
Fine paint brush
Tooth brush
Clear spray sealer
Fine glitter
2x4 lego bricks
Tacks
Lego Mini-Figurines
Galaxy image

7/12/14

No Sew Burlap Table Settings!

Welcome!
The Designer Craft Connection members were each challenged to create with Burlap!
Everyone participating was given a variety of Burlap Fabric to inspire you in more ways than one!

The inspiration for my projects came from the fact that our kitchen table needed some fresh table settings. Now that summer is here, we can afford some extra time to eat together as apposed to rushing around School homework and such.
I have 3 projects to get you excited about Burlap!
  1. Utensil/napkin holder.
  2. Rose place card/magnet.
  3. Table runner.
Enjoy!

 To make the Utensil/napkin holder, you will need the following:
  1. 3"x4" Linen bags w/ Jute  Drawstrings.
  2. Chevron Frog Tape® Shape Tape™
  3. FolkArt® Bright Red Metallic Acrylic Craft Paint
  4. FolkArt® Calypso Acrylic Craft Paint.
  5. Foam brush 

3/31/14

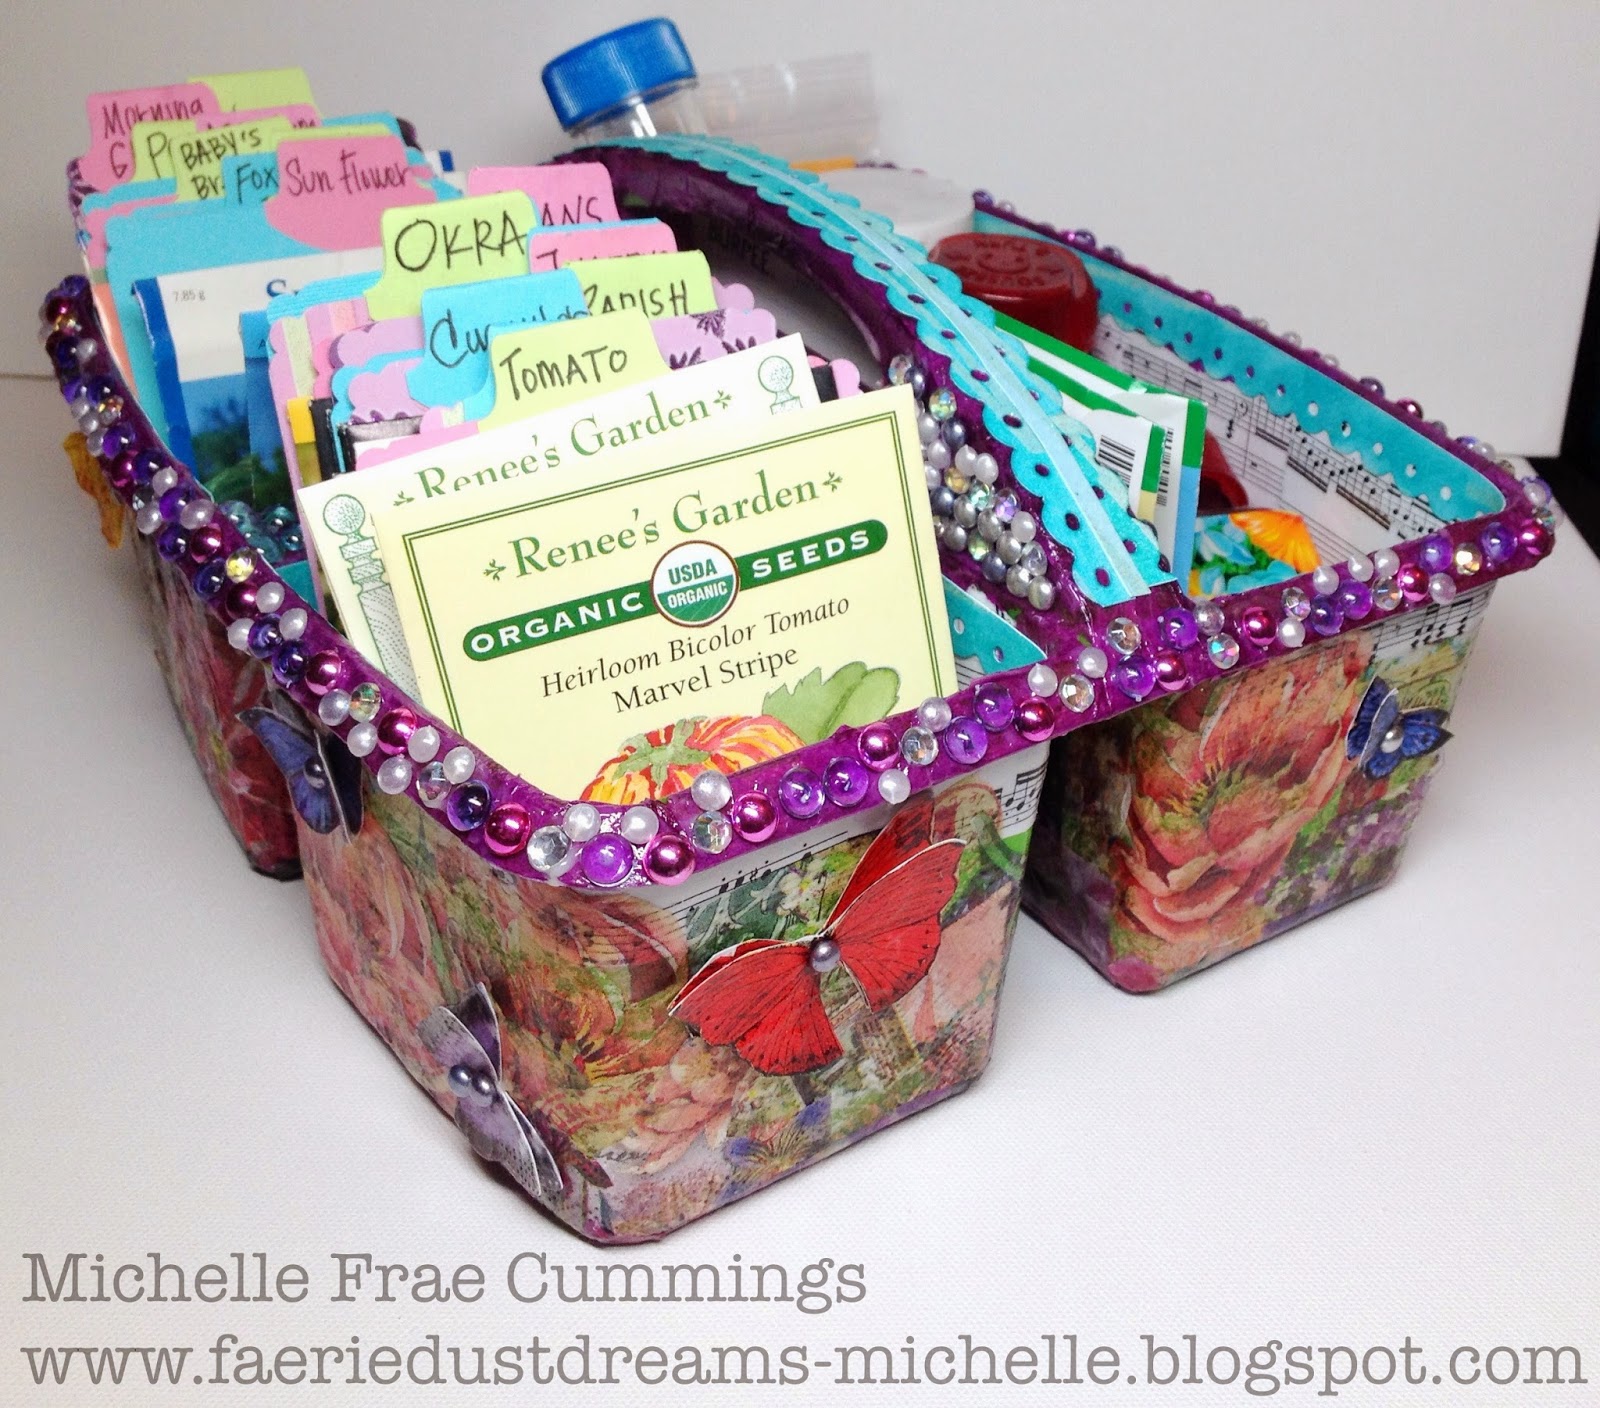
A Butterfly Decorated Seed Caddy


This  project was inspired by my love of gardening and that I needed a practical yet attractive holder for all my seeds!


I started with this small plastic art caddy that my son had out grown.
I first wiped it clean with a wet then dry cloth.

 I used a few paper plates, a foam brush and Gloss luster Mod Podge.

I sorted through my collection of printed paper napkins. I get the majority of my napkins at a discount store called Tuesday Morning.  The rest in specialty shops when the design catches my eye.

 I tore up copies of vintage music sheet paper and cut out parts of the napkin that I knew I would use.


I applied the torn music sheet paper to the inside of the caddy with the Mod Podge and foam brush.
 I also added some of the music sheet paper to the out side of the caddy, just under the lip.
Next I applied the napkin cut outs with Mod Podge to the entire outside of the caddy.
I filled in exposed areas with assorted purple tissue.
 I roughly trimmed out 2 of each butterfly images and applied them to sturdy white cardstock with Mod Podge. When dry, I carefully trimmed them out.
I used Tombo glue to adhere the first of each butterfly securely to the outside of the caddy. Then I placed a bit of glue to the center of each butterfly...let that set up a bit and placed the center butterfly onto the first, folding up the wings a little.
 For the inside border, I used a scalloped border punch on some aquamarine cardstock.
Then I inked them with teal ink before gluing them in place.  Lastly I filled in space on the caddy with an assortment of rhinestones other embellishments.
 I measured my seed packets, and created some divider cards with some pretty papers and a tab punch.

Here are my seed packets.

 I reused old prescription bottles and spice containers for my bulk seeds. I combined all my miscellaneous flower seeds so I'd be surprised as they bloom! Some of seeds were harvested myself and some were given to me.


 I adorned the butterfly's with the dew drops.
I just LOVE butterfly's!


 Thank you for coming by!
 I hope you have enjoyed my creation and are inspired to make something like this for yourself or even  friends. :)
Click here for more idea's and inspiration.


LinkWithin

Related Posts Plugin for WordPress, Blogger...