Showing posts with label Fiskars. Show all posts

4/06/15

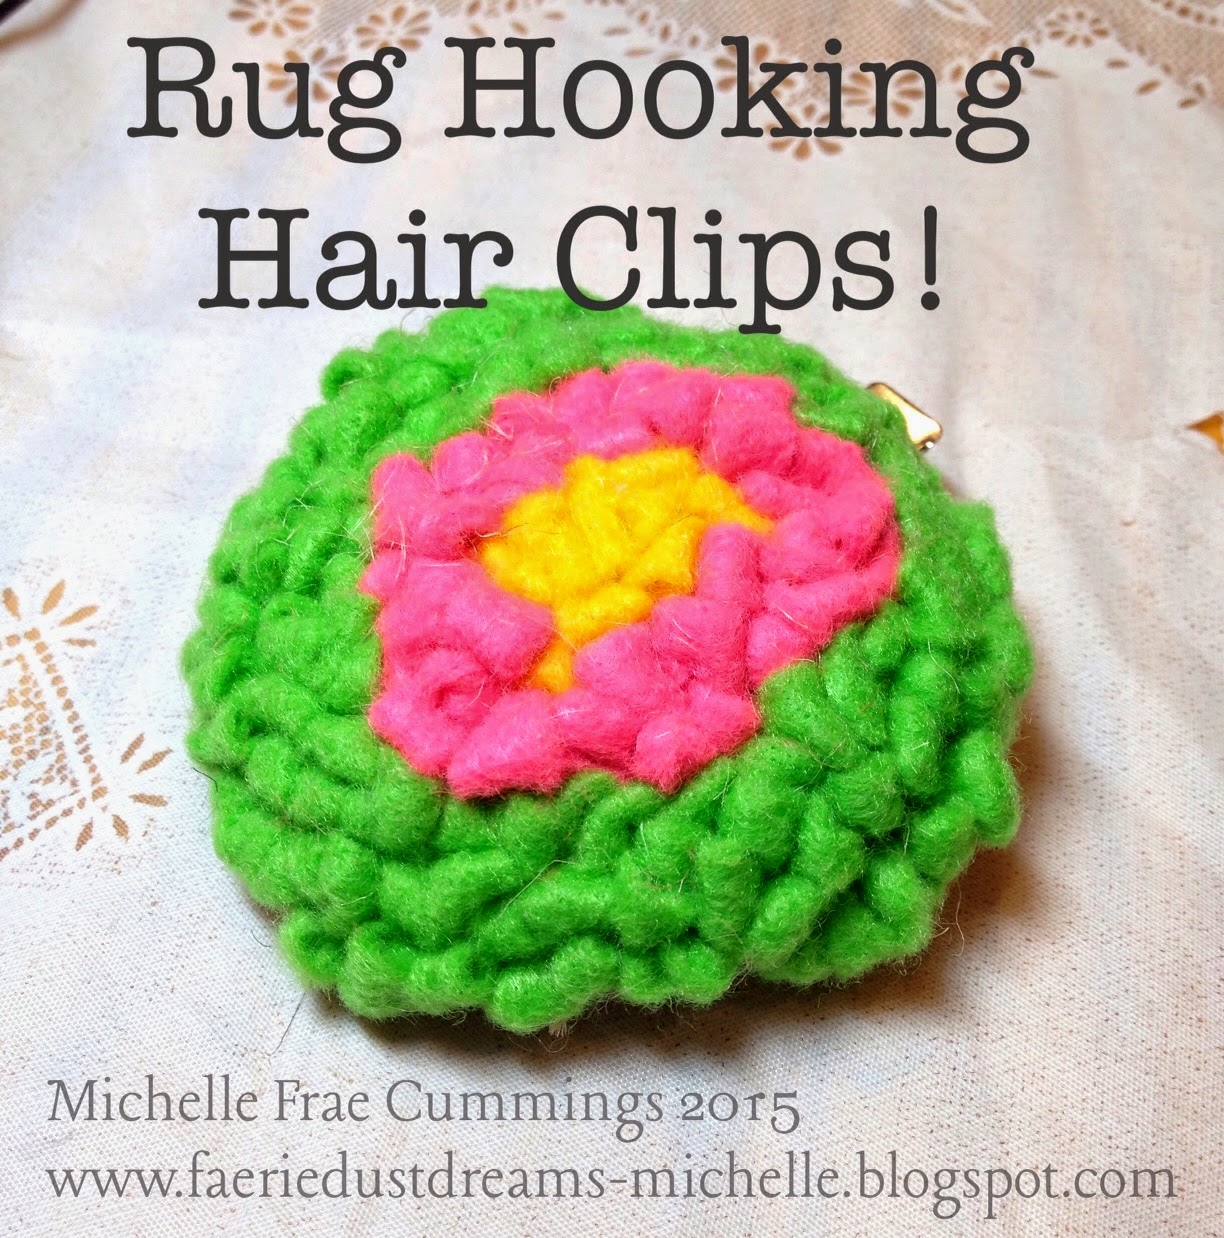
How to make Rug Hooking Hair Clips!

 No matter if spring has started for you or you are still waiting for the snow to melt, these "Rug Hooking Hair Clips" are sure to brighten any day! 
 You will need:
1. A embroidery hoop.
2. Burlap
3. A small cup to trace and a permanent marker.
 4. A crochet hook- size00/3.50MM.  Wrap lots of rubber bands around the hook to make for a no-slip-grip!
5. Brightly colored Kunin Felt cut into 1/4" strips. The longer the better.
6. Hair clips.
 7. Sharp fabric shears. These are by Fiskars.
8. Crayons.
9. Aleene's tacky glue. 
10. Additional felt sheet.
 Place your burlap in the hoop. Trace your circle. Mine measured about 2".
Push your hook through the center of the traced circle. Catch the felt with the hook and pull loop through. Continue pushing and pulling through until you are happy with your flowers center. 
 Trim off excess felt strip and start with a new color.
Repeating the same technique, over and over.
If you make a mistake, such as spacing your loops to far apart or pulling up too much of a loop- simply pull felt strip from under the hoop to remove mistakes. 

 Change colors as desired.
Stop working when you have reached desired flower size. 


  Trim burlap to be larger than your traced circle.
Flip over and trim off any long felt ends.
 With your scissors, cut sections (as shown) into the burlap, right up to the very edge of the flower.
Add a ample amount of glue to the back side of the flower.
Fold the burlap sections over into the glue, pressing firmly.
 For the last to sections, add a bit more glue.
Now place more tacky glue over the pressed down burlap.
 Cut two same size felt circles. Place one onto the glue, pressing firmly.
Add glue to the second felt.
 Place the open hair clip in between the two glued down felt circles.
Place a crayon inside the hair clip to keep the clip from accidentally being glued shut if any glue seeps through the felt.
Leave to dry before wearing your floral creation!
See more "Flower" crafts by looking for this button on my right sidebar.

7/12/14

No Sew Burlap Table Settings!

Welcome!
The Designer Craft Connection members were each challenged to create with Burlap!
Everyone participating was given a variety of Burlap Fabric to inspire you in more ways than one!

The inspiration for my projects came from the fact that our kitchen table needed some fresh table settings. Now that summer is here, we can afford some extra time to eat together as apposed to rushing around School homework and such.
I have 3 projects to get you excited about Burlap!
  1. Utensil/napkin holder.
  2. Rose place card/magnet.
  3. Table runner.
Enjoy!

 To make the Utensil/napkin holder, you will need the following:
  1. 3"x4" Linen bags w/ Jute  Drawstrings.
  2. Chevron Frog Tape® Shape Tape™
  3. FolkArt® Bright Red Metallic Acrylic Craft Paint
  4. FolkArt® Calypso Acrylic Craft Paint.
  5. Foam brush 

4/25/12

Thank You - Butterfly Card

 Here's a Thank You card I made earlier this year for Family and Friends.
 I'm sure, by now, that's it's no surprise to most of you that I love butterfly's and vintage music sheet paper. :)
I stamped a background stamp with blue ink onto blue cardstock. I tried spritzing it with pink glimmer mist, but it kept jamming up, and would only drip . So I made the best of it and used a make up sponge to dab the thin ink around the paper. I used a Fiskars Threading Water punch for the side border. - If you don't already have this punch, get it today. I'm serious. This is my most used border punch and I uses it on everything, from cards to rosettes and tussie mussies.  - Even the roof on this Vintage inspired, Christmas House!

Next with a Fiskars Scalloped Circle punch, I made a template that I traced in the center of the card and carefully cut out with precision scissors. The butterfly are made with a Martha Stewart punch and I could not help myself in adding them to the inside of the envelope so it looks like they are ready for flight!


 I used The Robins Nest Mini- Dews for the center of the Butterfly's and some Diamonds Drops for the corner of the card. The music sheet was added to the entire inside of the card, and a  Fiskars Rectangle hand punch, made the slots on the top and bottom of the card to hold the pink and white bakers twine in place. A little bit of glitter glue accented the card and hand written "Thank You"
Thanks for coming by, I hope you like my card as much as I liked making it. :)

10/01/11

Fiskateer Orange Blog Hop!


Welcome! If you have come from Simply Kincke's blog,
you are in the right place! This is a stop on the Orange Blog Hop where members of the Fiskateers, a community sponsored by Fiskars, is sharing their passion for crafting.

As you guessed it, the premise of this blog hop was to create something Orange as this is the Fiskars trade mark color. So I thought to make something pretty and practical. And I could not stop at just one project. I was having too much fun!

" Pocket Tissue"

Fiskars Treading water border punch, Boundary waves border punch, scalloped circle punch and 3-1 corner punch.


I made this  by wrapping a generic pocket tissue pack with scrapbook paper, just like a present. I draped the ends with Treading water border strips. For the center of the pack, I used the scalloped circle punch on orange paper and cut out the centers and then cut them in half before adhering them to the tissue pack. Lastly I accented everything with Tiara stickles.


 * * * * * * * * * * * * * * * * * * * * * * *
 "Love Notes"

Ever since Dyllan was in Preschool, I always put love notes in his lunch. Some were funny jokes, happy drawings, dot to dots with crayons included and sometimes sticker kits. I never go a day with out putting something in his lunch. But I never had a safe place to put them until this great hop!
To make this, you will need:One empty tissue box, Fiskars treading water border punch, 3-1 corner punch, Scrapbook paper, ruler, scissors, adhesive, bone folder, pencil, chipboard letters, glitter glue.
Start by trimming away the inside lining of the tissue box.
Carefully cut the top of the box so you can fold it back at a template. It's much easier to do it this way than to second guess the tissue box opening blindly. When done, carefully tape the box back together, you don't have to be perfect  with the tape as you can cover it up with the paper later.
Trace your box on the back of the chosen paper and cut each square/rectangle out, but not closely to the line.
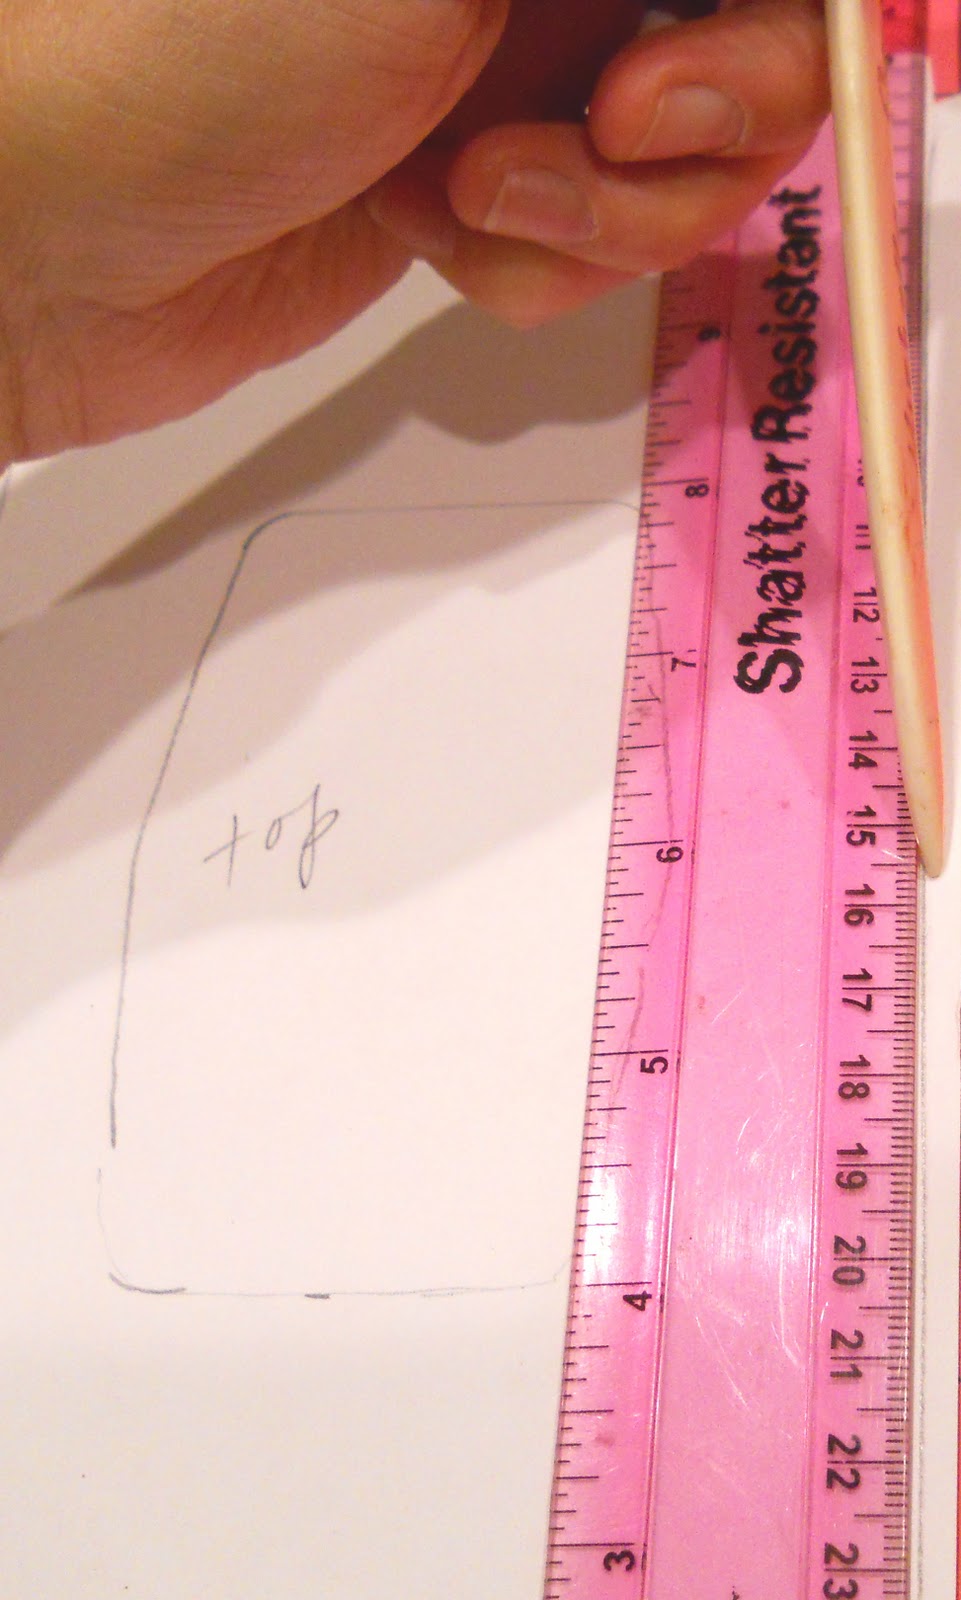
Use your ruler and bone folder to score the trace lines on the cutouts. This is so you can fold them accurately.
Cut at the corners. But don't worry about being perfect.
Cut the center cover larger than the hole itself. Then use the 3-1 corner punch to accent the corners. Finally cut out the box hole so it's ready to place on top of your box.
If you have a trace and cut shape template, you can use it to make some extra fun notes to write in.
Dyllan liked opening up one of these in his lunch the other day!
I love how the  Treading water punch has a template to follow so you can't mess up your strips.Go ahead and  make enough strips for your box.
Adhere your strips to the box, add your chipboard letters and glitter them up.

 And now you have a special place to hold special messages!
 Please continue on to Fiskateer Lyn Dwyer, she's next in line for the hop.
 I hope you have enjoyed my crafts! Thanks for coming by. Comments welcome and I've love for you to follow me.
 Have fun on the hop!

2/03/10

CHA Giveaway 7 - Fiskars!

I had the utmost honor of demonstrating at CHA opening day at the Fiskars booth because I'm a Certified Demonstrator for Fiskars products and a proud Fisk*a*Teer!
A Fiska-what? You ask?
A Fiskateer is a Ambassador for crafting...
like Mouskateers are for Disneyland?...

I worked 4 super fun hours, showing people how make a pin like the one above using these fabulous new corner punches!
What I loved about them was the unique corner shapes
and that the white plastic part for the corner alignment comes out
so you can use it as a regular punch!
How stinkin' cool is that?


Here are some of the buttons I snagged for my apron...


Yep, that's my craft apron...I wear it every time I craft.
I get lots of compliments!
And for once, people were taking photo's of me!
It was a hoot!
If you want one for yourself...e-mail me or wait till
the end of February when I add some to my shop!
I ran into Laura Bray, another fellow fiskateer and close friend while at CHA,
look at the cute headband she made for the event!
Here are some Fiskateers working the later shift,
my super good friend Kimber is on the right!
She's in my Scrapbook group and we've been friends since our kids were crawling!
Betsey Terry and Genevieve Rodriguez
Both are sweet girls. I met betsey for the first time
and Genevieve I know also from my scrapbook group!

Here I am with Stephenie Purl Hamen, who is such a sweet gal!
Check out her blog for some more CHA eye candy!
This is Michelle and Merlene, two more amazing Fiskateer friends
that I always enjoy seeing at craft events!
After our first day of CHA Kimber, Betsey and I had dinner at Bubba Gump...yummy!
* * *

I have a bright Orange nylon Fiskars bag to add to the giveaway I'm doing
plus I'll fill it with lots of Fiskars paper crafting goodies!

I hope you having fun! I have two more postings to go about CHA, don't forget to visit previous posting to increase your chances of winning the "Big" prize....

and be sure to visit One World, One Heart for another party!
See you soon!

6/21/09

Rescue Mission Food drive Art

Last weekend I took Dyllan with me to a Food drive sponsored by Fiskateers and Scrapbook Royalty. We dressed in our best orange and green (fiskars colors) and filled a bag with food. I decorated the bag with my artwork and inspirational words.

I drew it with a sharpie and colored it in with all the orange and green crayons I could find.

It was nice to take Dyllan with me because he's at that age, where he's understanding more and more about people less fortunate than we are.

This sun is a trade mark of my art, so please don't copy it. If you would like a custom piece for yourself, please contact me through my shop and we will talk details. I can do cards to large wall paintings.
Thank You
~Michelle Cummings

LinkWithin

Related Posts Plugin for WordPress, Blogger...