12/10/15

83 Front Door Holiday Decoration Idea's

Last year the neighbors really decorated their front doors...so much inspiration!
Which one is your favorite?


12/07/15

Table Top Holiday Decoration!

 Have you ever wanted to give a live plant or mini tree as a gift for the holidays but felt like the selection at the stores were less than great? As long as you keep your basic craft supplies on hand at home or with you when you travel, you'll never run into that problem again!


 I was visiting Family for the weekend and had to run to the store for a few things. I saw this tree with it's plain ornament and thought, hmmmm.....I bet I can pretty that up a bit. 
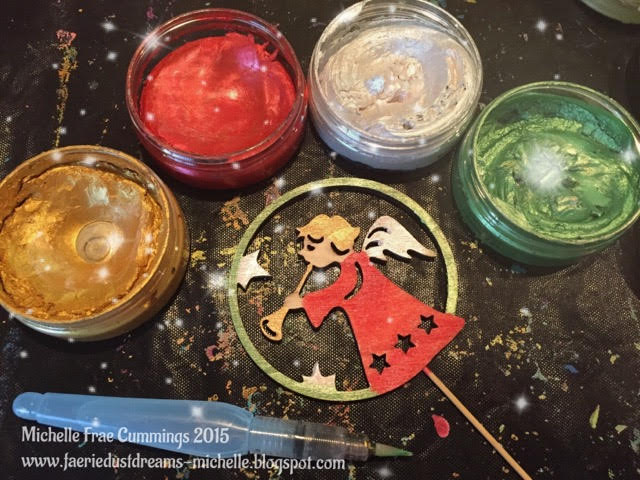
Back at the house, I painted both sides with shimmery paints.

 When they were dry, I added some glittery accents with Tulip Beads in a Bottle.
I have used them once before, you can see those projects here.
I set the decorated ornament outside to cure while I worked on the garland. 
 I used 26 gauge wire, assorted beads and scissors. 
 Wrap the wire around the tree like a garland, then double the wire length.  String a bead onto the wire and secure the end leaving a 1" tail..  Then keep on adding more beads, alternating the colors if possible. 

 Loosely space the beads about 1" apart and twist them and the wire as shown. Continue until you have enough beaded garland for the tree.

Secure the end tail onto a the bottom part of the tree, then loosely wrap the garland around, going up as you wrap. You may have too much garland, if so, snip it off leaving a bit of wire. Attach that bit to the top of the tree. Add the the decorated planter ornament and place for all to see!
Thank you for coming by, comments welcome!
See more Holiday themed crafts here!

12/03/15

Tissue Paper Ornaments

Looking for a great way to make professional looking ornaments with just a few craft items?
Visit my post here to see how I made these! :)

11/30/15

Sin City Stamps Sale!

 Stock up on your favorite stamps or buy for friends!
Sin City Stamps sale! Ends December 2nd, 2015!

11/02/15

Handmade Owl Gift Cards


The theme this month is "Handmade Gifts".
What better gift than a Owl gift card set?
Materials used:
  1. These Owl Rubber Stamps.
  2. Colorful paper. I used Gelli-printed paper scraps.
  3. Black ink.
  4. Zig glue pen.
  5. Colorful foil transfer sheets
  6. Scissors
  7. Foam tape
  8. Glitter gel pens
  9. Blank cards.

 Stamp your owls onto your colored paper.

 Decide where you want your foil to be, then apply your glue pen.
It goes on blue and dries to a tacky finish when clear.
You want your glue to be clear and tacky for the foil.
 Your foil will be shiny on one side and matte on the other.
 Place the foil matte side down onto your tacky glue.
Press down gently with your finger onto all the glue areas. Then peel the foil away rather quickly.
If the foil did not stick to a certain spot, add more glue.
 Alternate with different foils.

Re-use the foil sheets until they are void of color and all sticky areas on the owls are covered.


 Use foam to adhere your owls to the cards. Embellish with the gel pens.
The two flowers you see above are from this stamp set.

 I prefer to leave the cards sentiment free so people can write their own.


 The owl above is accompanied by this Medallion stamp.

Bundle all the cards together with a pretty ribbon or yarn.
 Great gifts for teachers, family and friends.
Thanks for coming by!
See more gift giving idea's here.

LinkWithin

Related Posts Plugin for WordPress, Blogger...