Hi Everyone!
I hope you having a wonderful start of Spring!
I'm excited that my garden has begun to bloom.Yea!
This months project for
The Designer Crafts Challenge group was to show off some handmade flowers with items from around the home. So I gathered up a few supplies and had a little fun!
Won't you join Me?
For this project, you will need:
Favorite flower dies that will cut through tin
Embossing folders
Alcohol pens
Assorted nail polishes
Floral wire, buttons and jewelry pliers.
Begin by cutting up your empty soda cans and clean them with a wet cloth.
The can will automatically curl up, so gently, curl the opposite way being careful of sharp edges.
Cut the tin into sections that will fit the flower shapes you want cut out. Run them through your die cutting machine. Then place them into the embossing folders and run them through again.
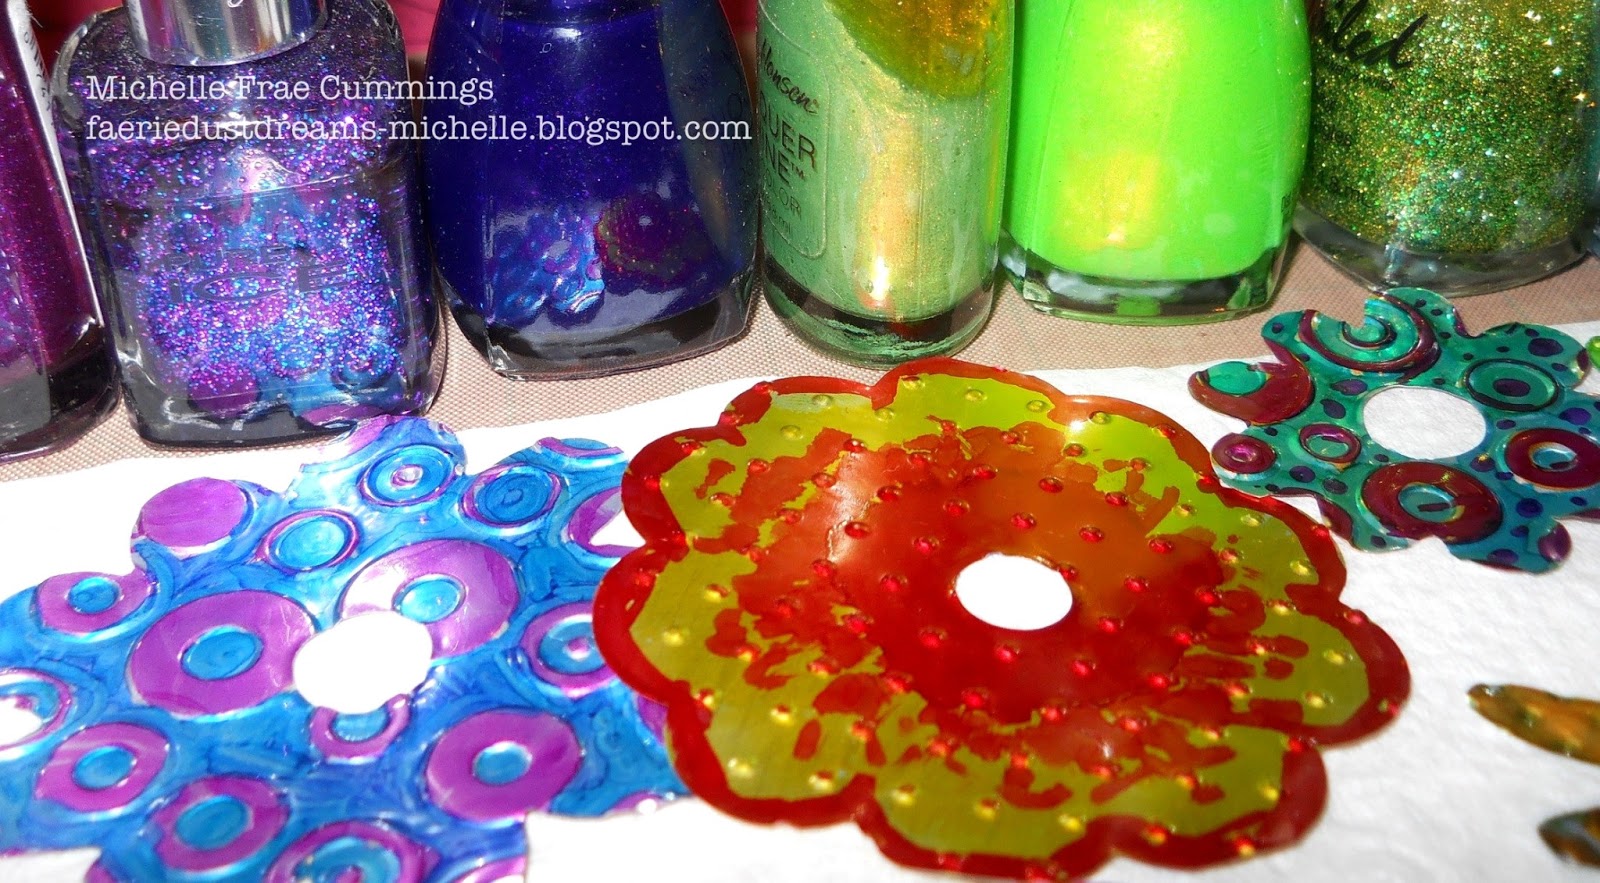
Working on a paper towel and on a craft sheet, use the fine and wide tips of your alcohol pens to color in the flowers. Try using multiple colors for a splotchy effect.
Select your nail polishes. As you can see, I have quite a few!
I love to "paint" my nails as much as I love to make art!

Now add more fun detail to your flowers with the nail polishes. Play with the colors and some of the solids and glitters. Make sure to work with a window or two open as some nail polishes stink more than others, and it's usually the one you like
painting with the best!
Once dry, the nail polish will act as a sealer.
Leave your pieces to dry while you clear your work space for the next step.
You will now need the floral wire, pliers and assorted buttons.
Play with your flowers to see which two will pair well. Then find a button that mostly matches the bottom flower. The other two buttons don't matter. You just want to make sure the buttons are larger than the flowers hole.
Fold a bit of the wire as shown. Then thread the first button onto the bent wire to rest at the end. Add the small flower, a button, the large flower and the final button.
Wrap the small bit of wire around (as shown) at the back of the large flower.
Be sure to leave room for the flowers to
spin.
Fold the remaining wire, (as shown) so you can secure the end piece at the back of the flowers.
Now you have made a beautiful flower!
Place these inside to brighten up lonely indoor plants, or outside with natures best and watch your colorful creations
spin in the warm breeze!
The combination of the alcohol pens and nail polishes really pick up the outdoor light. Maybe give a couple to a friend to brighten up a office.
These flowers are sure to "perk" up any plant and bring a smile to someone special!
Thanks for coming by, comment are always welcome.
Feel free to visit some of the other designers to see what "Spring" inspired creations they have come up with!


6 comments:
Those turned out great, love the colors!
Very cool, Michelle! I've never thought about running tin through a die-cut machine like that! Love the bright colors too!
Those are awesome!! Great job! :)
These are really nice. I'm just seeing them now. Don't know how I missed this post before. I've been looking all over the internet for some way to use metal cans & haven't found anything I like better than this! Thanks, M!
Love your flowers. Can you tell me which flower die you used? Thanks
Post a Comment