I love all things to do with crystals and I love working with resin, so I decided to try making some crystal jewelry!
Enjoy!

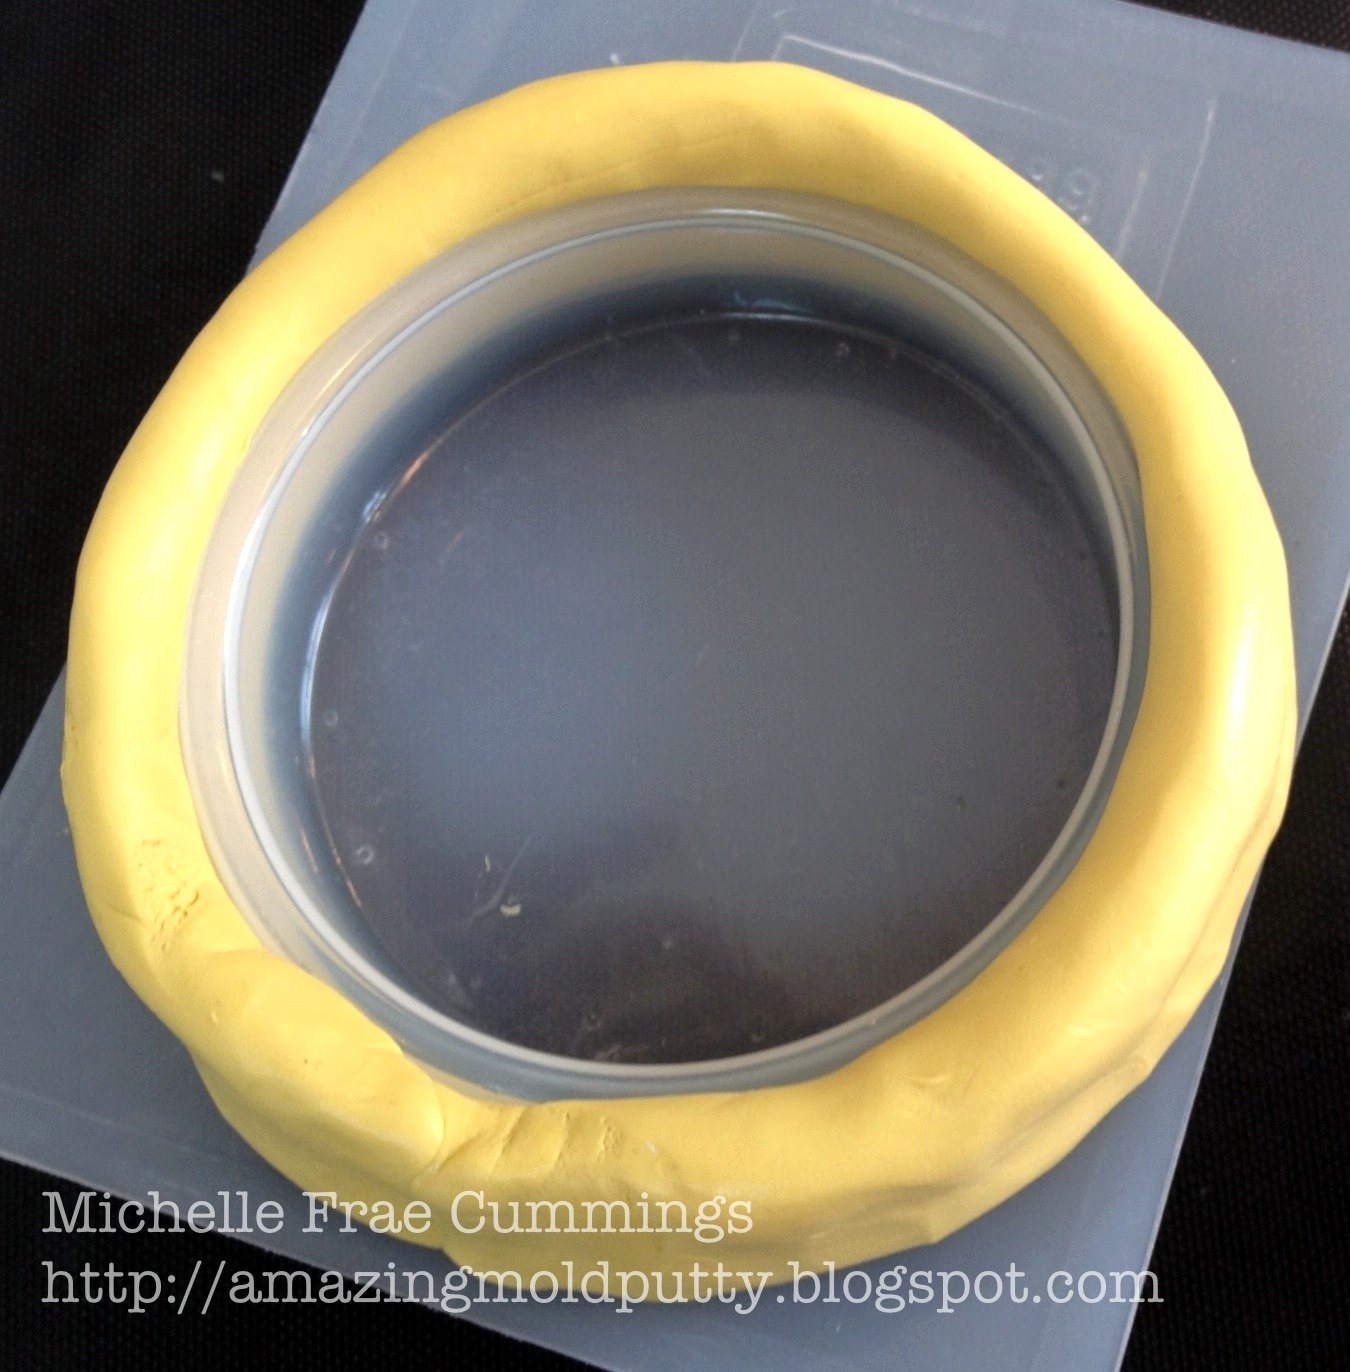
- Amazing Mold Putty
- Amazing Clear Cast Resin
- Violet Alumilite Dye
- Gold and Blue/Green Alumidust
- Gloves
- Craft mat
- Tape
- Crystals
- Ring blanks
- e-6000
- Scissors
- Small paintbrush.
- Glitters and gold leafing foil.


A little bit goes a long way for the dust. I use a toothpick to measure what I need.
*When using the 1 oz. bottles of the dye, I generally don't cut the applicator tip which allows the dye to dispense. I do this because the dyes are super concentrated...so I use the tip of a pin to add color as needed.

You will need to measure out equal amounts of bottle "A" and "B". Mix well and then add a tiny bit of color to the resin and mix again.
I used the provided mixing tool (the popsicle stick) to slowly drop some colored resin into my mold.
(I had other molds ready for any extra resin so not to waste a drop.)
Add a little bit of gold and blue/green dust into the mold now.
Then set aside onto a flat surface for at least 3-5 hours.
This will give the resin some time to firm up some before you add the next color.
Clean cups and sticks with baby wipes.
When ready, mix your Clear Cast Resin again. Add the tiniest amount of color or keep clear. Pour into the mold. Sprinkle with dust and glitters if desired. Leave to set over night.

With the first paintbrush, paint some newly mixed Clear Cast Resin around the base. Attach the gilding flakes to the crystal base with the second brush.
Finish the crystal with a over all coat of resin and leave to set overnight or until its no longer tacky.


Plus it looks fabulous. Don't you agree?
See more resin jewelry idea's here.