
We were all asked what makes us happy and creating makes me happy, especially if I can enjoy my creation while relaxing out in my 'secret garden' during the summer months!
I have been wanting to show off this craft idea for what seems like forever! Now that my garden is done and we have a new grill, I could not have picked a perfect time to show you how. :)


Don't worry if you can't get all the glue off, it comes off easily after the can has been in the freezer.
With a black permanent pen, draw your design all around the can. The lines can be messy as it will be removed later. Keep your design to the center of the can until you get the hang of working on this project.


This is best to do in the kitchen on your counter space near the sink, so you can any discard ice bits.


Hold your nail in place as shown and *tap lightly (5 times) to get the nail all the way in creating a full sized whole. * I say tap lightly as apposed to pounding the nail with the hammer, because as you work around your can, you don't want the ice inside to break up and come out before you are done. The ice keeps the can from caving in as you work.
I outlined my whole design with the larger holes, then filled in the design with smaller holes, (1-3 light taps). Roll your can to the next design, tightening your towel valley if needed, and keep tapping until all done. Discard ice chips as they break from the can.

This craft is not recommended for young children.

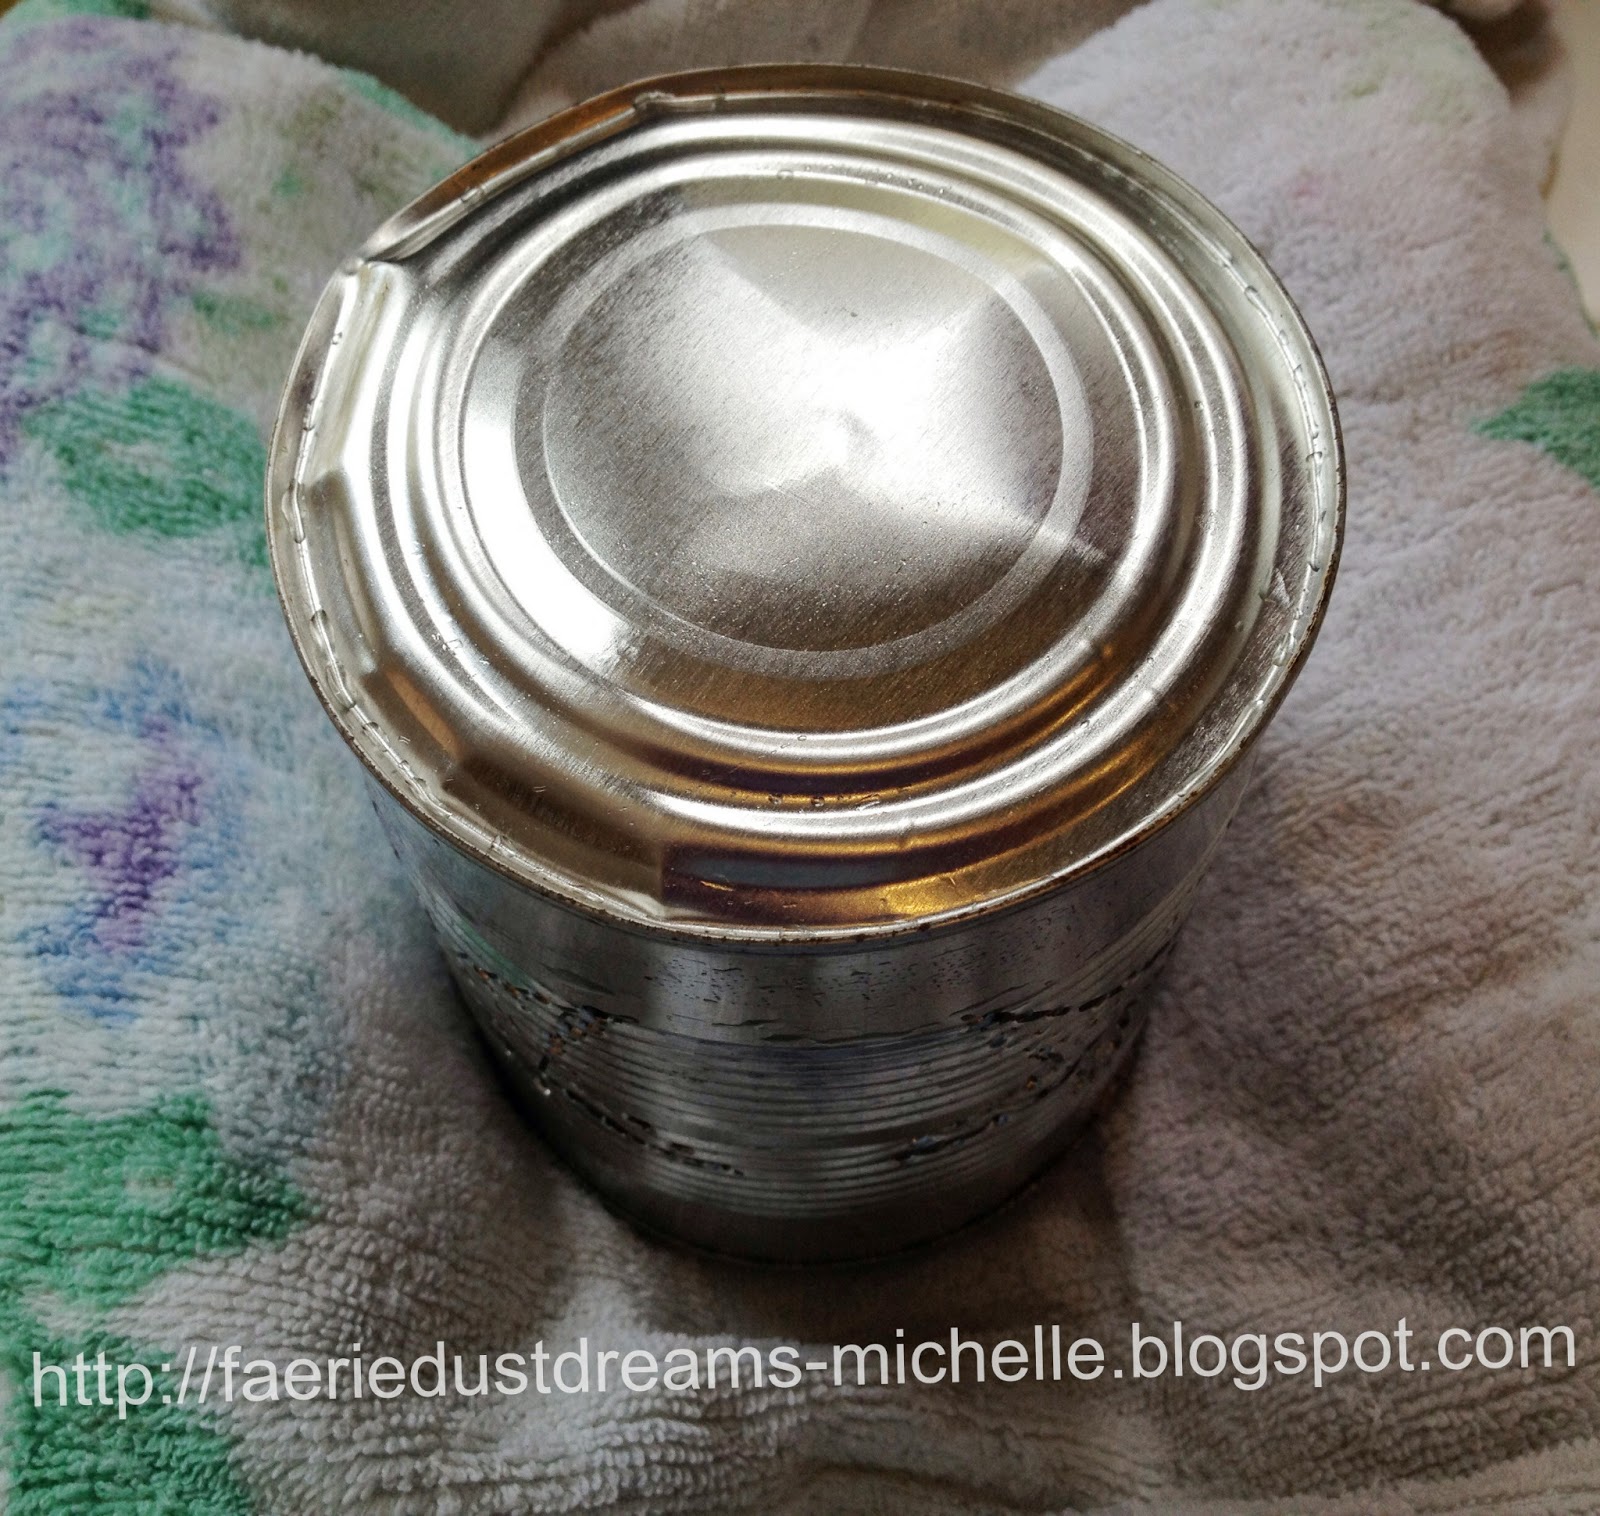
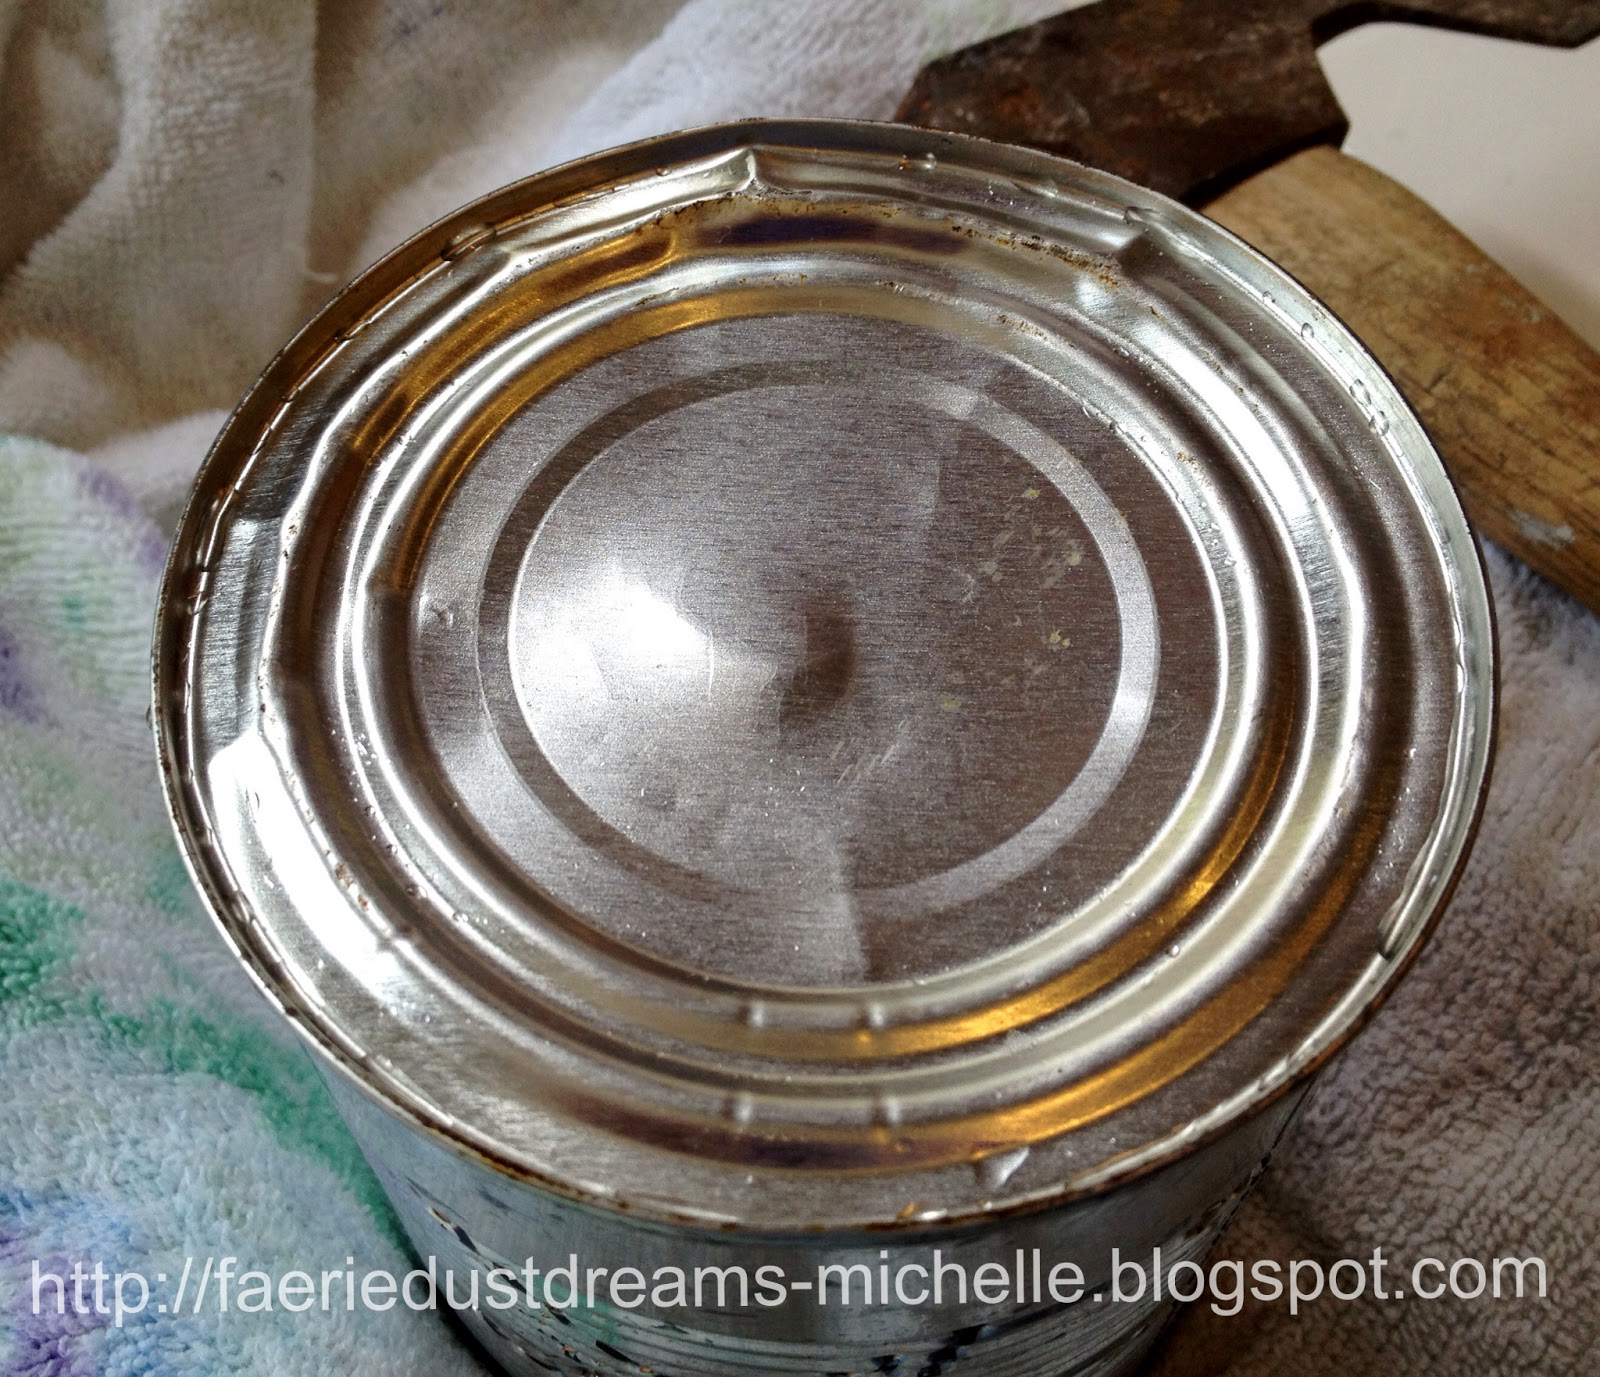
Turn the can over and hammer the bottom of the can back in as it bulged outwards from the freezing process.
OR......you can take a hand held can opener and remove the bottom, ...perfect for placing over stationary lights.

- Color them with alcohol inks (which will fade over time outside),
- Spray paint them as I did. I used a Krylon metallic silver for the star can, inside and out.
- For the heart I used Krylon Red for outdoor furniture -plastic/metal.
- Spray them with glitter paint to sparkle during the days.
- Follow this link to make your own rust patina.


Light, sit back and enjoy!

So what makes YOU happy?


3 comments:
Oh, thank you for the lovely memories first thing this morning. When I was a little girl I had a babysitter who sat for me overnight at her house a few times. We stayed in a tent in her yard and she made several of these in coffee cans so that we had enough light to play games by them. This was in the 60's or early 70's so quite some time ago. I vaguely remember how the tent looked from the outside...lovely & what fun we had! I'm certainly going to have to make a couple of these! Thanks, again...Juliana
I too love making these! Thanks for sharing the tutorial as freezing water inside will be helpful in not denting the cans :)
I love to make these with handles to flicker from my porch ceiling. Such fun!
Post a Comment