6/14/13

Happy Birthday Butterfly Card!

  I really love creating with The Robins Nest White Glitter Swirl Card stock, reason being is that you can customize it to any color you want!
  I began by creating the back ground using a turquoise color mister.
  Then I used a red ink dauber for the inner card. See the instant transformation?
You can wipe off any excess ink from the swirl design with a dry napkin.
  I placed the red card onto the larger turquoise card and made grooves at the corners with a rectangle hand punch. Then I wrapped some Red Timeless Bakers Twine around, securing the starting and ending strands on the back of the car with tape.
I added a pretty butterfly to the center, some Moonstone Diamond Dew Drops for the butterfly's body, and some Indigo Diamond Dew Drops to the red card. All Diamond Dew Drops are on Sale 20% off until June 30th, 2013.
A pretty stamped sentiment completed the creation.
Thanks for coming by, I hope you enjoyed my card.

6/13/13

Multi-Colored Resin Bangles

 Now that School is out and Summer is "officially" here, I knew I needed to spruce up my jewelry collection so I made up some fun colorful bangles!
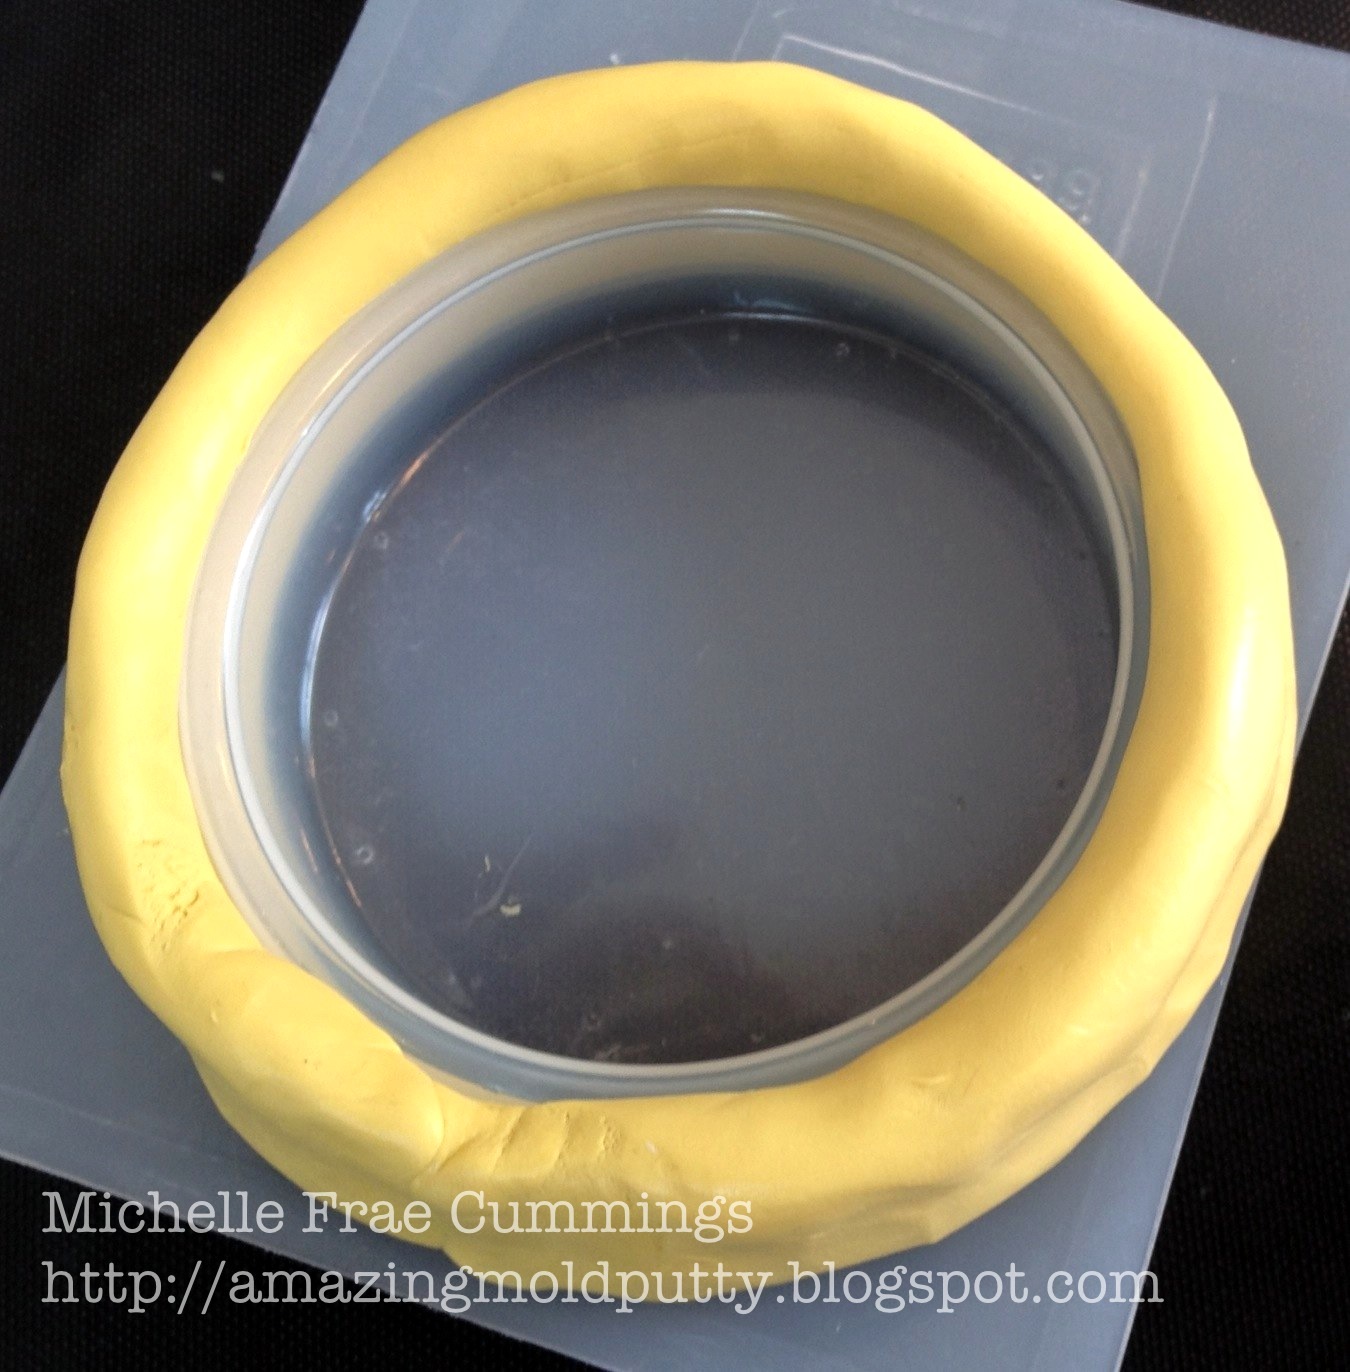
To start, I mixed up some Amazing Mold Putty, and pressed it on the outside of a old plastic bangle mold that I found at a garage sale. The inside of the mold had someone's resin mishap and was unusable. Then I added some more mixed putty to the inside of the mold.
 Before letting set completely, I flipped it over to look
for any creases or air pockets I could fix.

After about 10 minutes, the mold was ready for resin.

Using the measuring cups provided, I poured "A" and "B" Amazing Casting Resin. Then I added about 3 drops of Alumilite dye to the "A" resin. I do this because once you mix "A" and "B", you have a short window to thoroughly mix and pour before the resin begins to set. I mix the resin and dye with the popsicle stick provided, scraping the sides as I work. Then I quickly pour both into a paper dixie cup, again mixing quickly, before creasing the corner of the cup to serve as a spout.
 I pour as close to the molds opening to avoid resin drips. If dripping occurs, quickly change sides. Make sure to leave room in the molds to add colors. Let each color set before adding a new color. I clean each cup out quickly with a baby wipe and then a dry napkin.

Then I'm ready for the next color batch. 
It takes approximately 15 minutes for each color to set.
 When your molds are filled and the resin is hard to touch, you may pop them out and begin carving off the rough edges with the the open blade of precision scissors. This is easiest to do when your bangles are fresh from the mold because the resin is still not completely cured. Hold the scissors the same way you would curl ribbon for a present. Go all around, inside and out until you have a smooth edge. If you have waited too long and the resin is much harder, keep working at it with the scissors, it will just take a bit longer.
 
  Once you have finished with all your bangles, place them on a bit of wire mesh or a old baking rack outside. Spray evenly on  both sides with a gloss sealer/finisher. Let dry until it's no longer tacky.
 
 Then enjoy your bangles and have a colorful summer! 

 For these bangles I used Red, Yellow, Blue and Green Alumilite Dye.
To achieve the white, I simply left the Amazing Casting Resin to set, uncolored.
~ Michelle Frae Cummings
.................................
__________________________________________
Use this COUPON to shop at the Amazing Mold Putty
website HERE and receive 25% OFF your purchase.
Please use coupon code " summerhaus " {no quotations}.
Coupon expires June 30, 2013.
__________________________________________
.................................
Thanks for stopping by and have a great day!

6/08/13

Give your old patio umbrella a NEW look for under $5!

I'm sorry that I don't have a "before" photo to share with you but you can take my word that it was really really faded. I first tried to dye it a pretty fushia, using liquid rit dye and leaving the material in the dye bath/bucket for almost a week, but them everything faded in the sun within a few days!

So one day I'm sitting at the kitchen table wondering what can I do, as new umbrellas were $70 or more and there was nothing wrong with this one other than the lack of color....

I spotted my can of red krylon fushion spray paint that I had used with this project, looked at what it can paint...metal, plastic, glass, ...wicker. Wicker is semi-porous like fabric right? Couldn't hurt to try right?  So I stood on a plastic chair, the very one you see in the photo and rotated the umbrella as I sprayed. It was a fairly warm and breezy day and the fumes drifted up and away from my house, so that was good. I was done in minutes and now I have a colorful patio umbrella and that brightens up my garden and makes eating outside a festive event!

What do you think? Do you have a patio umbrella in need of a makeover? What color will you make yours?

6/05/13

How to keep your straw in your soda can

For those of you frustrated with keeping your straw in your soda can, try this method. It never fails!

6/02/13

Happiness is...Making Tin Can Votives!

"Happiness is..." - .......this months theme for The Designer Crafts Connection.
We were all asked what makes us happy and creating makes me happy, especially if I can enjoy my creation while relaxing out in my 'secret garden' during the summer months!
I have been wanting to show off this craft idea for what seems like forever! Now that my garden is done and we have a new grill, I could not have picked a perfect time to show you how. :)
 First you are going to need a couple of clean tin cans, any size, with the paper removed.
Don't worry if you can't get all the glue off, it comes off easily after the can has been in the freezer.
With a black permanent pen, draw your design all around the can. The lines can be messy as it will be removed later.  Keep your design to the center of the can until you get the hang of working on this project.
 Fill your cans with water just above the top of the design. Too much will deform your can while freezing. Place cans in your freezer on a shelf where they can freeze overnight undisturbed
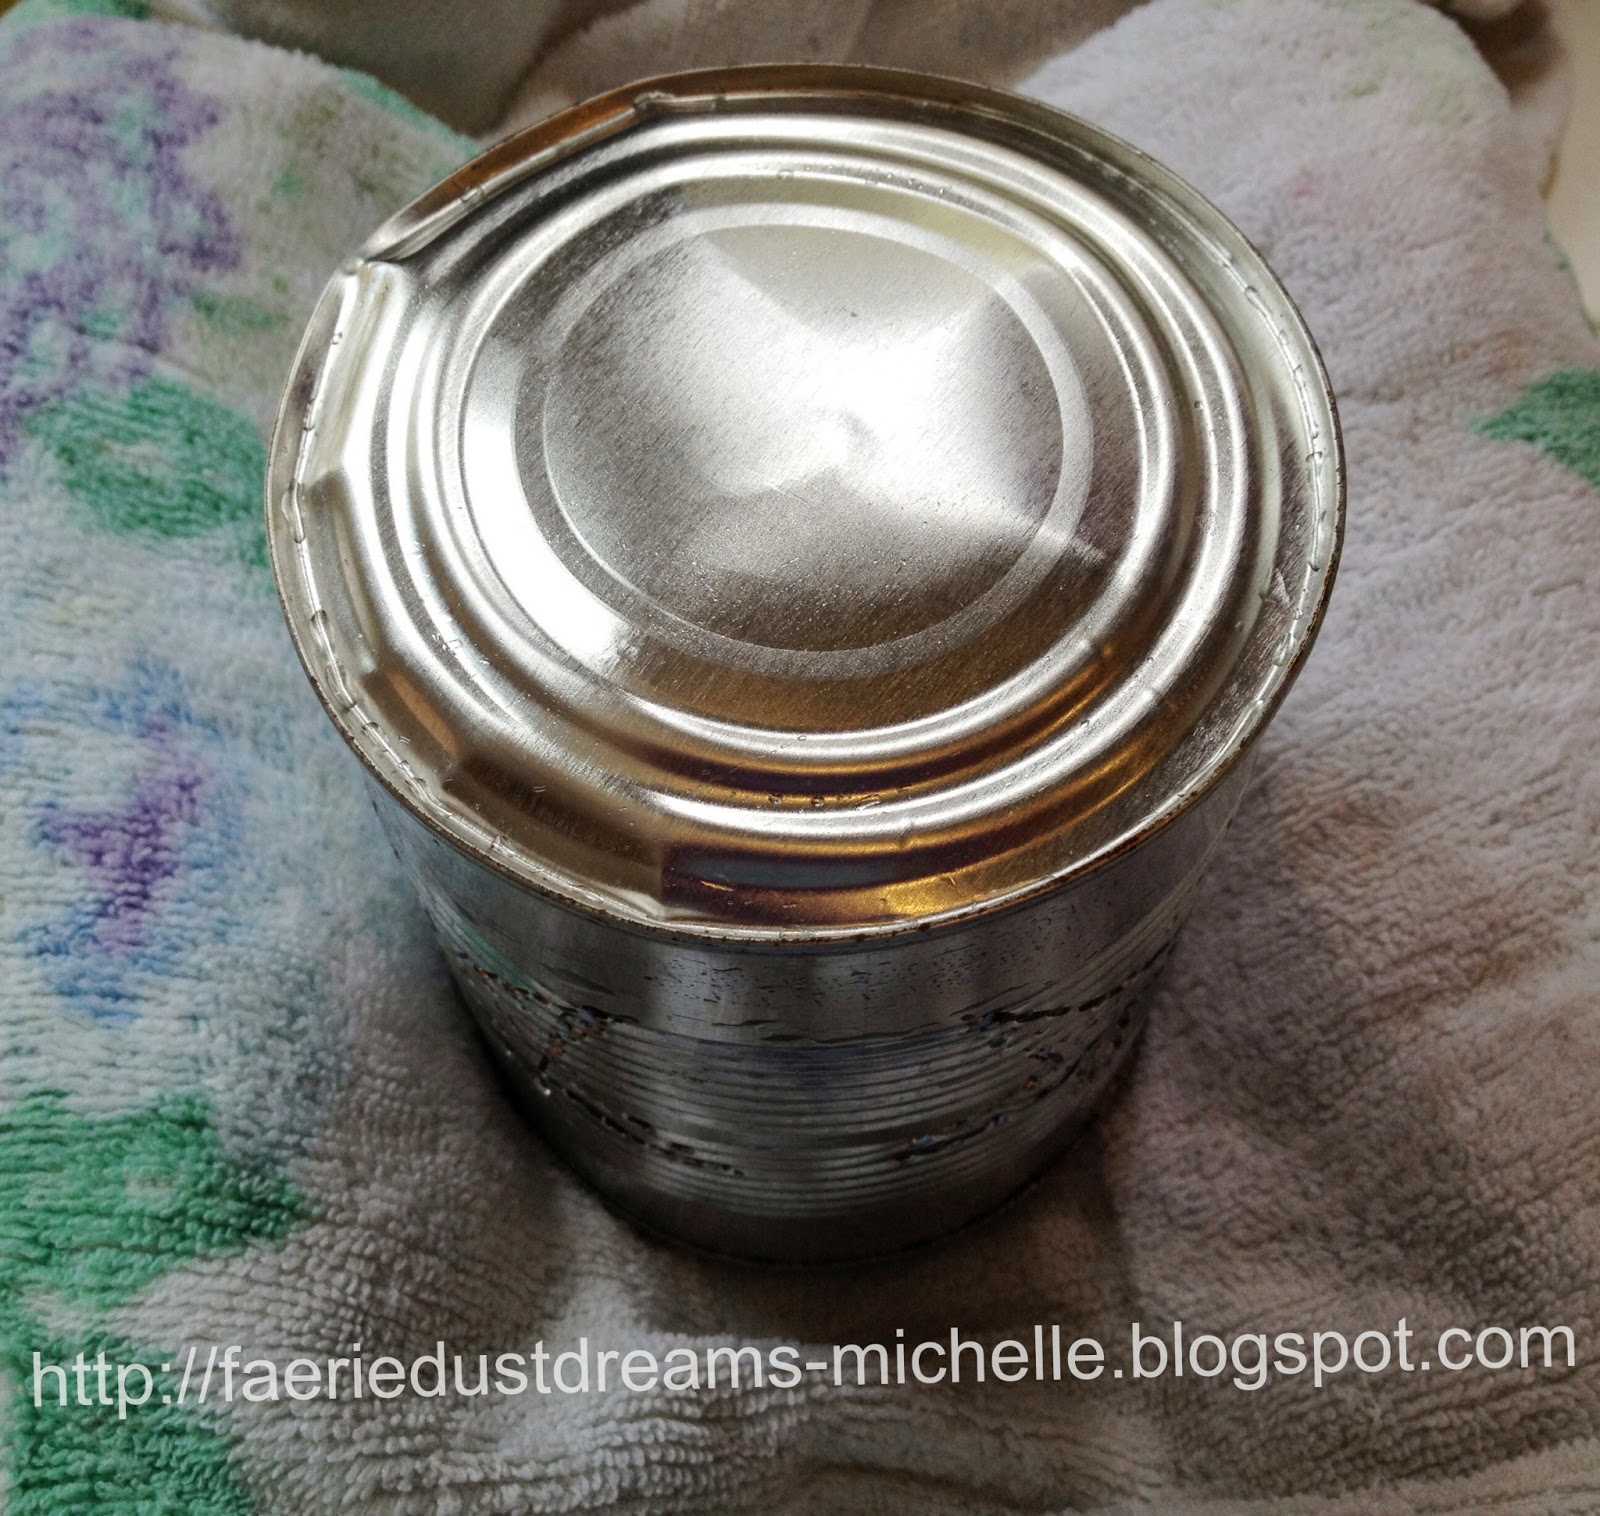
Find your self a old full sized bath towel. I have had this one since I was a little girl and I  keep it for projects such as this. Fold the towel in half length wise. Then roll it up on one side and then the other side as shown. Flip it over. Now you have a valley to hold your frozen can while you work.
This is best to do in the kitchen on your counter space near the sink, so you can any discard ice bits.
 Place your frozen can down in your towel-valley with the design up as shown. Then ready a sharp long nail and a hammer. (Not a mallet- too hard to see the nail/design as you work).
 Now depending on the size of your can and details of your design, this project can take 30 minutes to over 1 hour.  You also want to make sure you are free of distraction while working on this project as one slip of the nail/hammer could really hurt you. So be careful!

Hold your nail in place as shown and *tap lightly (5 times) to get the nail all the way in creating a full sized whole. * I say tap lightly as apposed to pounding the nail with the hammer, because as you work around your can, you don't want the ice inside to break up and come out before you are done. The ice keeps the can from caving in as you work.

I outlined my whole design with the larger holes, then filled in the design with smaller holes, (1-3 light taps).  Roll your can to the next design, tightening your towel valley if needed, and keep tapping until all done. Discard ice chips as they break from the can.
 Be careful as you handle your can, as the holes are very sharp and WILL cut you.
This craft is not recommended for young children.
 When you are done, run the can under the warm-hot water and discard the chunk of ice.
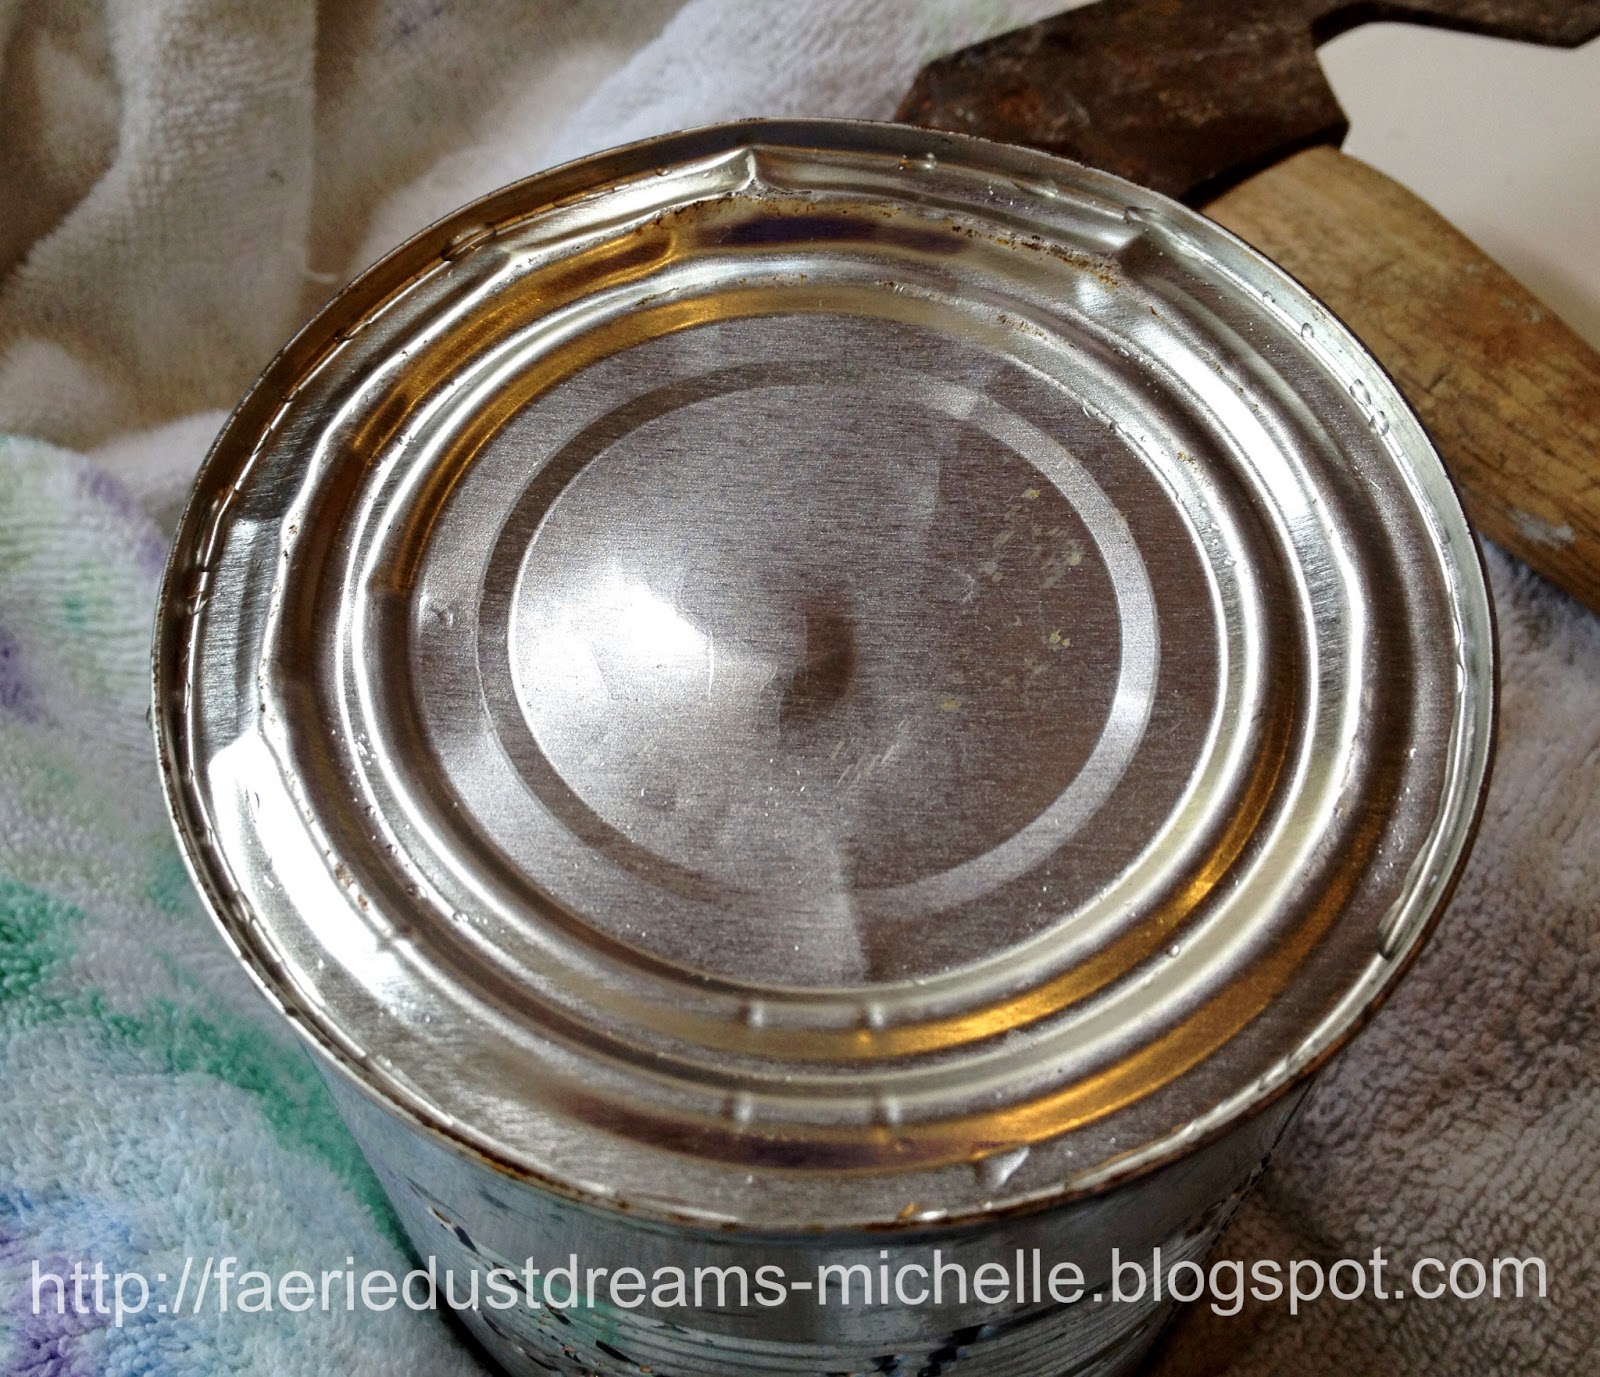
Turn the can over and hammer the bottom of the can back in as it bulged outwards from the freezing process.
OR......you can take a  hand held can opener and remove the bottom, ...perfect for placing over stationary lights.
 Make sure the can is completely dry on the outside before removing the marker lines with nail polish remover. Works like a charm!
 Now there are several ways you can color the cans.
  • Color them with alcohol inks (which will fade over time outside),
  • Spray paint them as I did. I used a Krylon metallic silver  for the star can, inside and out.
  • For the heart I used Krylon Red for outdoor furniture -plastic/metal.
  • Spray them with glitter paint to sparkle during the days. 
  • Follow this link to make your own rust patina.
The inside of the can is like a inverted cheese grater. So please be careful when placing  tea lights or candles in your can. Also keep lit cans on a heat proof surface and be-warned... the can will get hot while candle is lit and do not leave lit candles unattended for long.

Light, sit back and enjoy!

So what makes YOU happy?


LinkWithin

Related Posts Plugin for WordPress, Blogger...